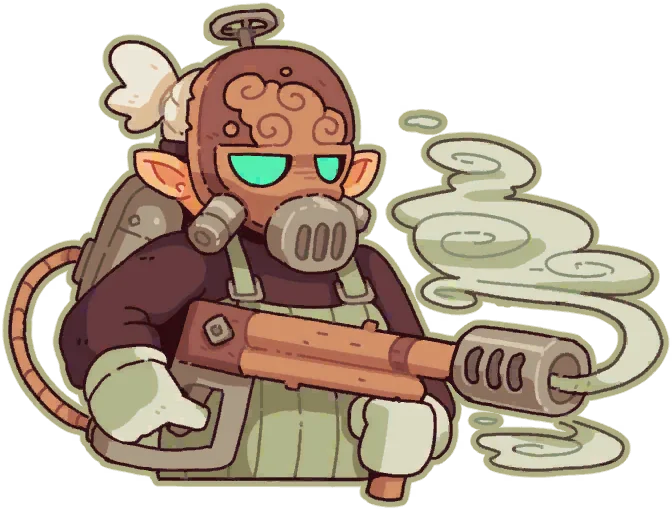
Hazeblazer
Basic Info
- Tribe: Clunkmasters
- Attack: 0
- HP: 10
- Counter: 5
- Effect: Apply 1 Haze. Deal 3 damage to self
Rating
B-tier self-damaging Haze applicator with limited activations. Haze makes the afflicted unit's attacks Aimless — their targets become random. Applied to a high-Attack boss: that boss's damage may redirect to other enemies, to unthreatened allies, or whiff entirely. Hazeblazer applies Haze 1 per Counter 5 activation and takes 3 self-damage each time. At 10 HP, she can activate 3 times before self-damage reduces her to 1 HP, where any enemy hit finishes her. Counter 5 is the slowest timer among companions — expect 2–3 activations in a standard fight.
The ceiling is Haze on bosses with high-frequency attacks. A Counter 2 boss with 8 Attack hitting allies multiple times per fight becomes significantly less threatening when Haze redirects some of those attacks randomly. One Haze application from Hazeblazer might prevent 16+ incoming damage across a boss fight — well above the cost of her 10 HP sacrifice.
The floor: Haze 1 on a single Counter 4 enemy in a wave fight, with Hazeblazer dying before contributing again. In short fights, she may not activate enough times to justify the slot.
How to Use
Mid or back row — not front. Hazeblazer needs to survive long enough to activate Counter 5 at least twice. Front row means enemies attack her before her slow counter fires. Back row gives her 3–4 enemy attack cycles before her counter first activates.
Healing offsets her self-damage. If you have a healer (Bonnie, heal items), Hazeblazer's 3 self-damage per activation becomes sustainable across many more activations. A Bonnie restoring 2 HP to all allies after each activation keeps Hazeblazer at viable HP longer.
Prioritize Haze application on the highest-Attack threat on the enemy board. Haze on a 2-Attack enemy is negligible; Haze on a 10-Attack boss is potentially fight-deciding. Counter-reduction charms let her apply Haze more frequently before her HP depletes.
Advanced Techniques
Haze Keg + Hazeblazer zone Haze. Haze Keg applies Haze to all enemies. Hazeblazer applies Haze 1 to a single target. Together, the entire enemy board can have Haze stacked, making enemy attacks broadly randomized. Combined with Knuckles (who attacks back when hit), randomized enemy attacks hitting Knuckles feed more Knuckles counterattacks.
HP charm investment buys more activations. Each HP point on Hazeblazer above 10 delays the point at which self-damage leaves her at critical HP. A +4 HP charm (10 → 14 HP) gives her approximately one more full activation cycle before she reaches danger threshold.
Good Synergy Cards & Charms
- Haze Keg — zone Haze application; Keg Haze all enemies + Hazeblazer Haze on the boss creates a board where all attacks are randomized
- Healing items / Bonnie — offset self-damage to extend Hazeblazer's activation count across longer fights
- HP-up charms — each HP point delays the critical damage threshold, allowing one more activation cycle
- Counter-reduction charms — Counter 5 → Counter 4 or 3 significantly increases activations-before-death, improving fight contribution
- Knuckles — Haze redirects attacks to random targets; redirected attacks hitting Knuckles trigger his Reaction counterattacks
In-game Effect Text
Apply 1 Haze
Deal 3 damage to self
Synergy Cards
- Haze Keg — shared: Haze
- Burster — shared: Haze
- Haze Balloon — shared: Haze
- Foggy Brew — shared: Haze