




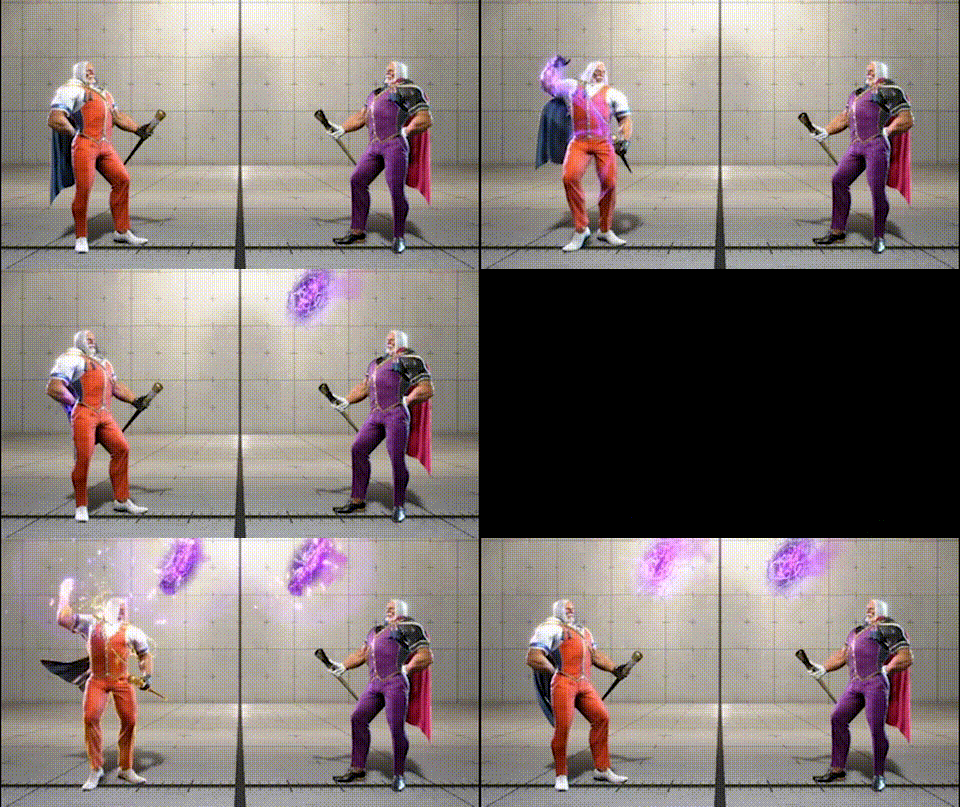
Place a void of Psycho Power in the air from which thorns spawn. Useful as a way of limiting your opponent's movement when vying for position.
派生・强度差异
| 技能 | 发生 | 命中 | 防御 | 伤害 |
|---|---|---|---|---|
| Departure | — | — | — | — |
| H Departure | 150 | — | — | 800 |
| L Departure | 150 | — | — | 800 |
| M Departure | 150 | — | — | 800 |
| OD H Departure | 110 | — | — | 1000 |
| OD L Departure | 110 | — | — | 1000 |
| OD M Departure | 110 | — | — | 1000 |



Evaluation
JP's placement trap move — each strength variant places the projectile at a different position with different activation timing. When placed at long range it can start a full-screen shooting game, so rushing in immediately upon seeing the setup animation is highly effective.
How to Use
Notes on how JP uses 214P — placement positioning, pressure setups, whiff punishes — to be added.
How to Counter
JP's placement trap move. Each strength places the projectile at a different position with different activation timing.
- 214LP
- Places near
- Fast activation
- JP is +9F to +11F on guard
- 214MP
- Places at medium range
- JP is +9F to +11F on guard
- 214HP
- Places far
- JP is +9F to +11F on guard
OD version (2-button simultaneous) places at two positions at once:
- 214LPMP: Weak + medium range placement
- 214LPHP: Weak + strong range placement
- 214MPHP: Medium + strong range placement
If 214P is placed from far away, a shooting game begins — the basic counters are below.
Mid-screen placement
- Focus on defense until you can block the 214P activation
- Walk forward while watching for JP's 236P and 2PP — walking guard is effective
- If walking guard is too difficult, hold Parry until the 214P activates
- Jumping too early will get caught by 236MK, restarting the shooting game
- Even without jumping, JP may re-place the trap, so keep the option to jump ready
- The best approach is to walk forward at the moment JP tries to re-place
Corner placement
- When JP places from the corner, they will warp to escape the corner
- Generally walk backward rather than forward
- The recommended approach is to retreat to a position where you can anti-air the warp