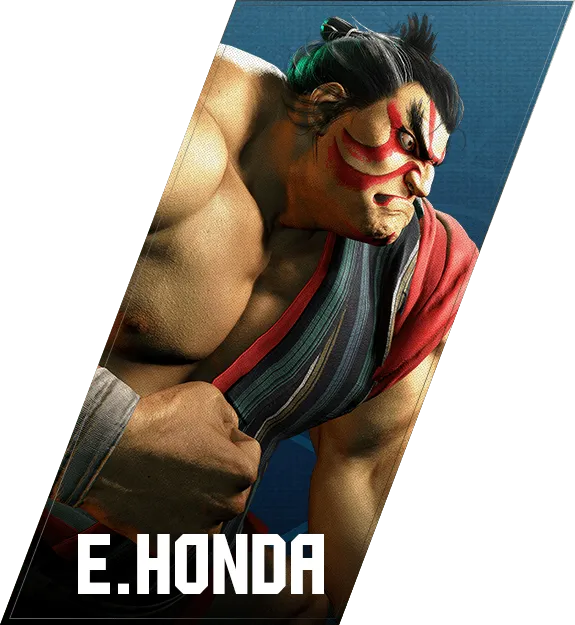

本田
E. Honda — 对策
Key Info
- Overhead that combos on hit: 6MK
- Defense
- No OD invincible reversal
- SA1 236236P: 7F startup, strike and throw invincible
- SA2 214214K: 9F startup, fully invincible, projectile-invincible
- SA3 236236K: 10F startup
- Command throw: 63214789P (Oicho Throw)
- Moves that are plus on block:
- HK: +2F
- HP: +1F (close range)
- OD Sumo Step → Teppo (1st hit): +3F
Neutral Game (Focus Points)
- Deal with [4]6P (Sumo Headbutt)
- Guaranteed punish changes by strength — memorize each one.
- [4]6LP is -4F on block; everything else is worse.
- If thrown at close range, block and always punish.
- At long range it often hits only the tip, making a punish hard to land — be careful.
- Deal with [4]6K (Super Sumo Headbutt)
- It has aerial properties — knock it out with an anti-air move.
- Neutral jump attack is highly effective.
- If you block it, E. Honda is at a large disadvantage — always punish with a heavy attack.
- Deal with 236P (Hundred Hand Slap)
- Guarantees a punish at close range on block.
- At tip range a punish may not connect.
- Maintain close range and punish every blocked instance.
- Deal with the command throw (63214789P — Oicho Throw)
- If you see it coming, jump to escape.
- Punish with a full combo from neutral jump.
- The strike vs. command throw mixup is E. Honda's core threat — back dash is also a valid option.
- Projectile-character gameplan
- Sumo Headbutt passes through fireballs — be careful when throwing projectiles.
- Either throw from a safe distance or read the Headbutt timing and bait it.
Counter-strategy for Oicho Throw — punish frames, blocking direction, yomi paths — to be added.
Normal versions (requires Shoulder Tackle stance)
- 214LP (L Hundred Hand Slap)
- 0 on block — neutral, no guaranteed punish
- 214MP (M Hundred Hand Slap)
- E. Honda is -4 on block
- A 4F move gets a guaranteed punish
- 214HP (H Hundred Hand Slap)
- E. Honda is -4 on block
- A 4F move gets a guaranteed punish
OD version
- 214PP (OD Hundred Hand Slap)
- E. Honda is +1 on block
- Advantaged — do not mash
Recommended counters
- Light version is 0 on block — no free punish, play the neutral carefully
- Medium and heavy versions are -4 — always respond with a 4F normal
- OD version is +1 — Honda has advantage, so focus on teching throws rather than mashing
- All versions require the Shoulder Tackle stance; track his stance throughout the match
起き攻め時
Key points when applying wake-up pressure on Honda.
- 214214K (SA2)
- Fully invincible, 9F startup
- Safe jump with a 10F or slower meaty
- 236236P (SA1)
- 7F startup, strike and throw invincible
- Safe jump with an 8F or slower meaty
- Drive Reversal — universal system option
Recommended counters
- Honda has no OD reversal, so wake-up pressure lands consistently — commit to strike/throw mix-ups
- SA1 is 7F: an 8F meaty beats it cleanly; watch for it when Honda has SA1 stocked
- SA2 (214214K) is fully invincible and goes through projectiles — use a 10F safe jump when he has SA2
- When Honda has no meter: standard meaty setups work fine — keep layering pressure with strikes
Jumping Light Kick(跳跃中)
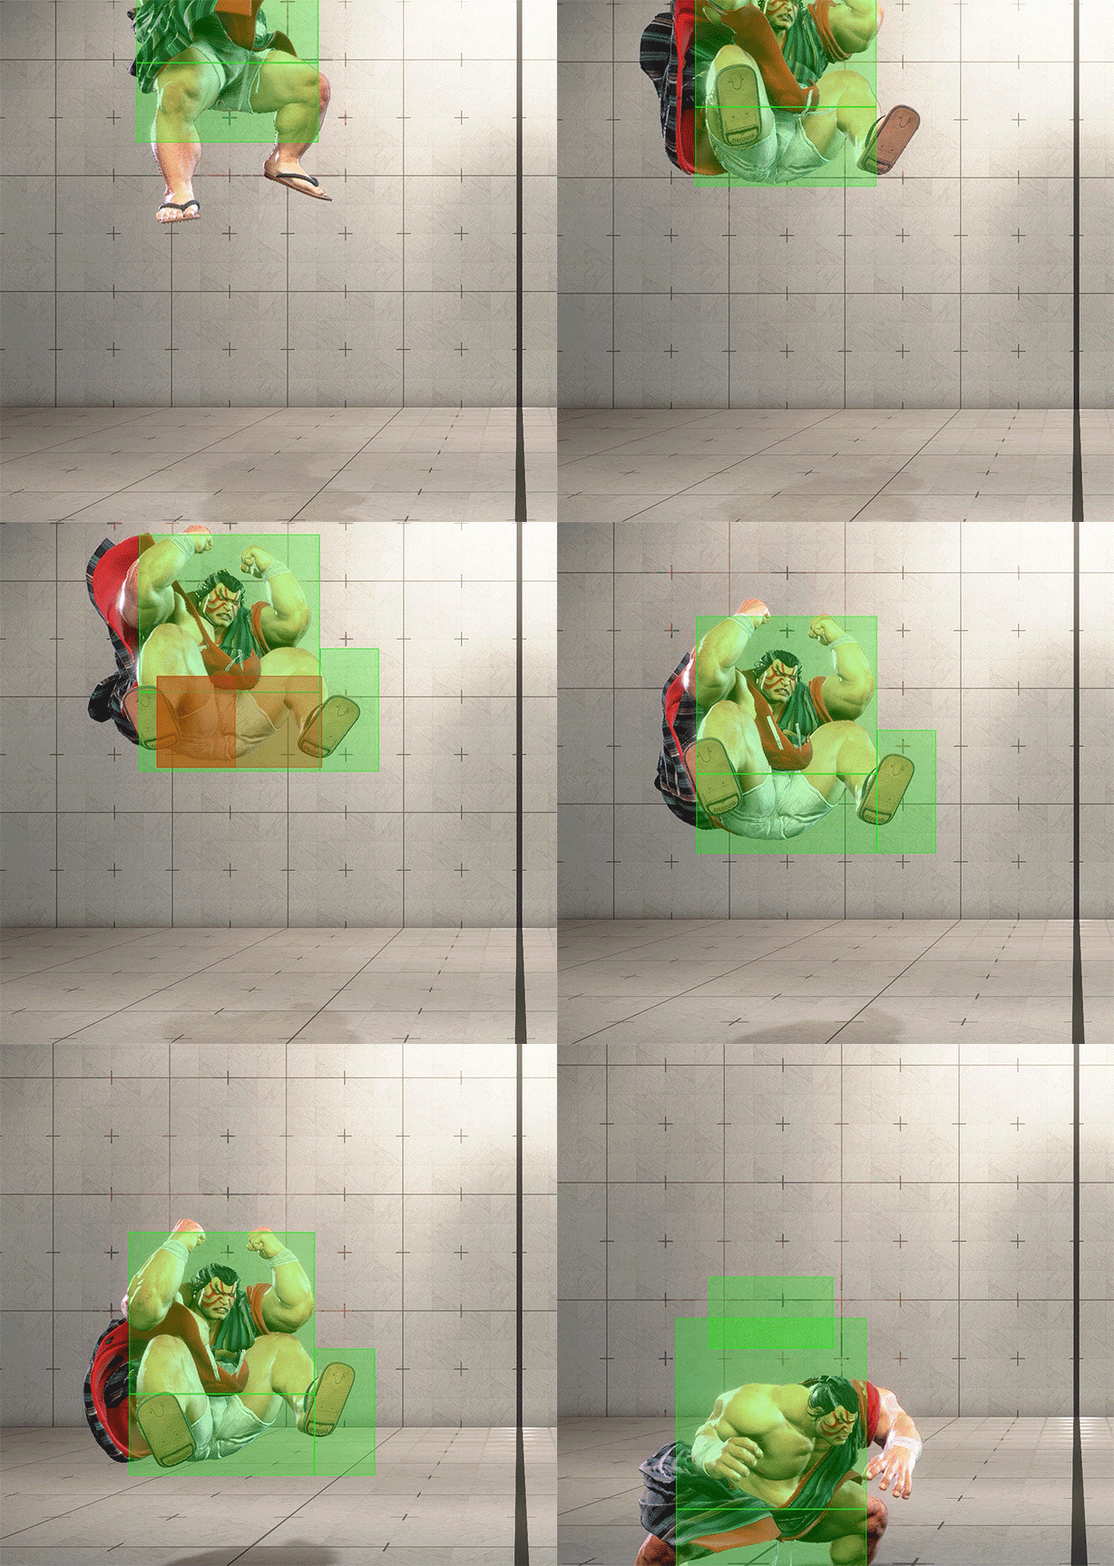
Honda's jumping attack used from jump-ins. All strengths grant +1 on block.
Recommended counters
- Perfect Parry is the most universally effective answer — works for all characters and converts into damage
- Do not mash after blocking — Honda is +1 and will continue offense
- Holding ground against Honda's small normals or going for an invincible reversal are both valid reads
- Back jump to create distance is a safe, low-risk option
- Easy to recover from even if mistimed
- After blocking, standing and walking back puts you out of range of both command grab and crouching LP/L Hundred Hand Slap
- Managing spacing is key
Warning
Sumo Slam is +1 on block — Honda's turn starts the moment you block it. Anti-airing it before it lands is the ideal response; look up your character's best anti-air option.
Taiho Cannon Lift(相扑步中)

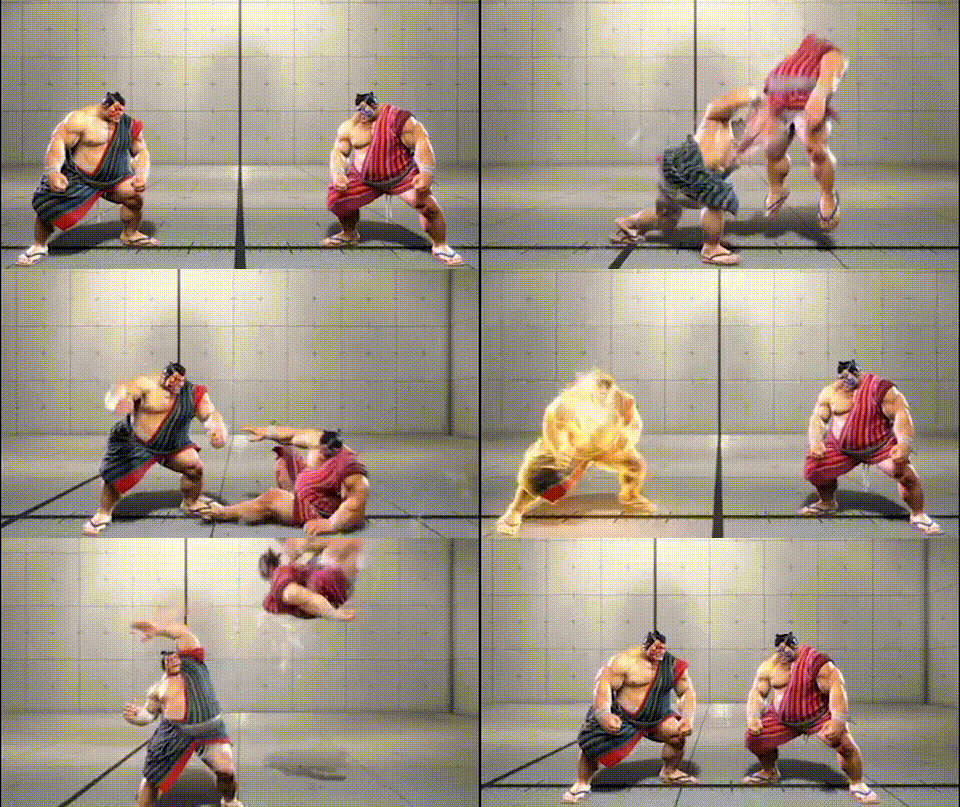
Counter-strategy for Taiho Cannon Lift — punish frames, blocking direction, yomi paths — to be added.
OD 鉄砲(1段目)(相扑步中)
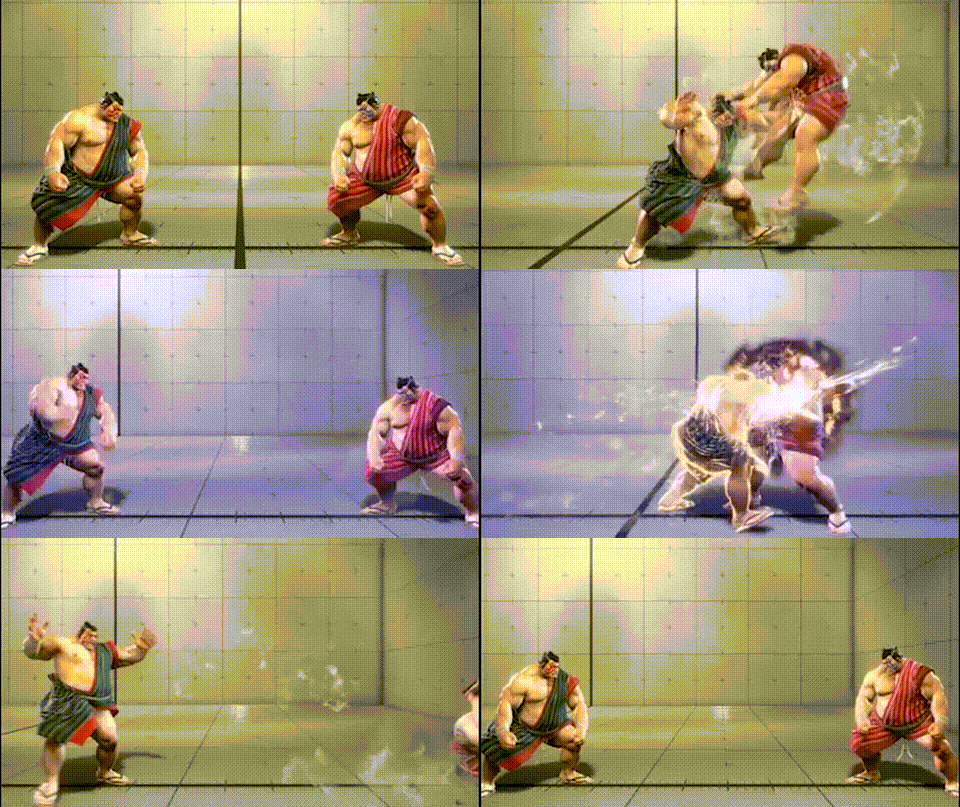
On a blocked 1st hit (-3), reckless mashing is risky and reward is small — block the follow-up instead. If Honda commits to the 2nd hit on block, take the -24 max punish. Against OD 1st hit (+3 on block), do not mash — respect the turn and defend.



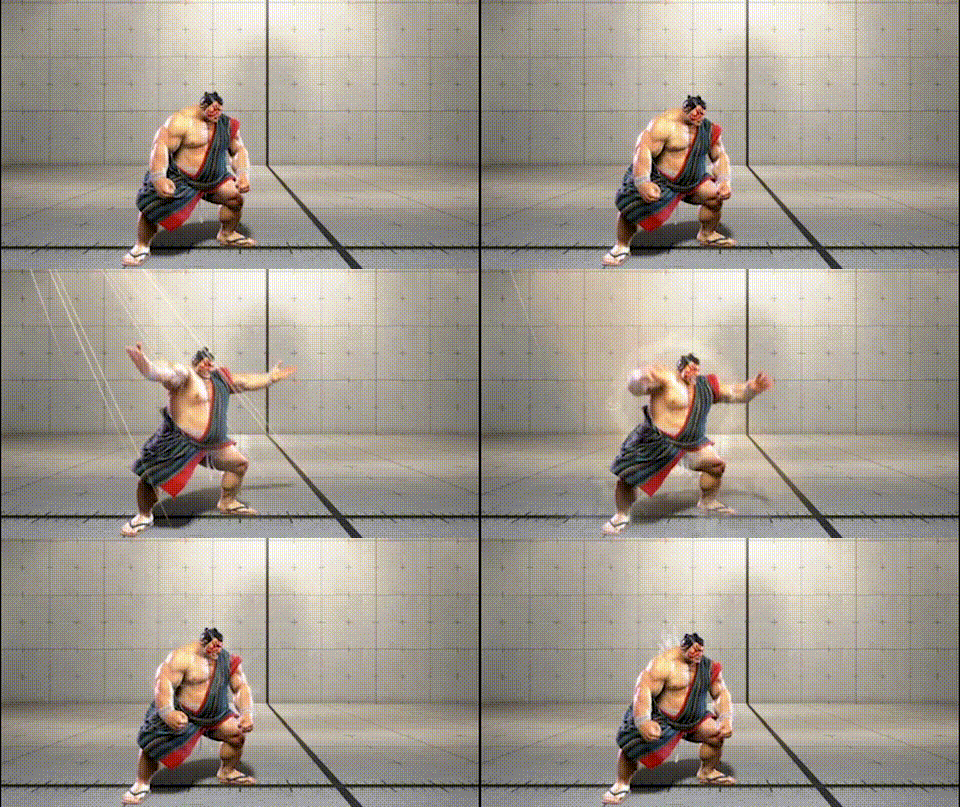
Normal version
- 214HP ([Shoulder Tackle] H Hundred Hand Slap)
- E. Honda is -4 on block
- A 4F move gets a guaranteed punish
Recommended counters
- -4 on block — always punish with a 4F normal
- This move is only available in the Shoulder Tackle stance; track his stance to anticipate it
214K
Sumo Dash is E. Honda's primary mix-up tool with multiple follow-ups.
- 214LK — no follow-up (step only)
- 214MK
- 214HK
- 214KK (OD Sumo Dash)
Available follow-ups:
- Teppo (P) — strike follow-up
- Neko Damashi (K) — command grab follow-up
- Slap (LP+LK) — overhead follow-up
Recommended counters
- When you see Sumo Dash, block and read the follow-up before acting
- After blocking Teppo (strike): Honda is at disadvantage — punish
- Against Neko Damashi (command grab): tech the throw or, if you read it, jump and punish with a full combo
- Against the Slap overhead: stand block

Normal version
- 214LP ([Shoulder Tackle] L Hundred Hand Slap)
- 0 on block — neutral
- No guaranteed punish
Recommended counters
- Neutral on block — no free punish available
- The resulting 50/50 means focus on teching throws and mashing out carefully
- This move is only available in the Shoulder Tackle stance

Normal version
- 214MP ([Shoulder Tackle] M Hundred Hand Slap)
- E. Honda is -4 on block
- A 4F move gets a guaranteed punish
Recommended counters
- -4 on block — always punish with a 4F normal
- Same frame disadvantage as the heavy version (-4)
- This move is only available in the Shoulder Tackle stance
OD version
- 214PP ([Shoulder Tackle] OD Hundred Hand Slap)
- E. Honda is +1 on block
- Do not mash — Honda has frame advantage
Recommended counters
- +1 on block means Honda has the advantage — do not press buttons
- Expect a throw/strike 50/50; focus on teching throws
- This move is only available in the Shoulder Tackle stance

Counter-strategy for Sumo Spirit — punish frames, blocking direction, yomi paths — to be added.
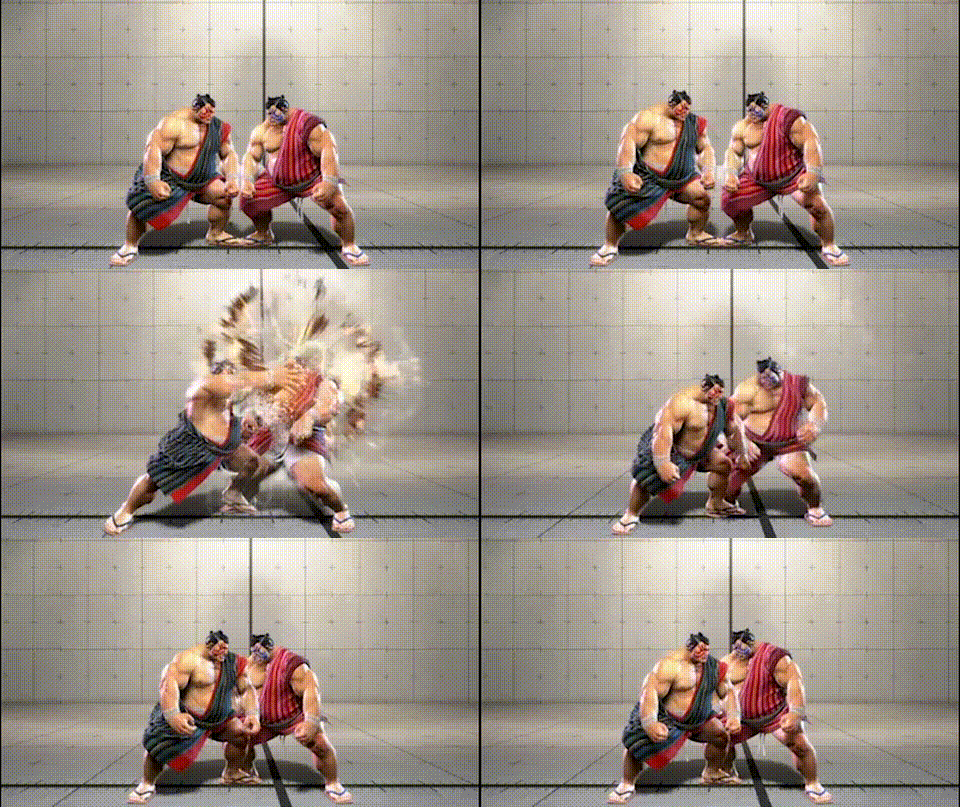
Normal version
- 22P (Neko Damashi)
- E. Honda is -3 on block
- Only a 3F move guarantees a punish
Recommended counters
- -3 on block means only 3F moves punish — poke back with a jab or wait
- Watch for the st.LP → MP target combo → whiffed Neko Damashi string; a throw almost always follows — jump out on the whiff
- Also used to absorb projectiles; adjust your fireball timing accordingly


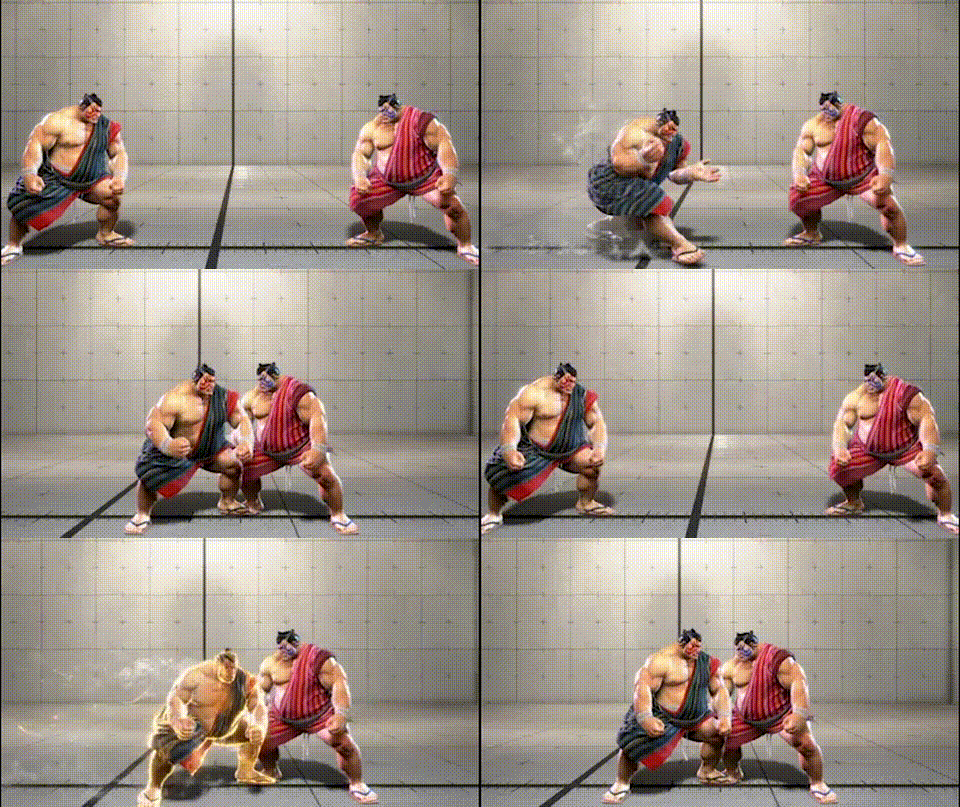
Counter-strategy for Sumo Dash — punish frames, blocking direction, yomi paths — to be added.
236P
Hundred Hand Slap — used at close range to poke or in combos.
- 236LP — Honda is -6 on block
- 236MP — Honda is -8 on block
- 236HP — Honda is -12 on block (longest range)
- 236PP — Honda is -4 on block; follow-up possible on hit
Recommended counters
- Every version is punishable on block
- 236LP is -6 — punish with a medium or better
- 236HP is -12 — launch a heavy-starter combo
- If you blocked at max range, the punish may not reach — forward dash first, then punish
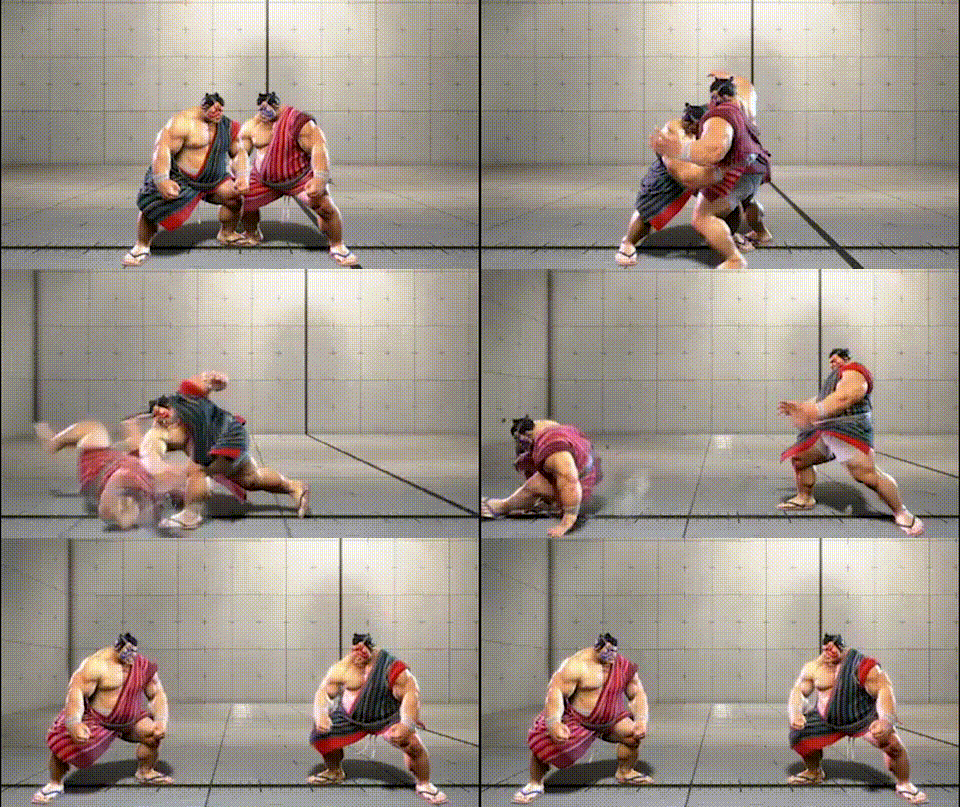
Warning
The back throw leaves Honda in a better position than the forward throw. Rush wake-up pressure is strong — watch Honda's Drive and SA gauges and look for a reversal opportunity. OD reversals may not work in some situations; consider fuzzy jumping or Drive Reversal as alternatives.
63214789P
Oicho Throw (command grab) — one of Honda's most powerful mix-up options.
- 63214789LP — standard startup
- 63214789MP — increased damage
- 63214789HP — high damage
- 63214789PP — OD version
Recommended counters
- To escape a command grab read: neutral jump or back dash
- Neutral jump leads into a full combo punish
- Honda's strength lies in the strike/command-grab 50/50
- Read strike → block; read command grab → jump
- Back dash is a safe default but Honda can chase you down if he reads it
- OD version is faster — jumping is the safest escape
Warning
When Honda corners you, the command grab / strike mix-up becomes extremely dangerous. If you lack an invincible reversal, fuzzy-guard or take the risk and jump your way out. Corner Oicho Throw deals high damage, so avoid getting hit by it repeatedly.

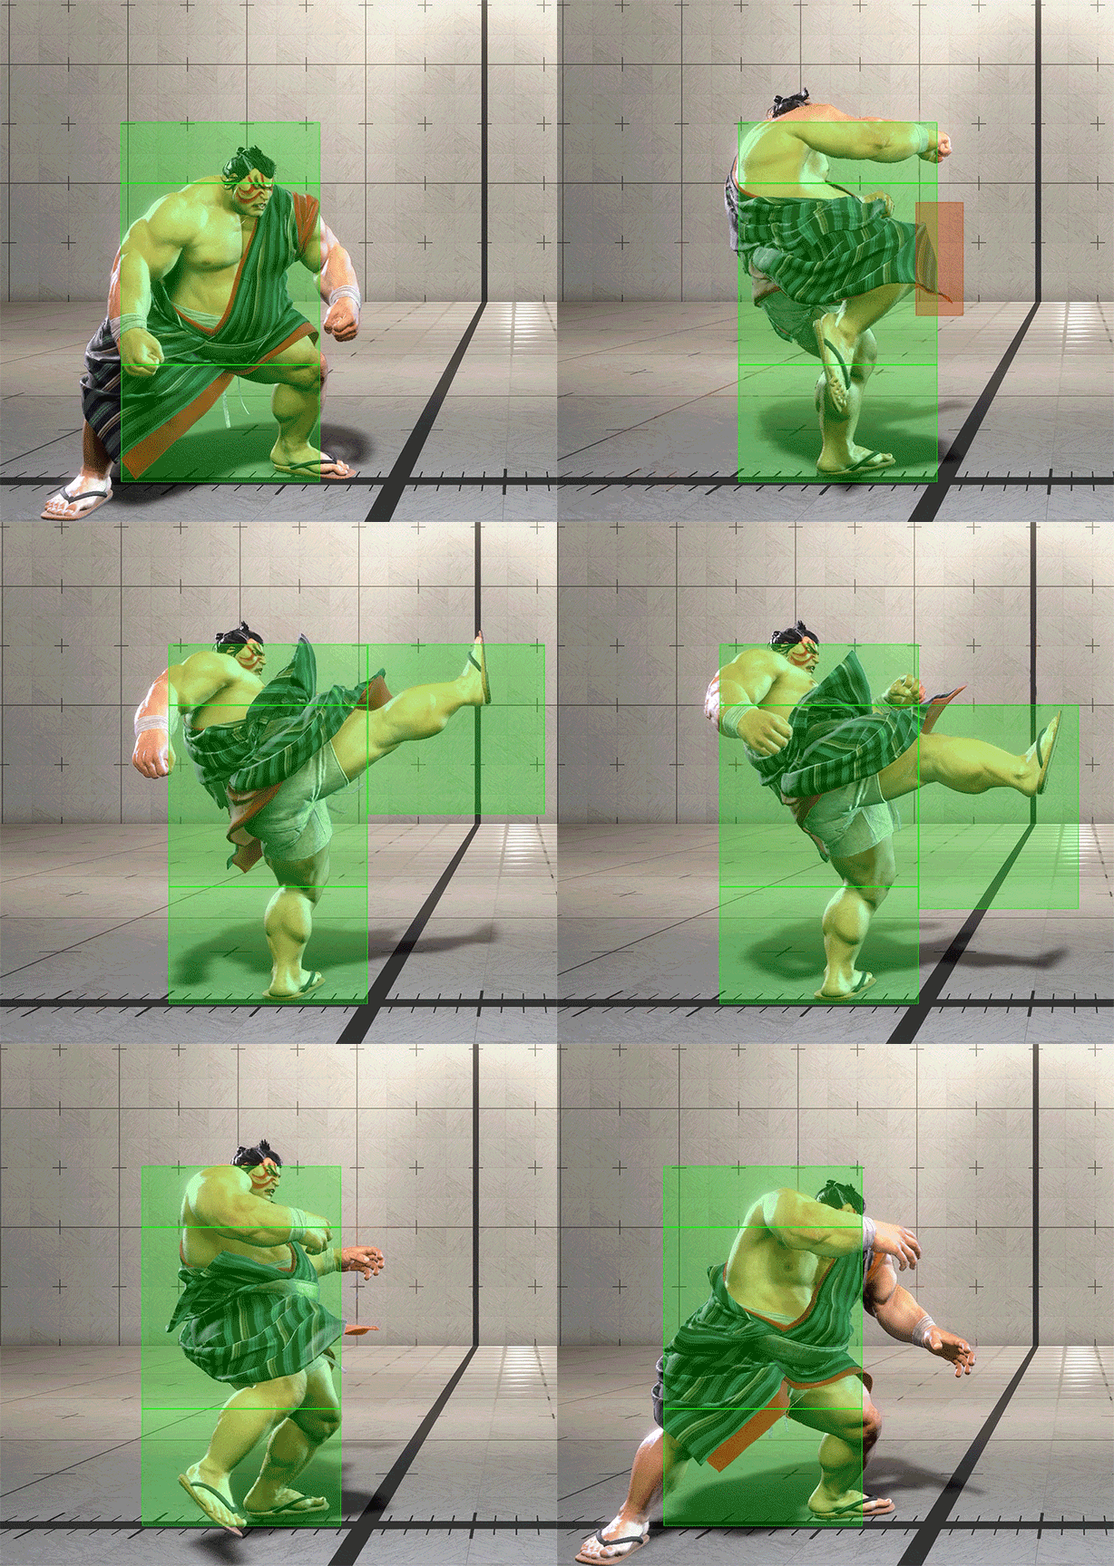
Recommended counters
- +2 on block — do not mash after guarding it
- Honda will often follow with a strike or command grab — be ready to react
- Fighting inside its max range forces Honda to use different tools and makes HK harder to land
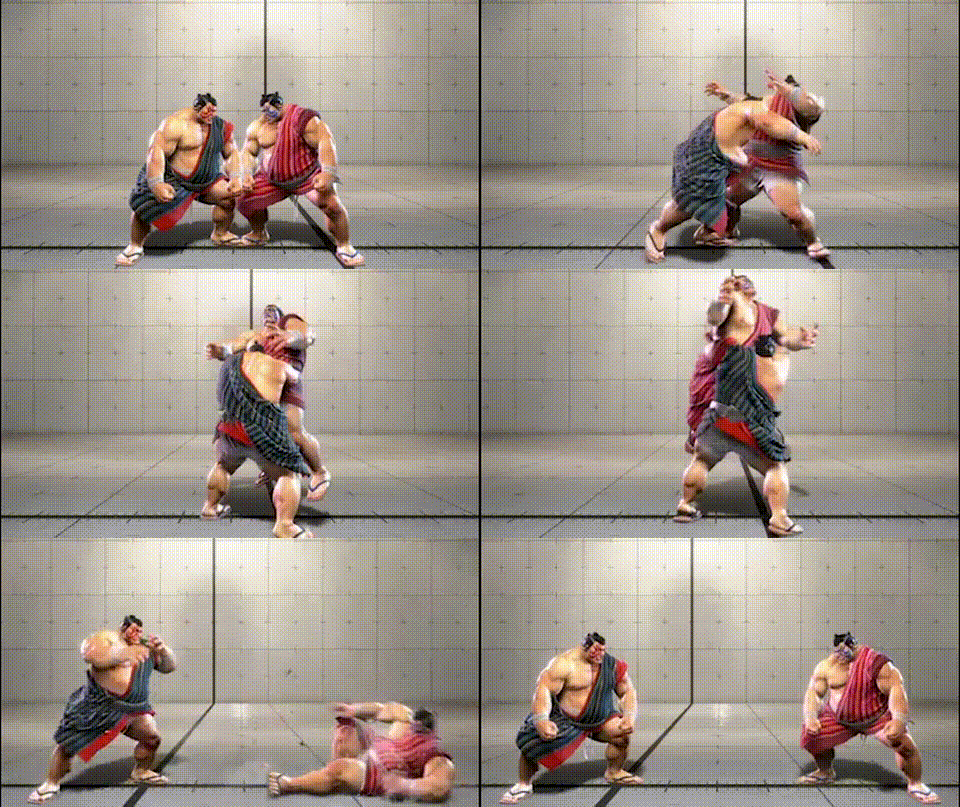
Honda must use Drive Rush to apply wake-up pressure after this throw.
On in-place tech: Drive Rush is visible before Honda acts — activate an OD invincible move the moment you see the flash to beat the meaty.
On back tech, Honda has two main options:
- Drive Rush MP — its reach beats short-range wake-up buttons
- Drive Rush stop → delayed HP — beats attempts to challenge the rush MP with a long-range normal (Punish Counter)
- Walk up and wait
If the above mix-up feels uncomfortable, in-place tech with a focus on Drive Rush confirmation is the easiest defense.
Recommended counters
- In-place tech → confirm Drive Rush → OD reversal is the most reliable answer
- Commit to the OD reversal the moment you see the rush flash
- Without OD reversal:
- In-place tech, confirm Drive Rush, then react accordingly
- If no rush is seen, reset to neutral
- Back tech creates a mix-up, so it is not recommended
- It also costs you screen position
OD相撲ステップ → 鉄砲(1段目)
Blocking OD Sumo Dash into Teppo (1st hit) leaves Honda at +3 — do not press buttons. Use Drive Reversal immediately after blocking; the long input window makes it easy to confirm even when surprised.
Recommended counters
- Drive Reversal is the most reliable answer on block
- At +3, Honda can strike or go for a command grab — the risk of mashing is high
- Drive Reversal has a generous input window, so you can land it reliably even in scramble situations
![[2]](https://content.dood.gg/street-fighter-6/img/common/key-dc.svg)

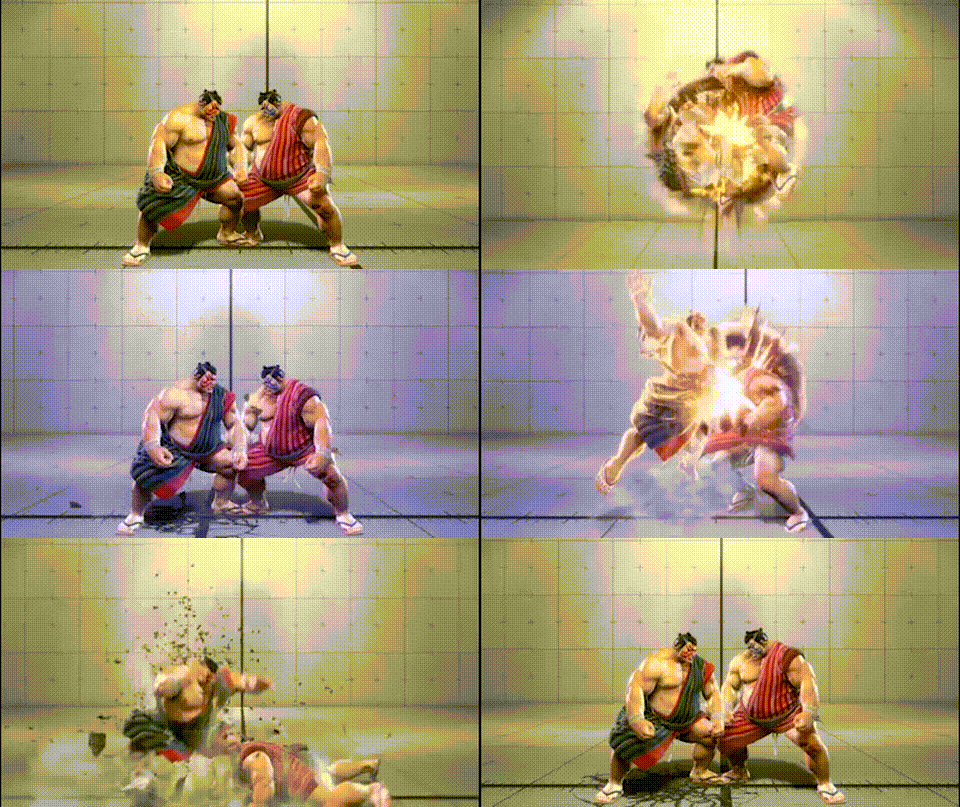
Normal versions
- [2]8LK (L Sumo Smash)
- E. Honda is +1 on block
- Advantaged — do not mash
- [2]8MK (M Sumo Smash)
- E. Honda is +1 on block
- Advantaged — do not mash
- [2]8HK (H Sumo Smash)
- E. Honda is +1 on block
- Advantaged — do not mash
OD version
- [2]8KK (OD Sumo Smash)
- E. Honda is +2 on block
- Advantaged — do not mash
Recommended counters
- All versions leave Honda +1 or +2 on block — pressing buttons is a loss
- Expect a throw/strike 50/50; focus on teching throws
- Anti-airing the jump arc before it lands is also a strong option
[4]6K
Sumo Headbutt — an airborne charge move.
- [4]6LK — short travel distance
- [4]6MK — medium travel distance
- [4]6HK — long range, used as a full-screen surprise attack
- [4]6KK — allows follow-up on hit
Recommended counters
- It has an airborne hitbox, so anti-air moves work — characters with invincible anti-air specials should use them aggressively
- Neutral jump is extremely effective — it leads directly into a full combo punish
- On block Honda is heavily disadvantaged — always punish with a heavy attack or better
- Many Honda players love [4]6HK from fullscreen — read it and anti-air or neutral jump for big damage
Warning
Trying to anti-air [4]6K with a normal move can lose to the hitbox. For a guaranteed knockdown, use an invincible anti-air special or neutral jump.
![[4]](https://content.dood.gg/street-fighter-6/img/common/key-lc.svg)
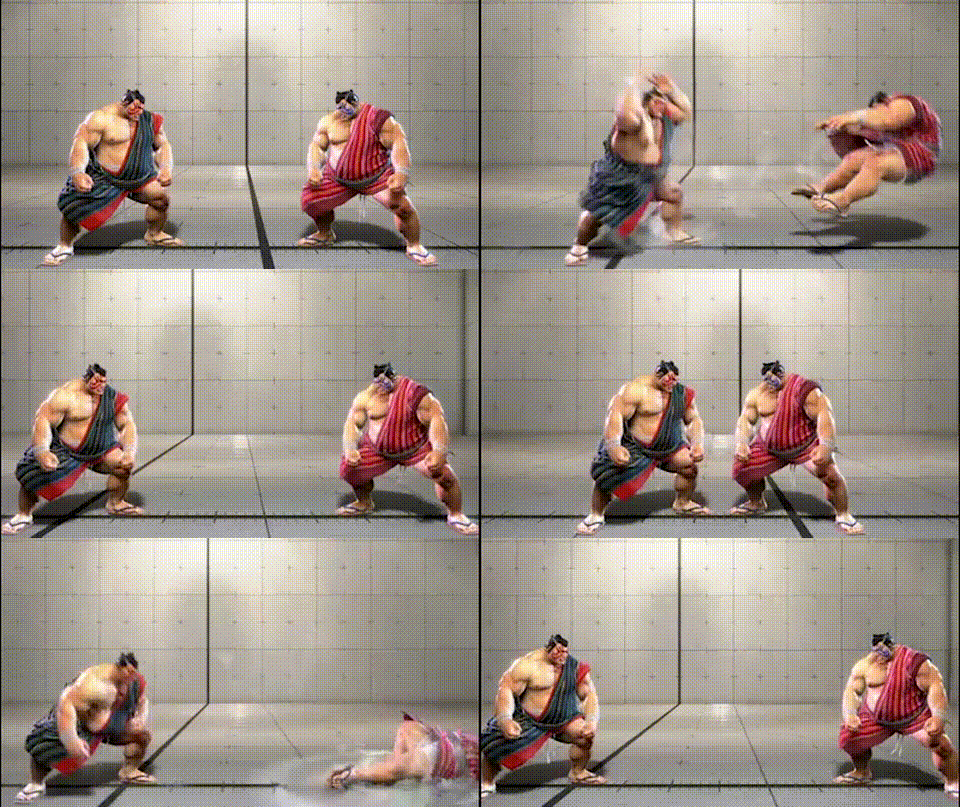
Normal versions
- [4]6LP (L Sumo Headbutt)
- E. Honda is -3 on block
- Only a 3F move gets a guaranteed punish
- [4]6MP (M Sumo Headbutt)
- E. Honda is -3 on block
- Only a 3F move gets a guaranteed punish
- [4]6HP (H Sumo Headbutt)
- E. Honda is -3 on block
- Only a 3F move gets a guaranteed punish
OD version
- [4]6PP (OD Sumo Headbutt)
- E. Honda is -20 on block
- Full combo punish guaranteed
Recommended counters
- L/M/H versions are all -3 on block — only a 3F jab punishes; otherwise wait
- Parrying keeps your Drive Gauge safe, so go for it actively
- OD version is -20 on block — full combo punish
- It has armor but a throw breaks through it; throw-happy Hondas are vulnerable to grabs on wakeup