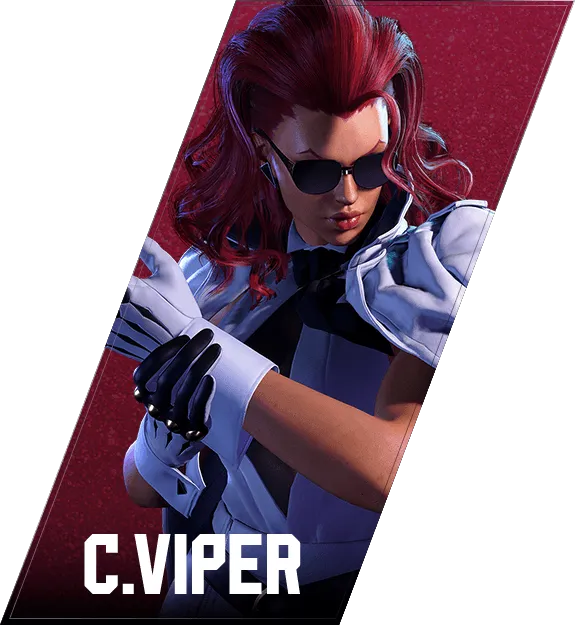

ヴァイパー
C. Viper — 对策
Key Info
- Overhead that combos on late hit:
- 6MP
- Defense
- 214HP: 5F startup, anti-air invincible reversal
- SA1 236236K: 8F startup, no projectile invincibility
- SA2 214214P: 7F startup, projectile invincible
- SA3 214214K: 10F startup, projectile invincible
- Projectile-invincible move:
- 214LP
- Moves that leave C. Viper at advantage on block:
- MP
- 236K→KK
Neutral Game (Focus Points)
- Anti-air consistently
- C. Viper has a weak Drive Rush and approaches with High Jumps and Burning Kick. Committing to anti-air makes her life significantly harder.
- Watch for buffered 623P (Seismic Hammer / feint cancel)
- C. Viper cancels normals into Seismic Hammer (623P) using the feint cancel. After blocking any normal, default to crouch-block to handle the incoming low.
- The embed is -10F on block — punish with a heavy attack.
- Deal with 236K (Burning Kick)
- Burning Kick has aerial properties — use an air-invincible move to knock it out.
- C. Viper is -2F on block; no guaranteed punish on the base move.
- Watch the extensions: KK (Double Burn) leaves her at +2F — do not mash. PP (Chase Knuckle) is heavily negative — punish freely.
- Understand the feint cancel (Thunder Cancel)
- Pressing two punches simultaneously cancels special move recovery.
- After a feint cancel it becomes a strike or throw mixup.
- Use Drive Impact against opponents who over-rely on feint cancels.
- C. Viper has weak defense
- Without Super Art gauge she has no invincible reversal. When you take the offensive turn, press aggressively.
- Target Drive Gauge burnout
- High Jump Cancel consumes Drive Gauge. In long exchanges, baiting out HJC repeatedly can force Burnout.
- Respect 214LP projectile escape
- 214LP passes through fireballs — avoid throwing projectiles at close range.
セービングフォース
Watch the charge timing and adjust reactions per level. Lv1 is blockable on reaction; punish with a -16-class move on block. For Lv2/Lv3, once you see the charge, back off, jump, or use an invincible reversal. Note that Lv3 is only -10 on block, so punish options are limited.
Counter-strategy for Tracer Combination — punish frames, blocking direction, yomi paths — to be added.
ハイジャンプキャンセル
- When you see C. Viper jump from a special move cancel, immediately look for anti-air. Routes like Seismic Hammer → HJC → Burning Kick can be interrupted with a well-timed anti-air.
- HJC mix-ups from the air (overhead/low/left-right) are difficult to react to — use Parry to reduce damage taken when unsure.
- HJC consumes Drive Gauge. In longer exchanges, denying C. Viper easy HJC setups can lead to Burnout.
- During SA1 install, HJC is free — avoid reckless offense and wait out the install timer when possible.
フェイント
Counter-strategy for Feint — punish frames, blocking direction, yomi paths — to be added.
Counter-strategy for Aerial Burning Kick — punish frames, blocking direction, yomi paths — to be added.
起き攻め時
C. Viper's reversal options on wake-up:
- 214HP
- 5F startup
- A 6F safe jump beats it
- SA1 236236K
- 8F startup
- A 9F-or-slower move safe jumps it
- SA2 214214P
- 7F startup, projectile invincible
- An 8F-or-slower move safe jumps it
- SA3 214214K
- 10F startup, projectile invincible
- Drive Reversal
- Universal system mechanic
Recommended approach
- 214HP has 5F startup — use a 6F safe jump to block the reversal while landing a meaty strike.
- If SA2 gauge is stocked — use an 8F-or-slower meaty to beat the 7F startup.
- If SA1 gauge is stocked — use a 9F-or-slower meaty to beat the 8F startup. Note: SA1 on hit puts C. Viper in install state with greatly increased damage output.
- When C. Viper has no gauge — standard meaty timing is sufficient; mix strike and throw to maintain pressure.



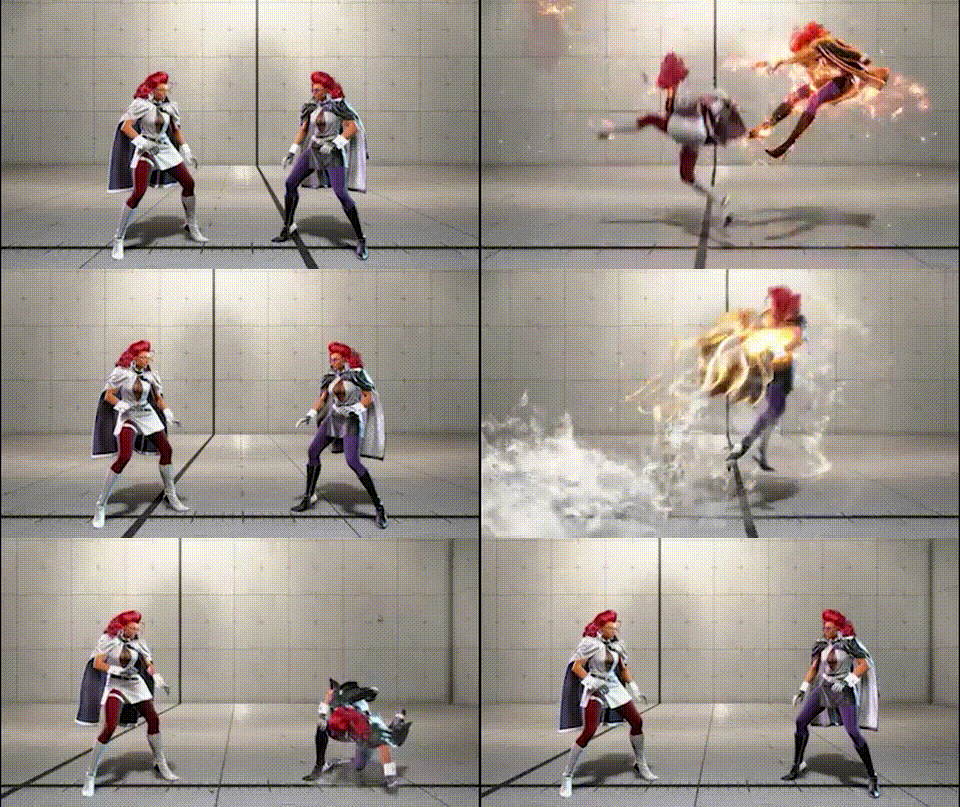
Normal version
- 236LK (Light Burning Kick)
- C.Viper is -2F on block
- 236MK (Medium Burning Kick)
- C.Viper is -2F on block
- 236HK (Heavy Burning Kick)
- C.Viper is -2F on block
Follow-up moves
- 236K→KK (Double Burn)
- C.Viper is +2F on block
- 236K→PP (Knuckled Pursuit)
- C.Viper is -15F on block
OD version
- 236KK (OD Burning Kick)
- C.Viper is -4F on block
Recommended counters
All normal strengths of Burning Kick are -2F on block — slightly disadvantaged but not directly punishable. OD version is -4F, also hard to punish; hold block and watch for the follow-up. The real threat is the Double Burn (→KK) extension at +2F on block — do not mash after blocking it. Knuckled Pursuit (→PP) is heavily unsafe at -15F, so punish it with a heavy normal or better whenever you see it.


- 236K→KK (Double Burn)
- C.Viper is +2F on block
Recommended counters
Double Burn leaves C.Viper at +2F on block — do not mash after guarding it. C.Viper retains frame advantage and can continue with strikes or a throw. Hold your guard and wait for your turn. Using Drive Impact to stuff the follow-up or landing a Just Parry on the Burning Kick are the most effective counters.

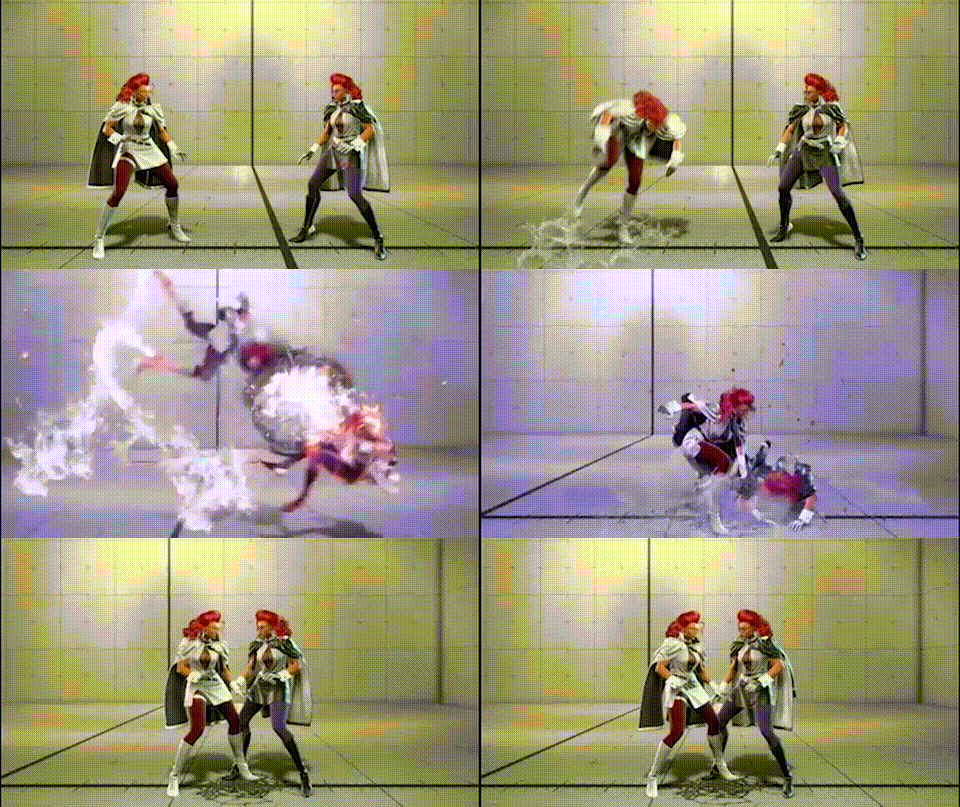
- 236K→PP (Knuckled Pursuit)
- C.Viper is -15F on block
Recommended counters
Knuckled Pursuit is -15F on block — punishable by any 5–6F move confirms into a full combo. C.Viper typically lands this when she fails to confirm the Burning Kick hit, so always be ready to punish after blocking the initial kick. A heavy normal starter will get you maximum damage.




- Back throw leaves C. Viper with slightly less pressure potential than forward throw — take the opportunity to reset neutral if possible.
- On in-place recovery, confirm Drive Rush and respond with an OD reversal or Super Art.
- Staying calm and watching for feint cancel follow-ups is the most reliable approach.
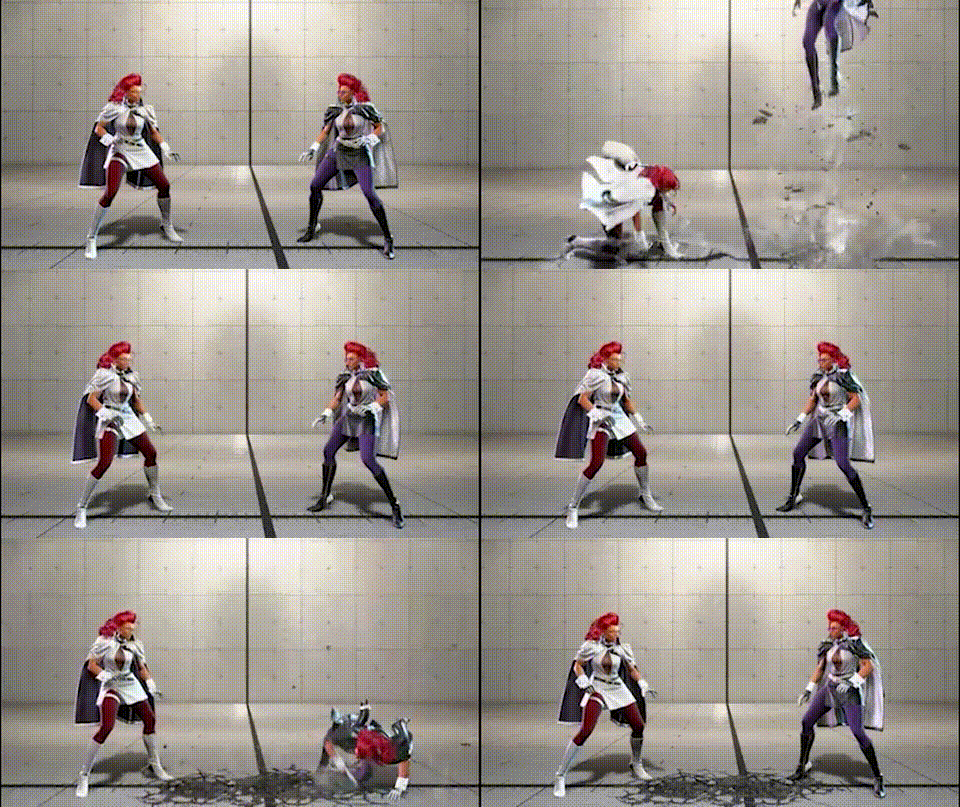
Normal version
- 623LP (Light Seismic Hammer)
- C.Viper is -10F on block
- 623MP (Medium Seismic Hammer)
- C.Viper is -10F on block
- 623HP (Heavy Seismic Hammer)
- C.Viper is -10F on block
- 623P (Seismic Hammer)
- C.Viper is -10F on block
OD version
- 623PP (OD Seismic Hammer)
- C.Viper is -8F on block
Recommended counters
All normal strengths of Seismic Hammer are -10F on block — punishable by any 5–6F move confirms into a full combo. The OD version is slightly less unsafe at -8F but is still punishable with a 5–6F normal. Crouch-block the low-hitting wave and immediately retaliate. Since C.Viper often embeds Seismic Hammer deep in pressure strings, always be ready to crouch-block after any blocked normal — then punish with a heavy starter.
前方ステップ
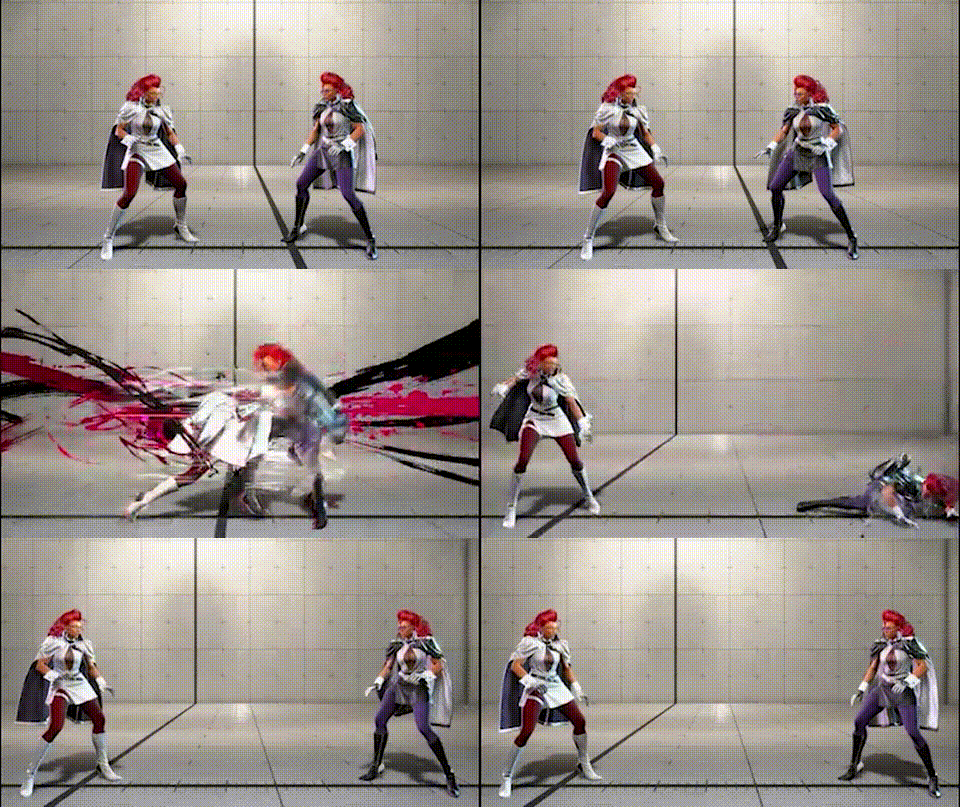
Counter-strategy for Forward Dash — punish frames, blocking direction, yomi paths — to be added.

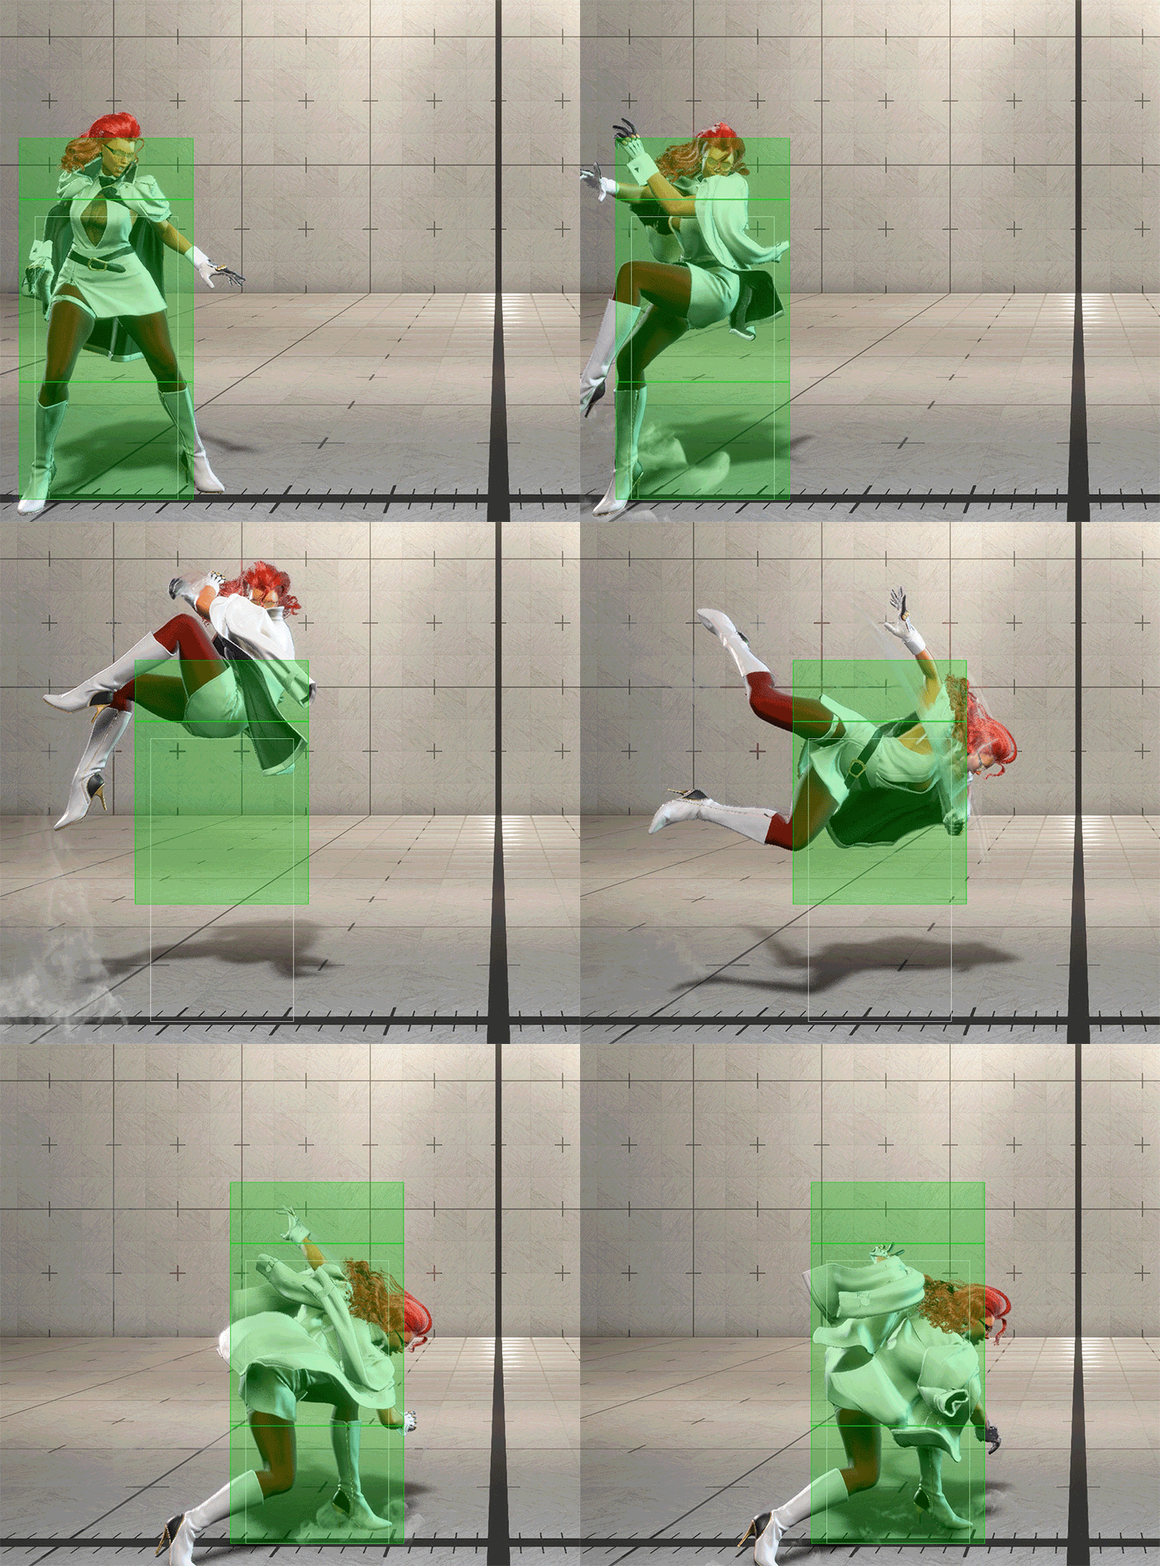
- Startup is relatively slow — you can react and stand block on reaction.
- After blocking, C. Viper is at disadvantage — punish immediately.
- Predominantly used during okizeme and blockstrings, so be alert for it after knockdowns.
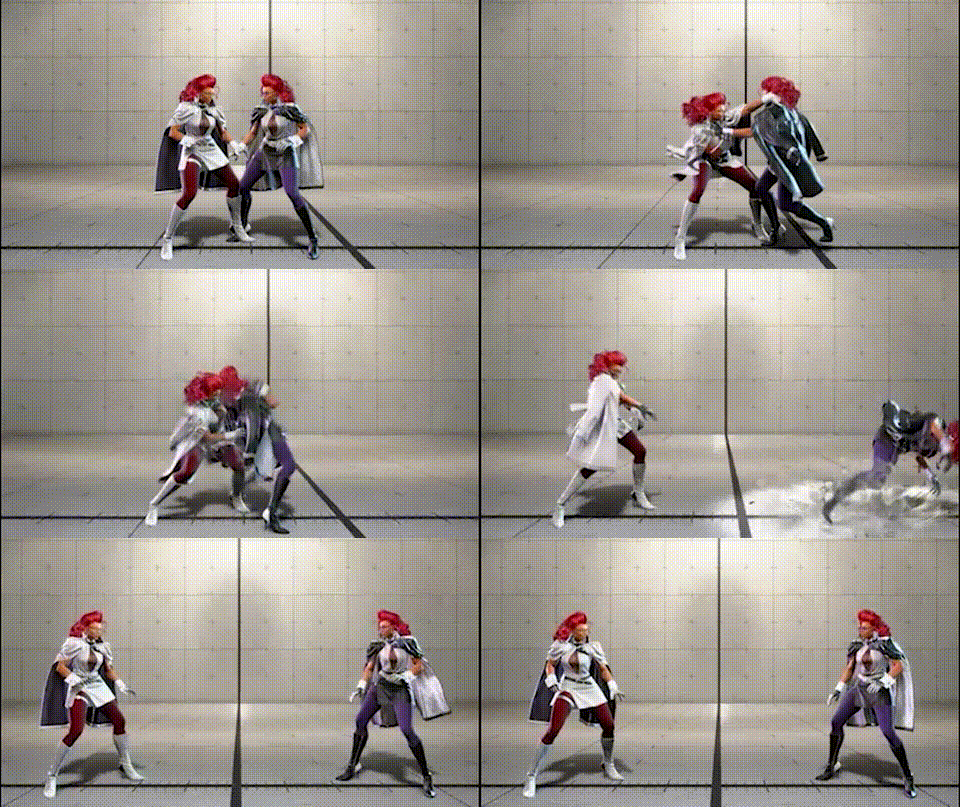
- On neutral recovery: If C. Viper uses Drive Rush, confirm it and respond with an OD reversal or Super Art.
- If C. Viper does not Drive Rush, feint cancel follow-ups are likely — be ready for the next mix-up.
- Back-ukemi increases the distance, making it harder for C. Viper to maintain pressure but costs stage position.
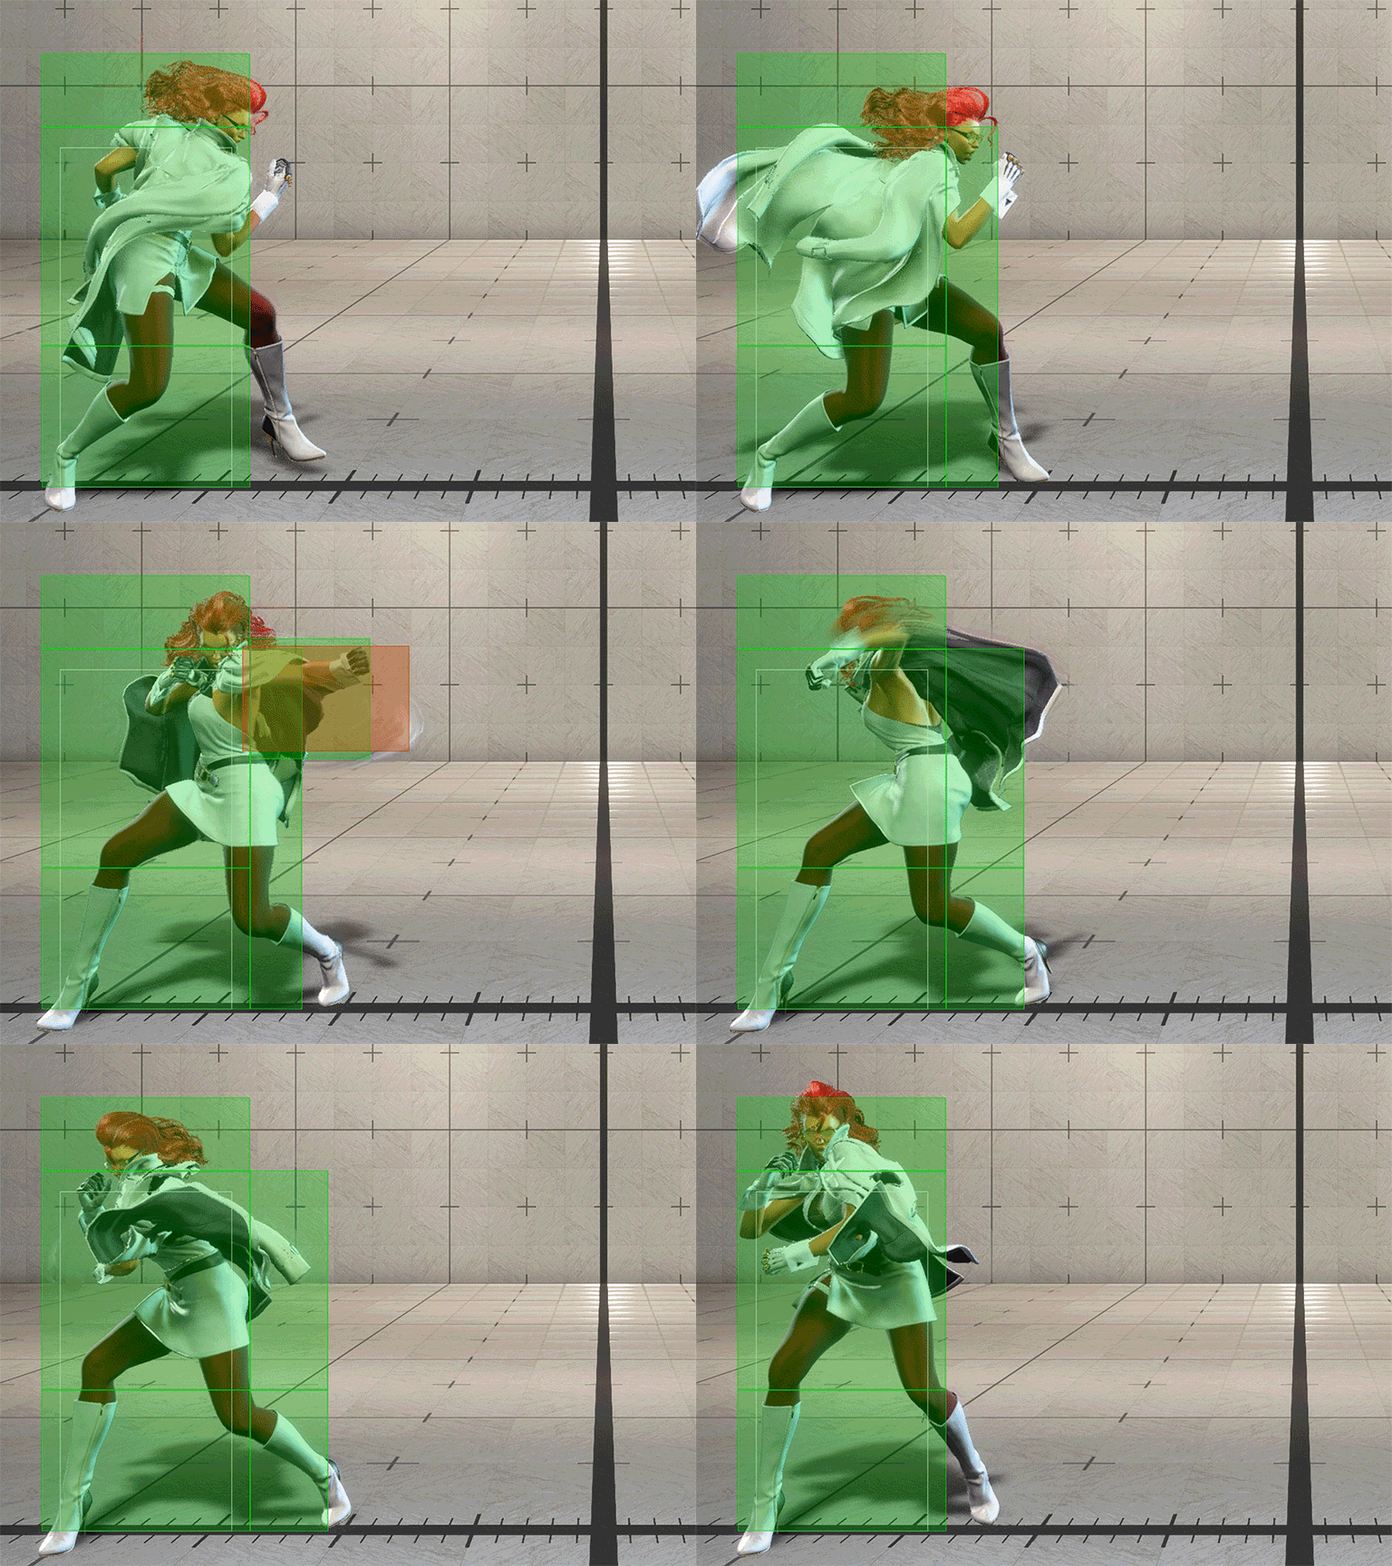
- On block, MP leaves C. Viper at advantage — do not press buttons.
- Expect the following options after blocking MP: Seismic Hammer (623P) embed (crouch-block), throw (tech it), or feint cancel (watch for the next action).
- Consistently crouch-blocking after MP is the safest default response.