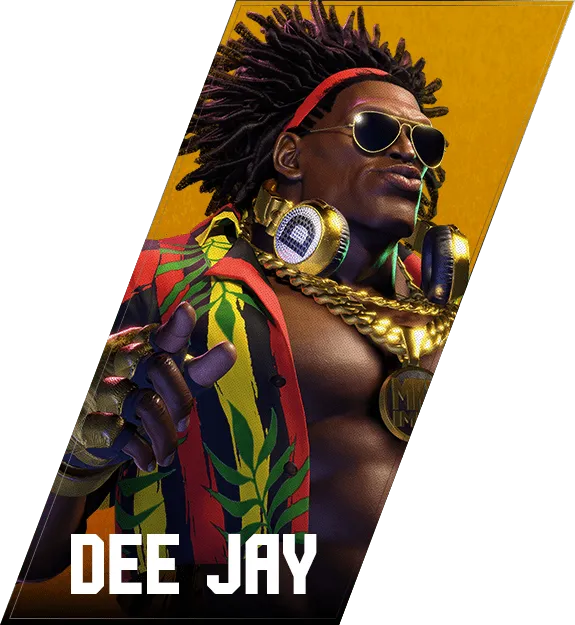

ディージェイ
DJ — 对策
Key Info
- No overhead from normals
- Defense
- OD invincible (6F startup): [2]8KK (Jack Knife Maximum OD)
- If you play Luke or Kimberly, avoid Drive Rush after a throw — they can reversal out
- Anti-air invincible (5F startup): [2]8HK (Jack Knife Maximum HK)
- SA1 236236K: 7F startup, no invincibility
- SA2 236236HP: 12F startup, projectile-invincible
- SA3 214214P: 9F startup, projectile-invincible
- OD invincible (6F startup): [2]8KK (Jack Knife Maximum OD)
- Moves that are plus on block:
- MP
- 6MK
- [4]6PP (Air Slasher OD)
Neutral Game (Focus Points)
- Keep low attacks in mind
- Dee Jay lacks a cancel Drive Rush from lows, but 2MK scores a knockdown. Guard low carefully once you enter 2MK range.
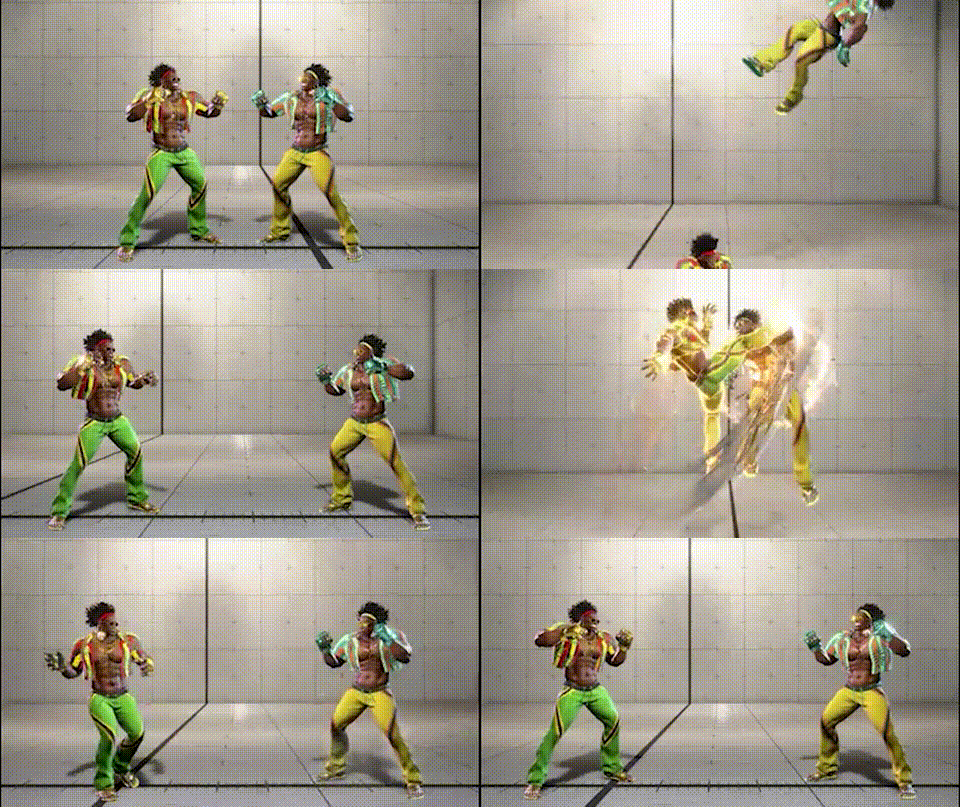
- When knocked down, take in-place wakeup instead of back wakeup — this removes Dee Jay's walk shimmy after a Drive Rush.
- Dee Jay can still punish throw-tech attempts with 214K, so answer with Drive Impact or neutral jump.
- Avoid reckless jump-ins
- Jack Knife Maximum ([2]8K) requires a down-charge — do not jump at a crouching Dee Jay.
- Even without charge, 2HK and back-HK anti-airs deal solid reward.
- When cornered
- Dee Jay's 2MK and 2HP are excellent tools when he is crouching.
- He can threaten Jack Knife Maximum while poking — consider whiff punishing or Drive Impact instead of jumping.
- Deal with 214K (Jouscoule)
- Pressing buttons gets clipped by 214K. Replace counter-poke attempts with raw Drive Rush or forward jump to put pressure on Dee Jay instead.
- Understand the mixup after forward throw and Quick Rolling Sobat (236MK)
- Both situations leave Dee Jay at +34F after knockdown.
- The core choice every time is whether to take in-place or back wakeup.
- Default to in-place wakeup and watch for Drive Rush.
- Characters with a wide-reaching invincible move (8F or faster startup) can punish Drive Rush on back wakeup too (e.g., Blanka SA1, Luke SA1).
- If Dee Jay's SA2 is stocked, use OD reversal — super flash counter is a risk.
- Watch for raw Drive Rush
- Allocate attention to spotting raw Drive Rush. When you do, stop it at close range.
- Use more Drive Impact and forward jumps
- Drive Impact replaces the counter-poke role in neutral.
- Forward jump replaces unsafe poke responses.
- Knee Shot (j.2LK)
- Devoting too much attention here causes other things to fall apart.
- Aim for Just Parry.
- Drive Rush
- Hard to stop if you are not watching. Do not force the stop if you are not watching.
- Stop it at close range. At long range, 214K or Quick Rolling Sobat (236MK) can punish your response.
- At long range, do not try to stop even if you see it.
- If 214K and 236MK are frequent, consider Drive Impact or neutral jump instead.
- Parry is a valid option.
- After confirming raw Drive Rush, the fastest meaty is very likely to Just Parry — go for it.
Knee Shot(前跳中)

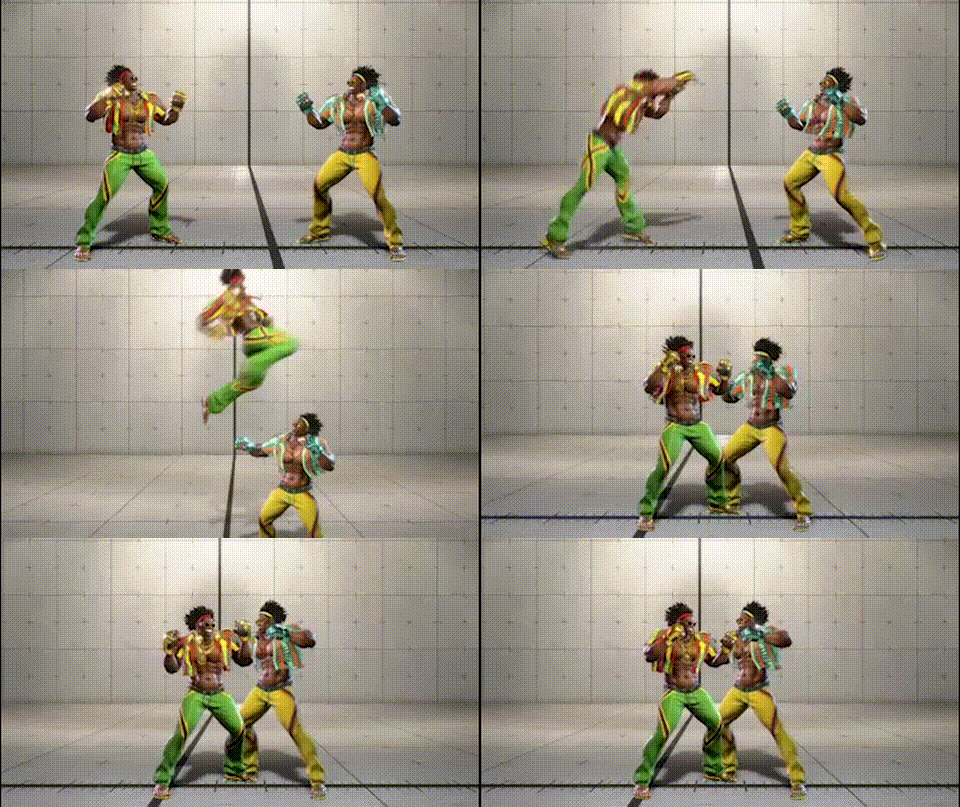
A low-altitude aerial movement change that thrusts a knee forward.
- Can be anti-aired if you are watching for it, but is difficult to deal with if you are not.
- Characters with high-reward anti-air normals can look for the Knee Shot.
- Otherwise, don't overextend — just parry.
Recommended counters
- Don't overdo it — if you see the Knee Shot, parry
- Spending attention on this leaves other things unchecked




Jus Cool (214K) cancels from normals and uses follow-ups to punish your buttons. The keys are: don't reflex-mash, recognize the follow-up, and hold block all the way through Funky Slicer.
Recommended counters
General mindset against 214K
- Dee Jay can fire 214K from many situations — memorising every one is impractical
- Read the moments where 214K feels likely and respect them
A bad mash example:
When you read 214K
- Instead of reflex-mashing into his block, mix in raw drive rush or forward jump as your answer
214KK follow-ups combo on hit — confirm the OD version and defend accordingly.
- 214KK→LK: Confirm 214KK and crouch-block to protect against the low follow-up
- 214KK→MK: Prepare to parry — hits on hit become full combos
- 214KK→HK: Combo extension; watch for the overhead risk
214KK → MK punish (large-body characters only)
214KK → MK is an overhead, normally -3 on block — but on large-body characters it's -4, which means a guaranteed punish. Most Dee Jays don't know this; it's worth telling your friends.
Affected characters: JP / Sagat / Marisa / Zangief.



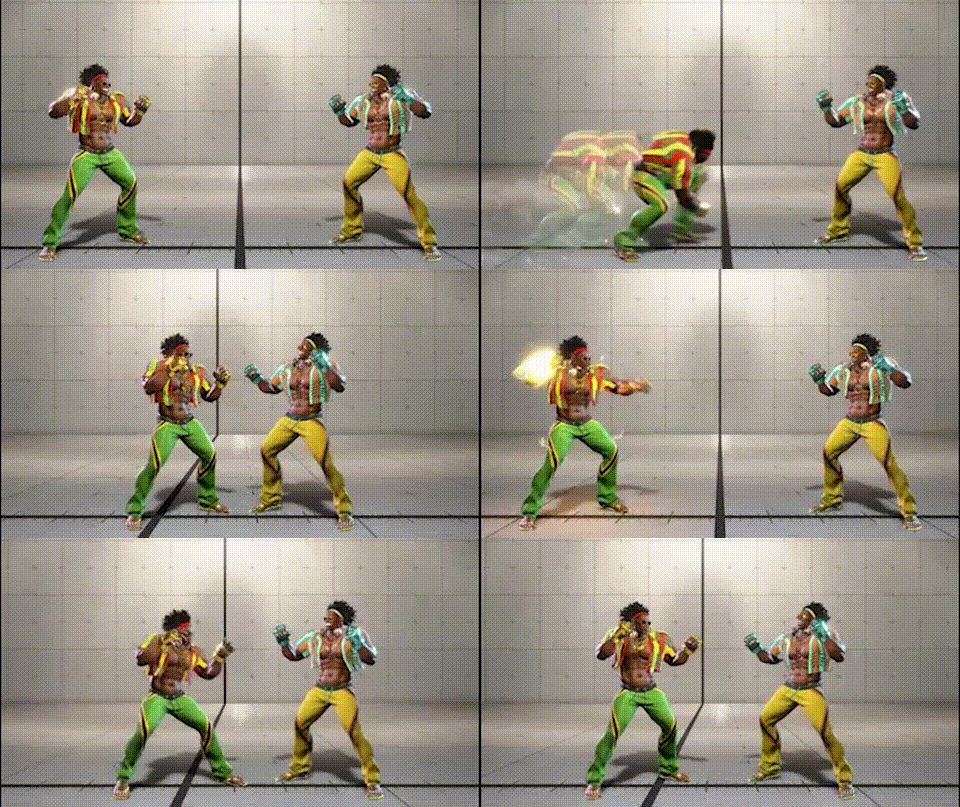
Counter-strategy for Juggling Dash — punish frames, blocking direction, yomi paths — to be added.
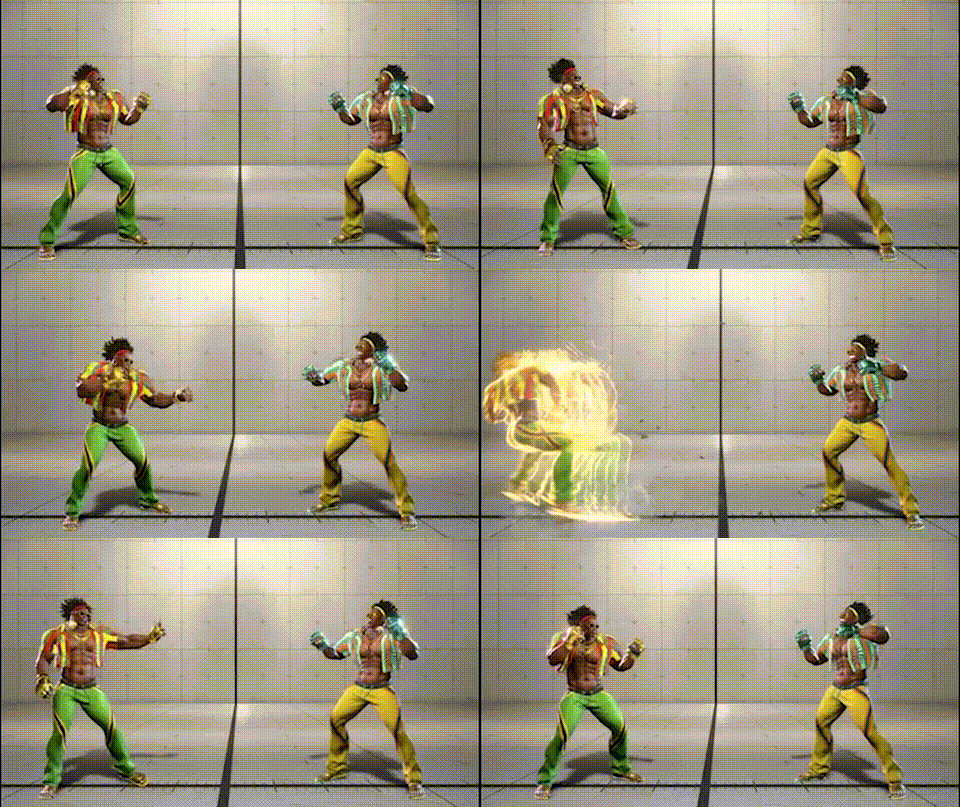
Counter-strategy for Juggling Sway — punish frames, blocking direction, yomi paths — to be added.

Normal version
- 214K→HK (Maximum Strike)
- Dee Jay is -10F on block
- Heavy attack punish confirmed
OD version
- 214KK→HK (OD Maximum Strike)
- Dee Jay is -8F on block
- Heavy attack punish confirmed
Recommended counters
214K → HK is the hardest follow-up for Dee Jay to execute off Jus Cool. It functions as his answer to forward jumps against Jus Cool, so avoid jumping recklessly. When you read Jus Cool, raw drive rush is a better option than jumping — it guarantees a punish against 214K → HK.

214K → LK (Funky Slicer) is most often canceled from a normal that has big push-back on block. The simple answer is: hold block through the whole string and take the +3 throw/strike mix-up afterwards.
Recommended counters
Default plan
- Don't mash. Block through to Funky Slicer, then beat his +3 mix-up with throw / mid button
- Against players who only fire Funky Slicer on reaction, block the parent string then raw drive rush or neutral jump
- Reflex-mashing 214K itself loses to 214K → LK — better to read 214K is coming and pre-empt with raw drive rush / forward jump
A bad mash example:
Pre-empting 214K


214K → MK is a mid that leaves Dee Jay +1 standing block / +2 crouching block. It punishes mashing AND keeps his pressure rolling, so expect to see it often.
Recommended counters
Default plan
- Like Funky Slicer, mashing into block loses; pre-empt 214K with raw drive rush or forward jump when you read it
- Reaction Drive Impact is risky — you can be punished if the read is even slightly late
- Reaction just-parry is the strongest answer. Fuzzy parry can lose to the 214K → 6P throw follow-up, so confirm visually if you can
A bad mash example:
214KK → MK punish (large-body characters only)
214KK → MK is normally -3 on block, but on large-body characters it's -4 — guaranteed punish. Most Dee Jay players don't know this.
Affected characters: JP / Sagat / Marisa / Zangief.


Normal version
- 236HK (Double Rolling Sobat)
- Dee Jay is -10F on block
- You will be at point-blank range — always confirm into a heavy combo
OD version
- 236KK (OD Double Rolling Sobat)
- Dee Jay is -2F on block
- No reliable punish available
Recommended counters
236HK on block at close range leaves Dee Jay at -10F — confirm into a heavy attack combo. The OD version (236KK) is only -2F so no punish is available. This move is mainly used as a combo ender, so prepare for oki after the knockdown.
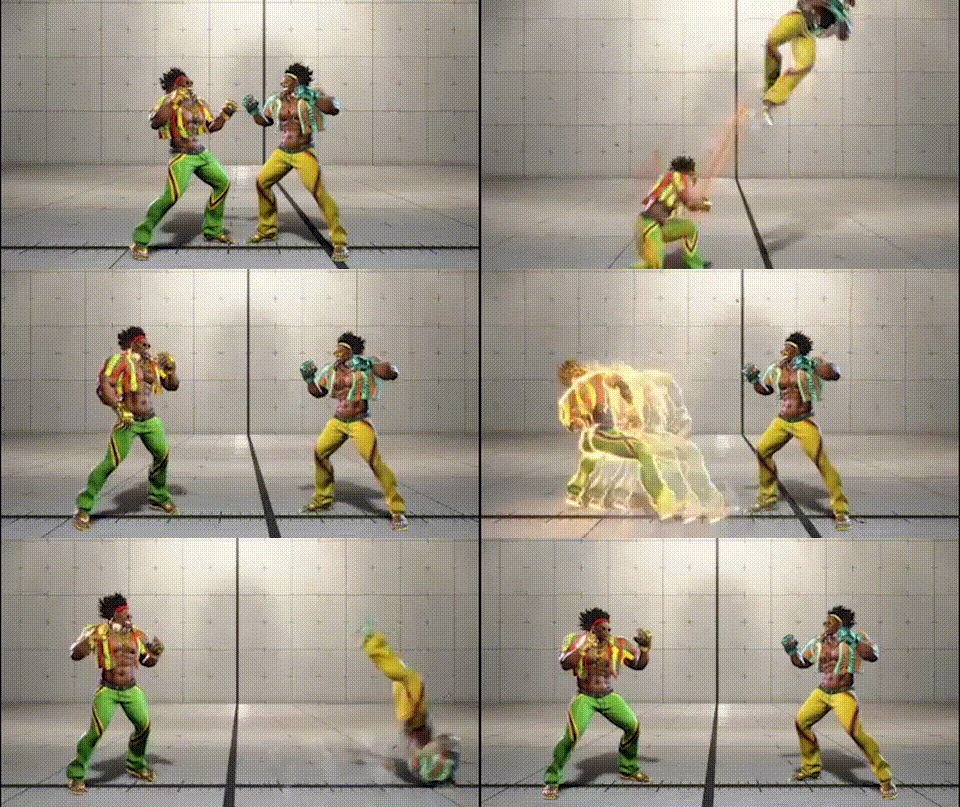
- 236LK
- Used as a feint or for frame consumption after a 4HK anti-air
- 236MK (Quick Rolling Sobat)
- Dee Jay is -6F on block — one of his safest pokes
- Punish with a move that reaches at that range
- 236HK (Double Rolling Sobat)
- Dee Jay is -10F on block
- You will be at point-blank — always confirm into a heavy attack combo
- 236KK (OD Double Rolling Sobat)
- Dee Jay is -2F on block — no reliable punish
Recommended counters
After 236MK hits you
- On hit it knocks down and leaves Dee Jay at +34F (essentially the same as a forward throw)
- Dee Jay's standard route is forward dash → drive rush oki
- On quick-rise, an OD invincible reversal is guaranteed (no room for a 214K feint to dodge it)
- On back-rise, OD invincibles are not guaranteed (Dee Jay can 214K-feint past them)
Check your character's SA startup here: Meaty search tool
Without an OD reversal
- Quick-rise instead
- Dee Jay's dash → drive rush loses access to walking shimmy from quick-rise, so weight delay-tech heavily
- If Dee Jay starts hunting your tech, expect drive rush → Jus Cool to whiff your throw
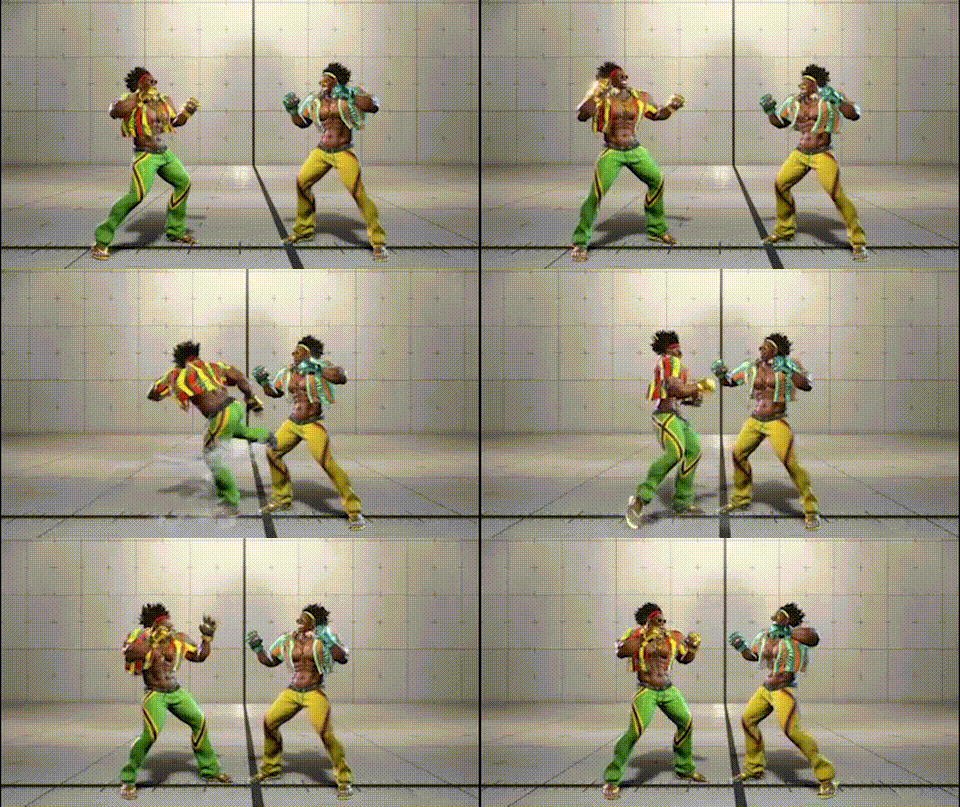
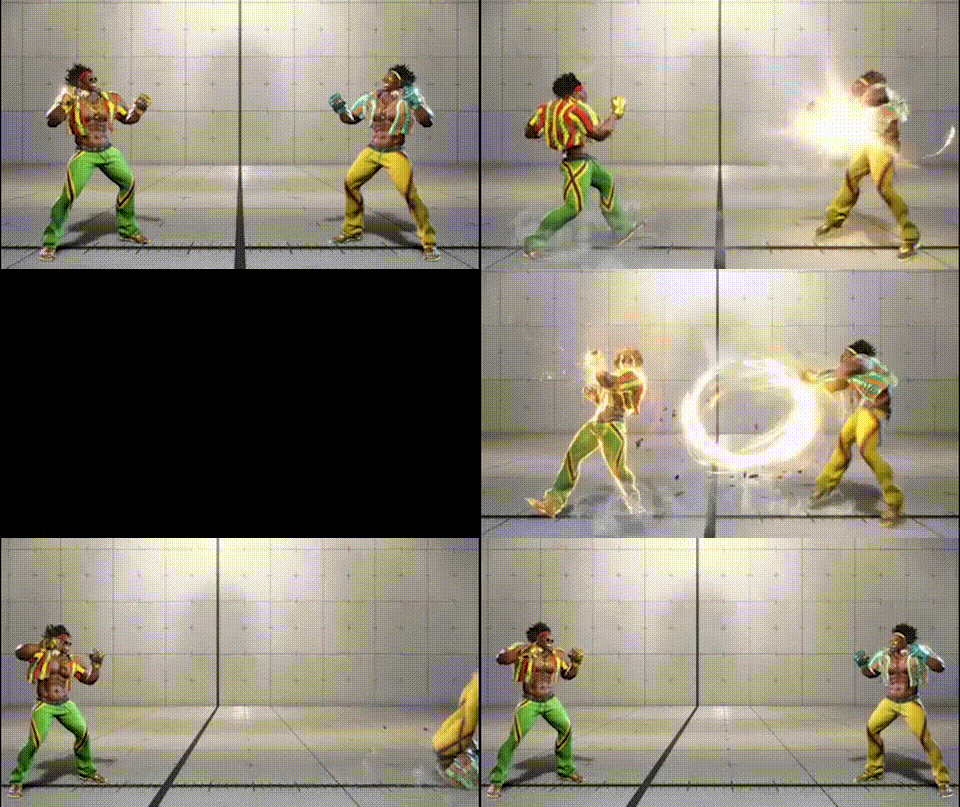
Once Dee Jay leans on the above options, fuzzy → HP is the winning read. The clip below records two options: rush → MP and rush → 214K → LK.
You don't need to plan for an anti-air during drive rush — Dee Jay can't neutral jump out of it.
Counter-strategy for Roll Through Feint — punish frames, blocking direction, yomi paths — to be added.

236MK is one of Dee Jay's safest pokes — -6 on block, no easy punish from most ranges. The real danger is the oki on hit.
Recommended counters
After 236MK hits you
- On hit it knocks down and leaves Dee Jay at +34F (essentially the same as a forward throw)
- Dee Jay's standard route is forward dash → drive rush oki
- On quick-rise, an OD invincible reversal is guaranteed (no room for a 214K feint to dodge it)
- On back-rise, OD invincibles are not guaranteed (Dee Jay can 214K-feint past them)
Check your character's SA startup here: Meaty search tool
Without an OD reversal
- Quick-rise instead
- Dee Jay's dash → drive rush loses access to walking shimmy from quick-rise, so weight delay-tech heavily
- If Dee Jay starts hunting your tech, expect "drive rush → Jus Cool" to whiff your throw
Yomi against the rush mix-up
Once Dee Jay leans on these options, fuzzy → HP wins. The clip below records "rush → MP" and "rush → 214K → LK":
You don't have to plan for an anti-air during drive rush — Dee Jay can't neutral jump out of it.
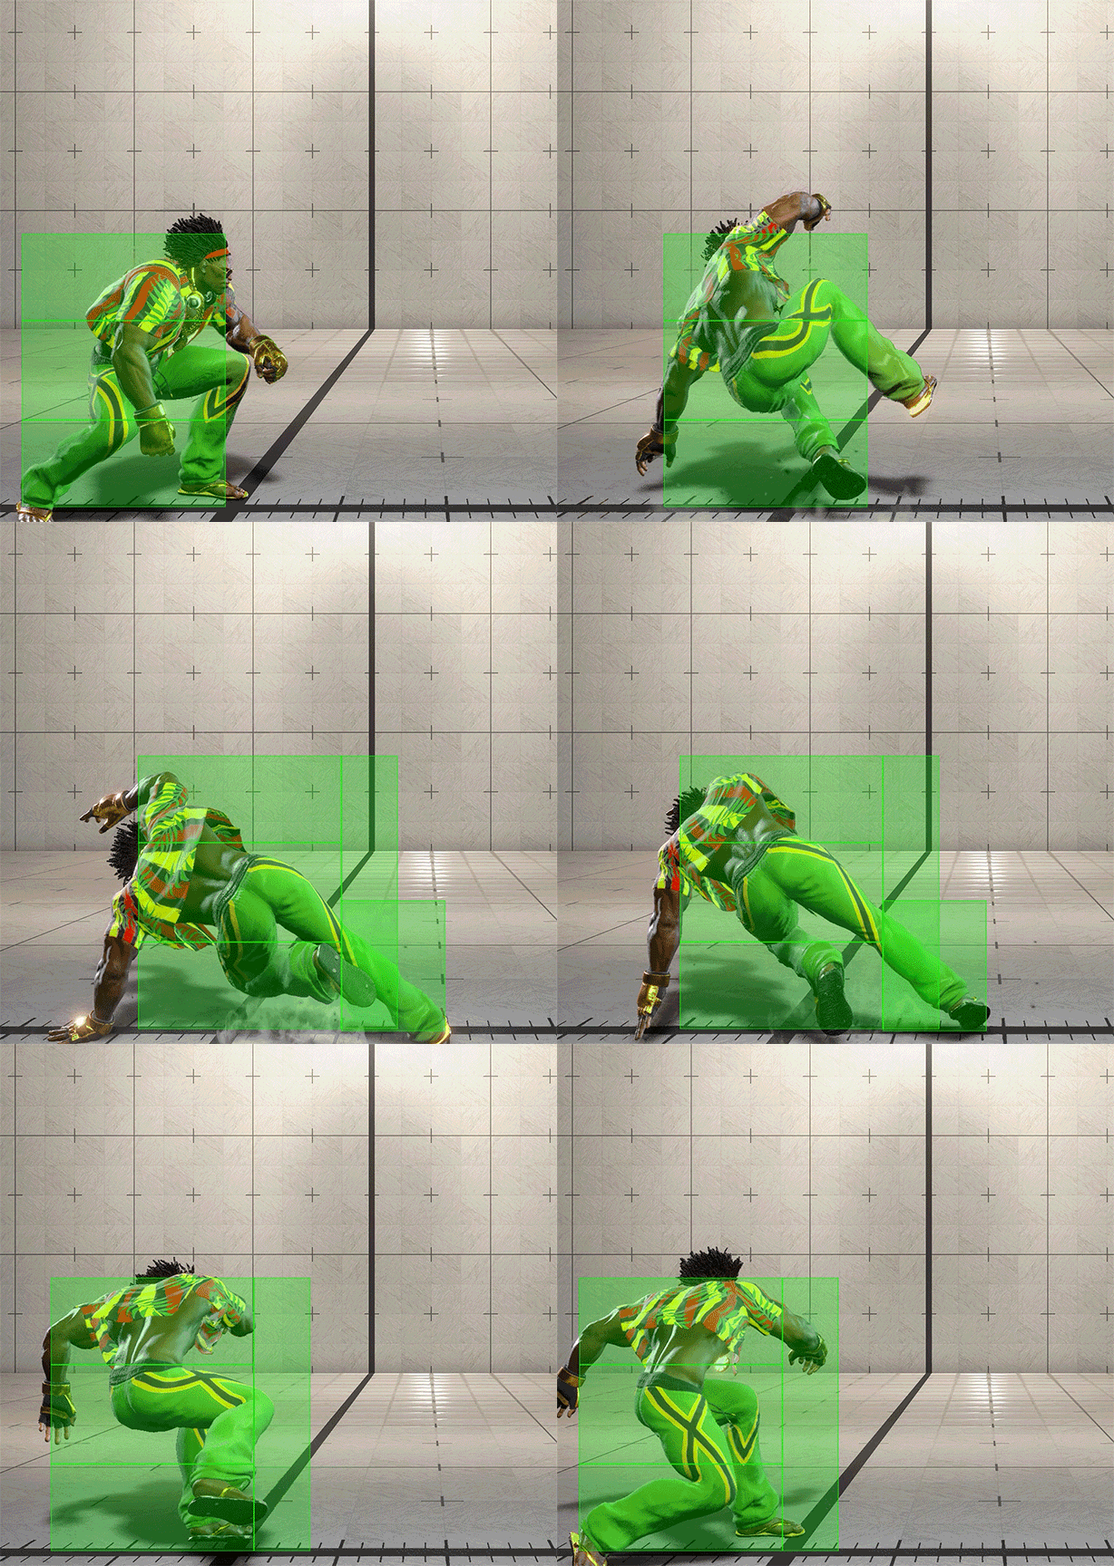
A mid kick that causes knockdown. The post-knockdown situation is very favourable for Dee Jay and the move has long range.
Avoid getting hit by this in neutral if at all possible.
Recommended counters
- 2MK tip hit
- Wake-up pressure Drive Rush
- Shimmy is possible in this oki situation
- Wake-up pressure forward step
- Dee Jay is at +10F
- Back-rise → back-walk lets you whiff his throw
- Wake-up pressure Drive Rush
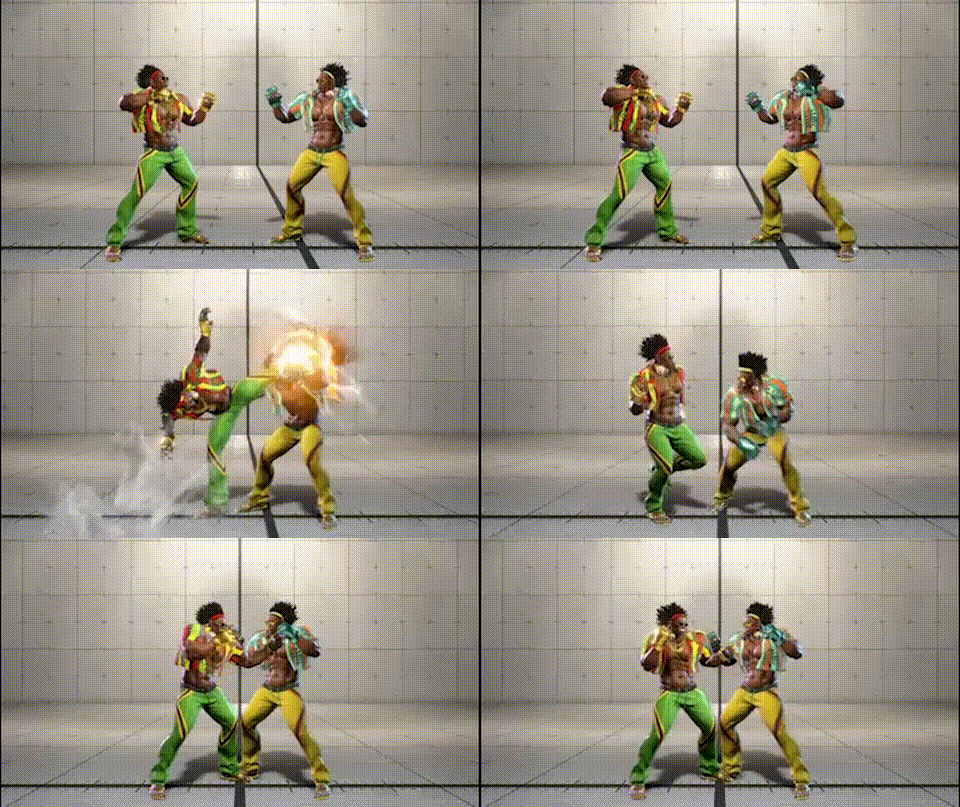
A normal that leaves Dee Jay +1F on standing block. Mainly used in wake-up pressure and as a poke.
Recommended counters
Standing block leaves Dee Jay at +1F, but crouching block allows the active frames to connect for +2F. Stand block to keep it at the +1F mix-up instead.


+34F after the throw. Dee Jay will often dash forward and then choose whether or not to use Drive Rush for wake-up pressure. Whether you take a quick-rise or a back-rise creates different decision branches.
- On quick-rise
- Dee Jay can apply wake-up pressure with a forward dash + micro-walk
- If Dee Jay uses Drive Rush, an OD invincible reversal is guaranteed
- On back-rise
- Dee Jay can dodge your OD invincible with a 214K feint against your Drive Rush
- If Dee Jay does not Drive Rush, no oki follows
- Dash → Drive Rush → LP is a safe jump (meaty)
- 9F SA / Drive Reversal becomes a safe jump (reversal is beaten)
- The basic rule: if Drive Rush is used against a quick-rise, respond with an invincible move that starts in 8F or fewer
- Against SA: dark-flash cancel is possible, so do not use your SA if Dee Jay has 2 or more SA bars
- Note: Dee Jay has invincibility from SA2 onwards
Recommended counters
- Characters with an OD invincible reversal
- Take quick-rise
- Confirm Dee Jay's dash → Drive Rush → use OD invincible
- Characters with an SA invincible reversal
- Take back-rise
- Confirm Dee Jay's dash → Drive Rush → use SA invincible
- Characters with an SA that starts in 8F or fewer with long range can also hit him through a Jus Cool whiff, so back-rise → confirm Drive Rush → SA1 is guaranteed
- Examples: Luke SA1, Blanka SA1
Check your character's SA startup here: Meaty search tool
- Characters without an invincible reversal
- Taking quick-rise prevents Dee Jay from using walking shimmy
- Note: 214K shimmy remains an option
- Include delay tech and fuzzy HP in your options
- Taking quick-rise prevents Dee Jay from using walking shimmy
Warning
Not taking a back-rise allows Dee Jay to apply wake-up pressure without using Drive Rush
Taking a back-rise and throwing out an OD invincible against Dee Jay's Drive Rush loses to his Jus Cool feint
- When using SA invincible counter-strategy, always use one that starts in 8F or fewer
- This is because Dee Jay's Drive Rush → LP is an 8F safe jump (meaty)
Check your character's SA startup here: Meaty search tool



DJ's target combo that lets him run a mind game with the 3rd-hit follow-up.
Mashing carelessly in the corner gets you hit for big damage.
If you don't mash, he can simply throw you.
Recommended counters
Input a throw at the timing where you would block MP→MP→HP.
Against MP→MP→HP it becomes a block,
and against MP→MP stopped short, your delayed throw tech is very likely to connect.
![[2]](https://content.dood.gg/street-fighter-6/img/common/key-dc.svg)

[2]8K is Dee Jay's anti-air. He needs a down charge to fire it, so the rule is: only jump when he's in a stand state.
Recommended counters
Before you jump
- He needs a down charge — only jump when he's standing
- Characters whose crossup hitbox comes from directly above (Juri, A.K.I., etc.) are extremely hard to anti-air with [2]8K because the charge gets broken on the neutral
- Use crossup mix-ups in the corner against him
Punish chart on block
- M [2]8K (-32): some casts have SA-tier punishes
- H [2]8K (-44): max combo on every character
- OD [2]8K (-55): full SA3 punishes — take the round
![[4]](https://content.dood.gg/street-fighter-6/img/common/key-lc.svg)
Air Slasher's strengths fill different roles: feint ([4]6LP), neutral check ([4]6MP/HP), and combo-extending [4]6PP.
Recommended counters
Against [4]6PP (OD)
- If you block it, watch for Dee Jay's drive rush and reversal with an invincible
- Block from too far and the rush becomes a true block-string — walk forward and block close instead
- In the corner, blocking it leaves Dee Jay plus
Punishing [4]6HP after a mid-screen throw
- Some Dee Jays throw a [4]6HP after a mid-screen throw to recover Drive gauge
- Characters with a projectile-piercing tool can react: quick-rise → confirm the audio cue → projectile-pierce
The clip below shows quick-rising, hearing the [4]6HP voice line, and triggering SA2:
When firing the SA, press Parry instead — it eliminates input misfires.