
JP
JP — 对策
Key Info
- Overhead that leads to combos on hit
- 6MK
- 236MK
- Defense
- OD parry available: 22KK
- Not projectile-invincible
- 236236P startup 8F, 1F invincible
- 214214P startup 29F, no invincibility
- Hits in order: high / overhead / low / overhead
- Only need to stand for the 2nd and 4th hits
- 236236K startup 18F
- SA2 Ravushka (214214P)
- Placement SA that lets J.P. move freely during activation
- OD parry available: 22KK
- Moves that are plus on block
- HK
- +2F
- 236HP
- +4F
- 236PP
- +2F
- 22LPMP
- +3F
- 22LPHP
- +3F
- 22MPHP
- +3F
- 236KK
- +25F
- HK
Neutral Game (Focus Points)
- Stay conscious of walking forward
- J.P. wants to play at long range, so walking in on him is essential
- Always walk forward after blocking a projectile
- Walking back hands him his preferred spacing
- Dealing with 22P (Trigraf placement)
- When you see the placement, walk forward or jump in
- If placed at long range, walk-guard your way in
- If placed at close range, engage the guessing game
- Dealing with 236K (Torbalran)
- Most strengths are punishable on block
- Only 236KK gives J.P. +25F on block — watch out
- Dealing with 236P (Stribog)
- 236HP (heavy) is +4F on block, 236PP (OD) is +2F — do not mash
- Light and medium versions are punishable on block
- Dealing with 214P (Veehat)
- The moment you see the placement motion, Rush in and attack
- The full animation is 50F — long enough to react
- Dealing with HK
- J.P. is +2F on block — do not mash
- Be conscious of not fighting at HK range
- Dealing with OD parry (22KK)
- 22KK counters every attack including throws
- It has no projectile invincibility — use fireballs to break it
- Hit once with a light attack to trigger the parry, then throw
- Waiting and letting it whiff is also a valid option
Normal versions
- 236LP (Light Stribog)
- J.P. is -10F on block
- 236MP (Medium Stribog)
- J.P. is -8F on block
- 236HP (Heavy Stribog)
- J.P. is +4F on block
OD version
- 236PP (OD Stribog)
- J.P. is +2F on block
Recommended counters
- Light Stribog (236LP) is -10F — punishable with any 5–6F confirm
- Medium Stribog (236MP) is -8F — punishable with a 5–6F confirm
- Heavy Stribog (236HP) is +4F — do not mash; J.P. is at advantage
- OD Stribog (236PP) is +2F — do not mash; hold block and read the follow-up
画面端の対処
Tips for escaping when JP has you pinned in the corner.
Recommended counters
- JP's corner offense is potent — his 22P placement combined with normals and 236K is especially dangerous; 236KK on block puts you at -25F (his advantage)
- Use Drive Reversal to break out when JP's pressure creates an opening
- OD reversal or Super Art to escape when JP is disadvantaged after a blocked move; always confirm a punish when he makes a mistake
- Jump over Stribog (236P) — its projectile is slow enough to jump over and swap sides
起き攻め時
Key points when attempting wake-up pressure on JP.
- 22KK (OD Amnesia) — covers high, mid, and low; also catches throws; poke once to trigger it, then throw, or wait for the whiff
- SA1 Chornobog (236236P) — 8F startup, 1F invincibility; safe-jump with a 9F or slower jump attack
- SA2 Lovushka (214214P) — 29F startup, no invincibility; react and block on sight; hit sequence is high–mid–low–mid, so only stand for the 2nd and 4th hits
- SA3 Interdiction (236236K) — 18F startup
- SA2 Lovushka places a puppet that acts independently while JP moves freely — stay calm and track both characters
Recommended counters
- Against frequent OD Amnesia (22KK): throws will be caught; poke with a light button to burn the parry, then immediately throw; doing nothing and waiting for the whiff is also safe
- When SA1 (Chornobog) is stocked: 8F startup with 1F invincibility — use a 9F safe-jump to beat it
- When SA2 activates: slow 29F startup means you can block on reaction; only stand-block on the 2nd and 4th hits (mid), crouch the rest
- When you expect Amnesia: normal Amnesia is beaten cleanly by throw; OD Amnesia requires poke-then-throw or whiff-wait
飛び方
JP's ground-based pokes are strong, making a straight ground game unfavorable. Drive Rush approaches are also contested by his 2MP. Jumping is essential — identify which anti-air JP is relying on.
Recommended counters
JP's anti-air options:
- 6HK anti-air — high reward but requires JP to be watching for the jump; if this is his go-to, raw Drive Rush becomes more viable since his attention is split
- 2HP anti-air — lower reward but can be done reactively without focusing on the jump; if this is his go-to, raw Drive Rush is less likely to be free; its horizontal hitbox is weaker, so empty jumps and cross-ups are effective
- Standing HP as a pre-emptive anti-air — JP's answer to empty jumps outside of 6HK; placing Drive Impact beats everything except cancel Drive Rush, making it very effective
Departure: Shadow(维哈特设置中)



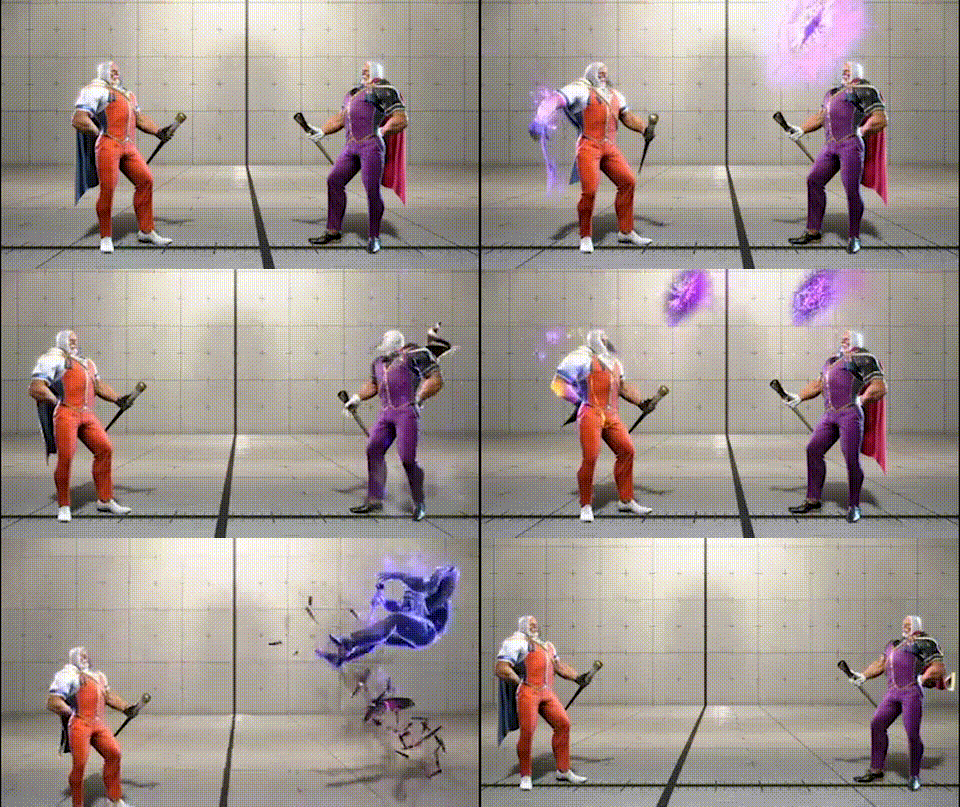
Counter-strategy for Departure: Shadow — punish frames, blocking direction, yomi paths — to be added.
Departure: Window(维哈特设置中)
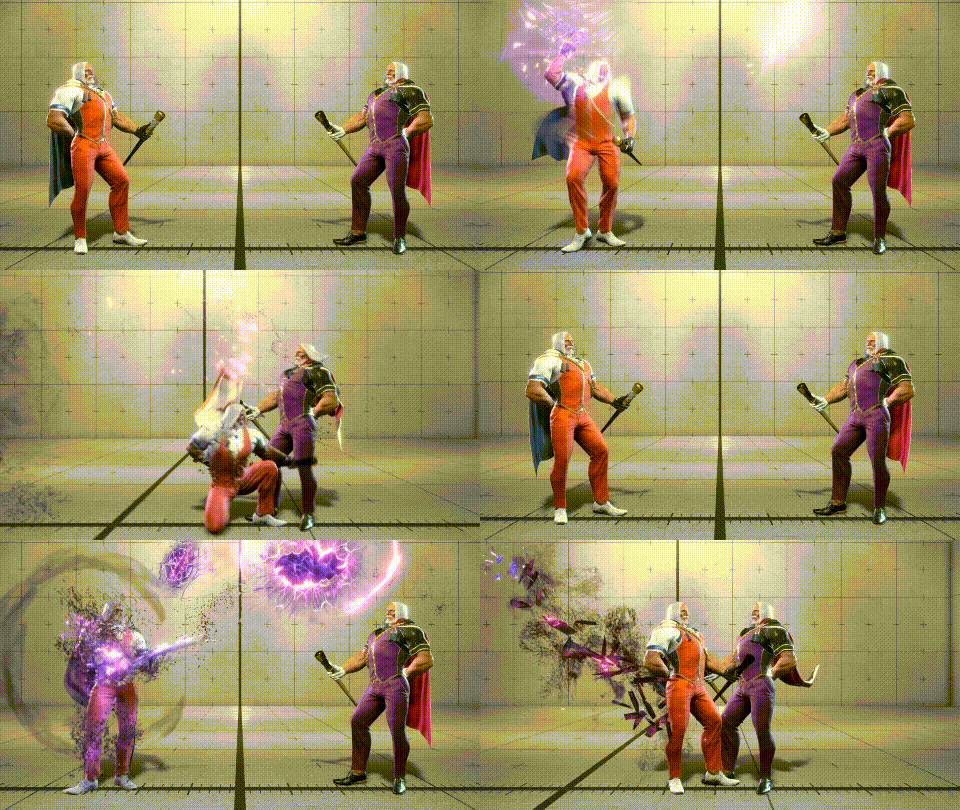
Right after JP places a Departure in the corner, expect him to use this warp to escape the corner.
Recommended counters
Punishing the corner-escape warp
- When 214P is placed in the corner, do not push forward — walk back instead
- Settle into a range where you can comfortably anti-air his warp landing

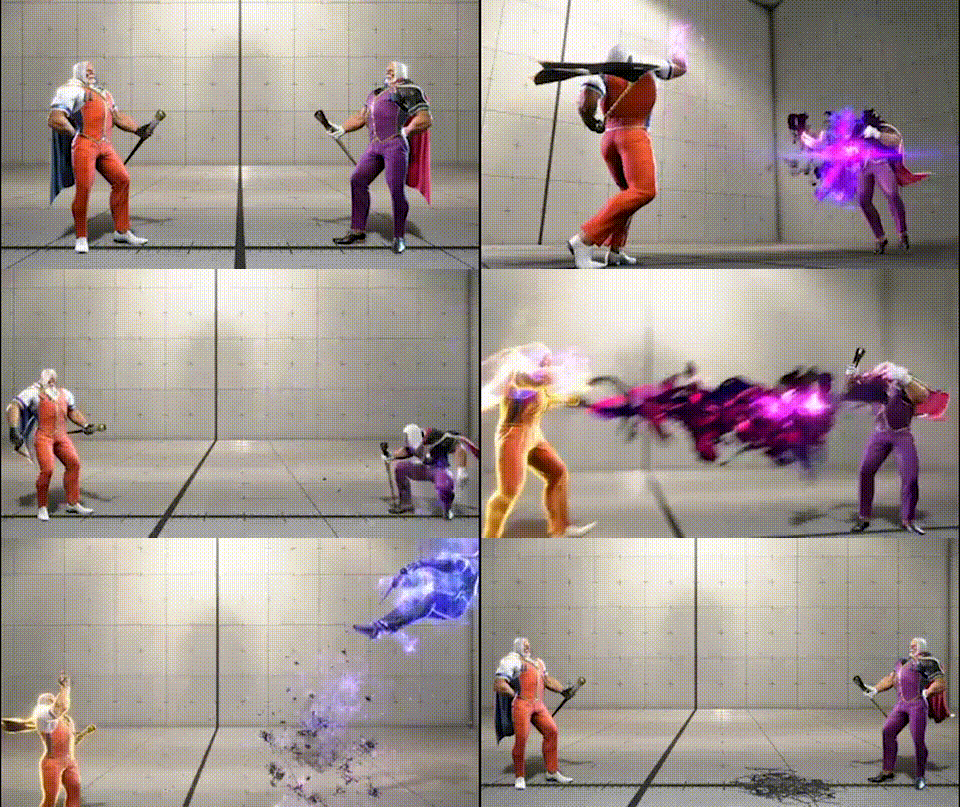
Counter-strategy for Embrace — punish frames, blocking direction, yomi paths — to be added.

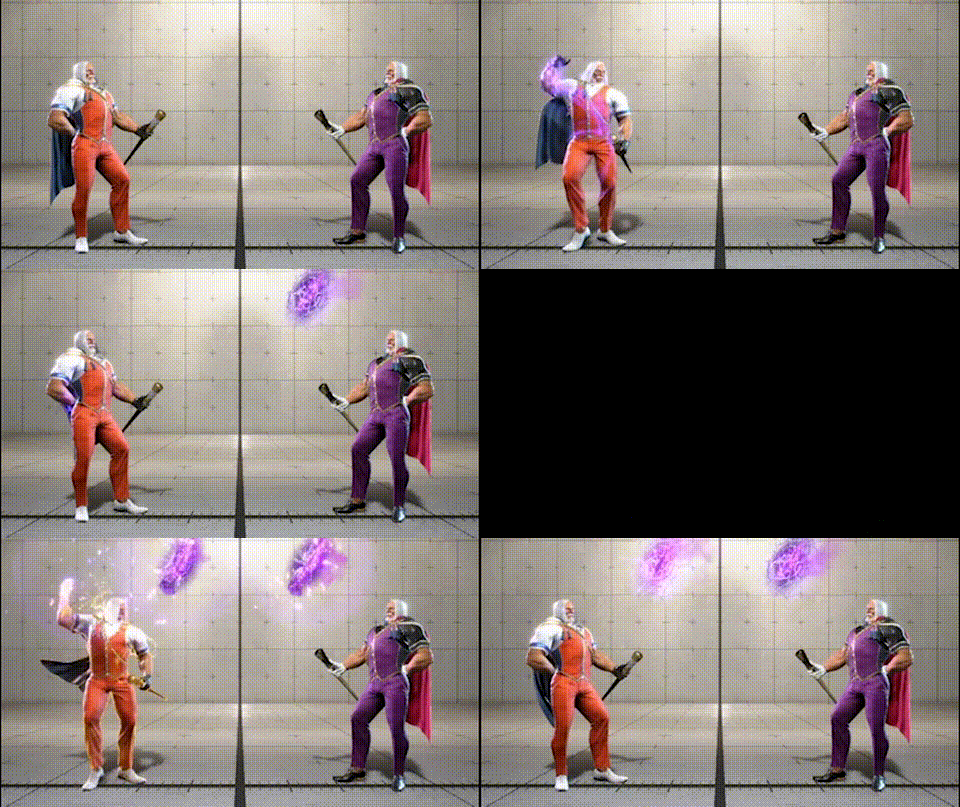
JP's placement trap move. Each strength places the projectile at a different position with different activation timing.
- 214LP
- Places near
- Fast activation
- JP is +9F to +11F on guard
- 214MP
- Places at medium range
- JP is +9F to +11F on guard
- 214HP
- Places far
- JP is +9F to +11F on guard
OD version (2-button simultaneous) places at two positions at once:
- 214LPMP: Weak + medium range placement
- 214LPHP: Weak + strong range placement
- 214MPHP: Medium + strong range placement
If 214P is placed from far away, a shooting game begins — the basic counters are below.
Mid-screen placement
- Focus on defense until you can block the 214P activation
- Walk forward while watching for JP's 236P and 2PP — walking guard is effective
- If walking guard is too difficult, hold Parry until the 214P activates
- Jumping too early will get caught by 236MK, restarting the shooting game
- Even without jumping, JP may re-place the trap, so keep the option to jump ready
- The best approach is to walk forward at the moment JP tries to re-place
Corner placement
- When JP places from the corner, they will warp to escape the corner
- Generally walk backward rather than forward
- The recommended approach is to retreat to a position where you can anti-air the warp
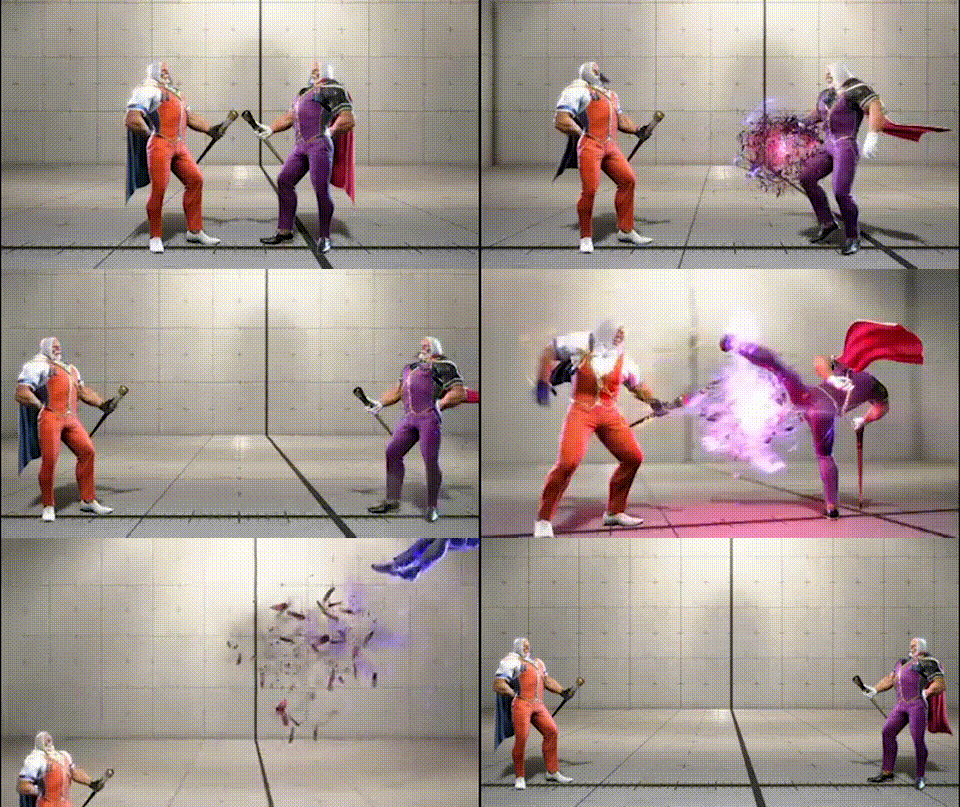
Amnesia (22K) is JP's parry move. Each strength covers a different attack height:
- 22LK — High parry
- 22MK — Mid parry
- 22HK — Low parry
- 22KK (OD) — Parries high, mid, and low; also catches throws; no projectile invincibility
Recommended counters
- Against normal Amnesia (22LK / MK / HK):
- Throw is the most reliable option to beat it
- Attack at a height the parry does not cover (e.g. low vs. high parry)
- Against OD Amnesia (22KK):
- All attacks including throws are parried
- Poke with a light button to trigger the parry, then immediately throw
- Doing nothing and waiting for it to whiff is also a safe option
- Use a projectile if your character has one — Amnesia has no projectile invincibility
Caution
OD Amnesia (22KK), unlike normal Amnesia, also catches throws. Attempting a normal throw to break it will be parried. Poke first to trigger it, then throw — or simply wait for it to whiff.
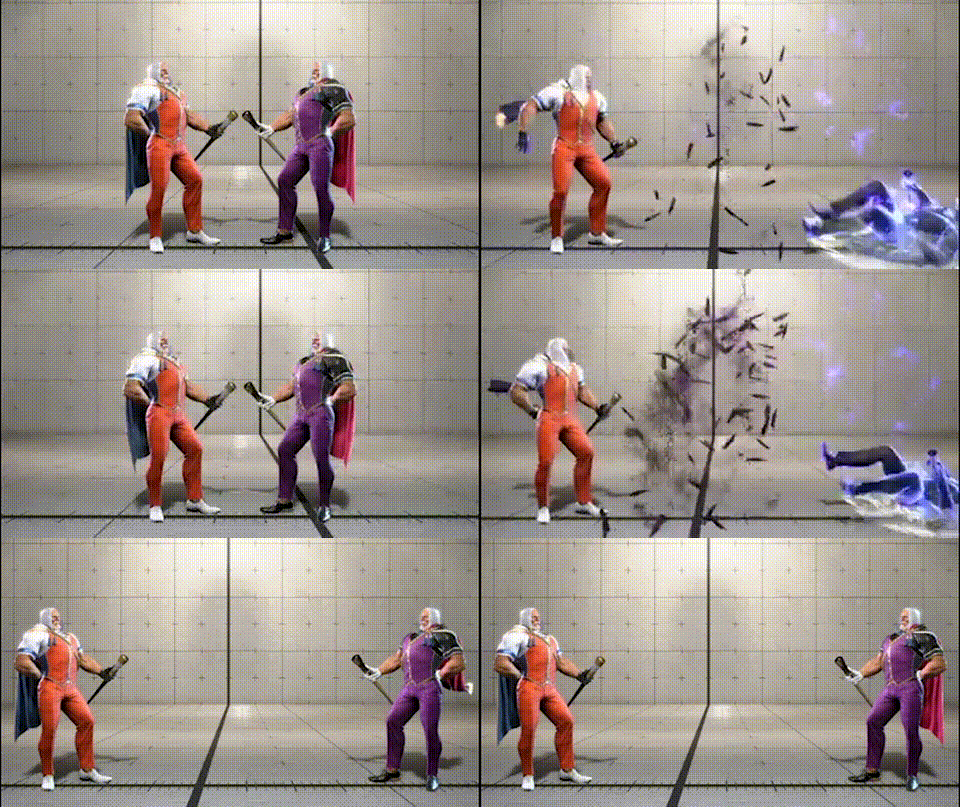
Normal versions
- 22HP (Heavy Triglav)
- J.P. is -2F on block — slightly minus; no reliable punish
- 22LP (OD Medium Triglav)
- J.P. is +3F on block — J.P. is at advantage; do not mash
- 22MP (OD Heavy Triglav)
- J.P. is +3F on block — J.P. is at advantage; do not mash
Recommended counters
- Heavy Triglav (22HP): -2F — slightly minus but unpunishable; hold block and react to the next action
- OD Medium / OD Heavy Triglav (22LP / 22MP): +3F — J.P. is at advantage; never mash; guard and watch for his follow-up


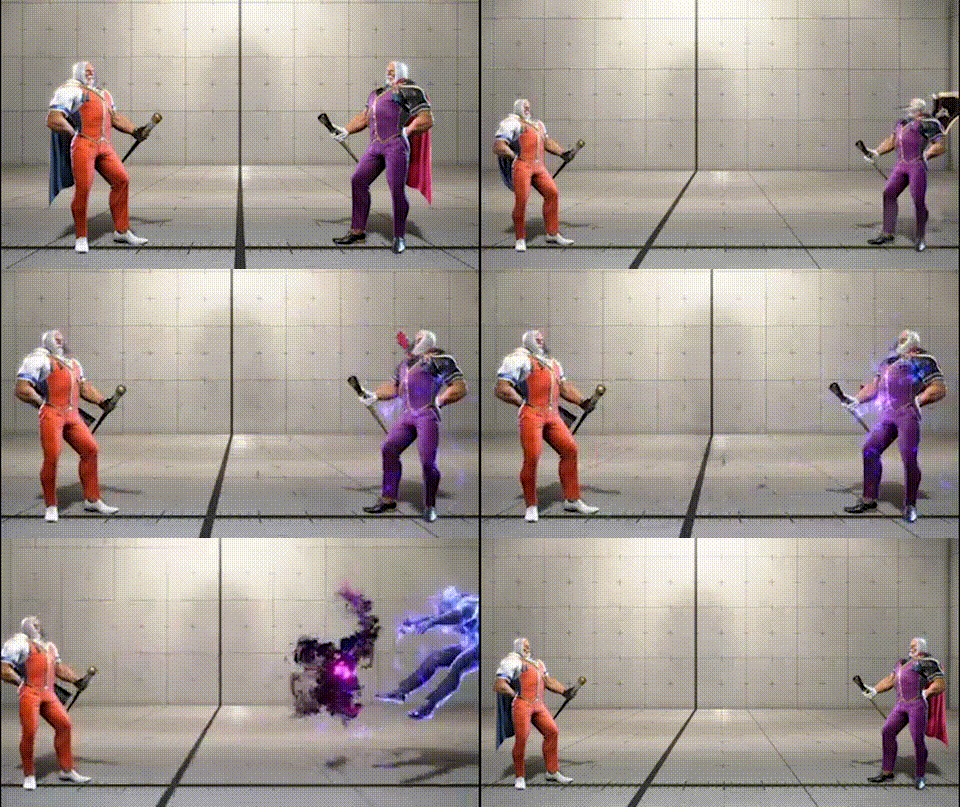
Torbalan varies by strength: overhead (LK), mid (MK), and low (HK). Identify the version on reaction and guard accordingly.
Normal versions
- 236LK (Light Torbalan)
- J.P. is -6F on block — punishable at close range
- 236MK (Medium Torbalan)
- Mid attribute; combos on hit; J.P. is -8F on block
- 236HK (Heavy Torbalan)
- Low attribute; J.P. is -8F on block
OD version
- 236KK (OD Torbalan)
- J.P. is +25F on block — extremely advantageous; do not mash
Recommended counters
Watch the animation to guard mid or low, then punish accordingly.
- Light Torbalan (236LK): -6F at close range — punish with a medium button
- Medium Torbalan (236MK): stand-block required; -8F — punish with a heavy button
- Heavy Torbalan (236HK): -8F — punish with a heavy button
- OD Torbalan (236KK): +25F on block — never mash; hold block and respect J.P.'s turn


After Uragan, JP is +13F.
- On neutral wakeup: JP may be able to continue pressure without Drive Rush
- On back wakeup: distance increases, resetting to JP's favored range
Recommended counters
- Back throw leaves JP with less follow-up potential than forward throw
- On neutral wakeup, confirm whether JP uses Drive Rush before committing to a response
- If JP goes for a trap placement instead, step forward to close the gap

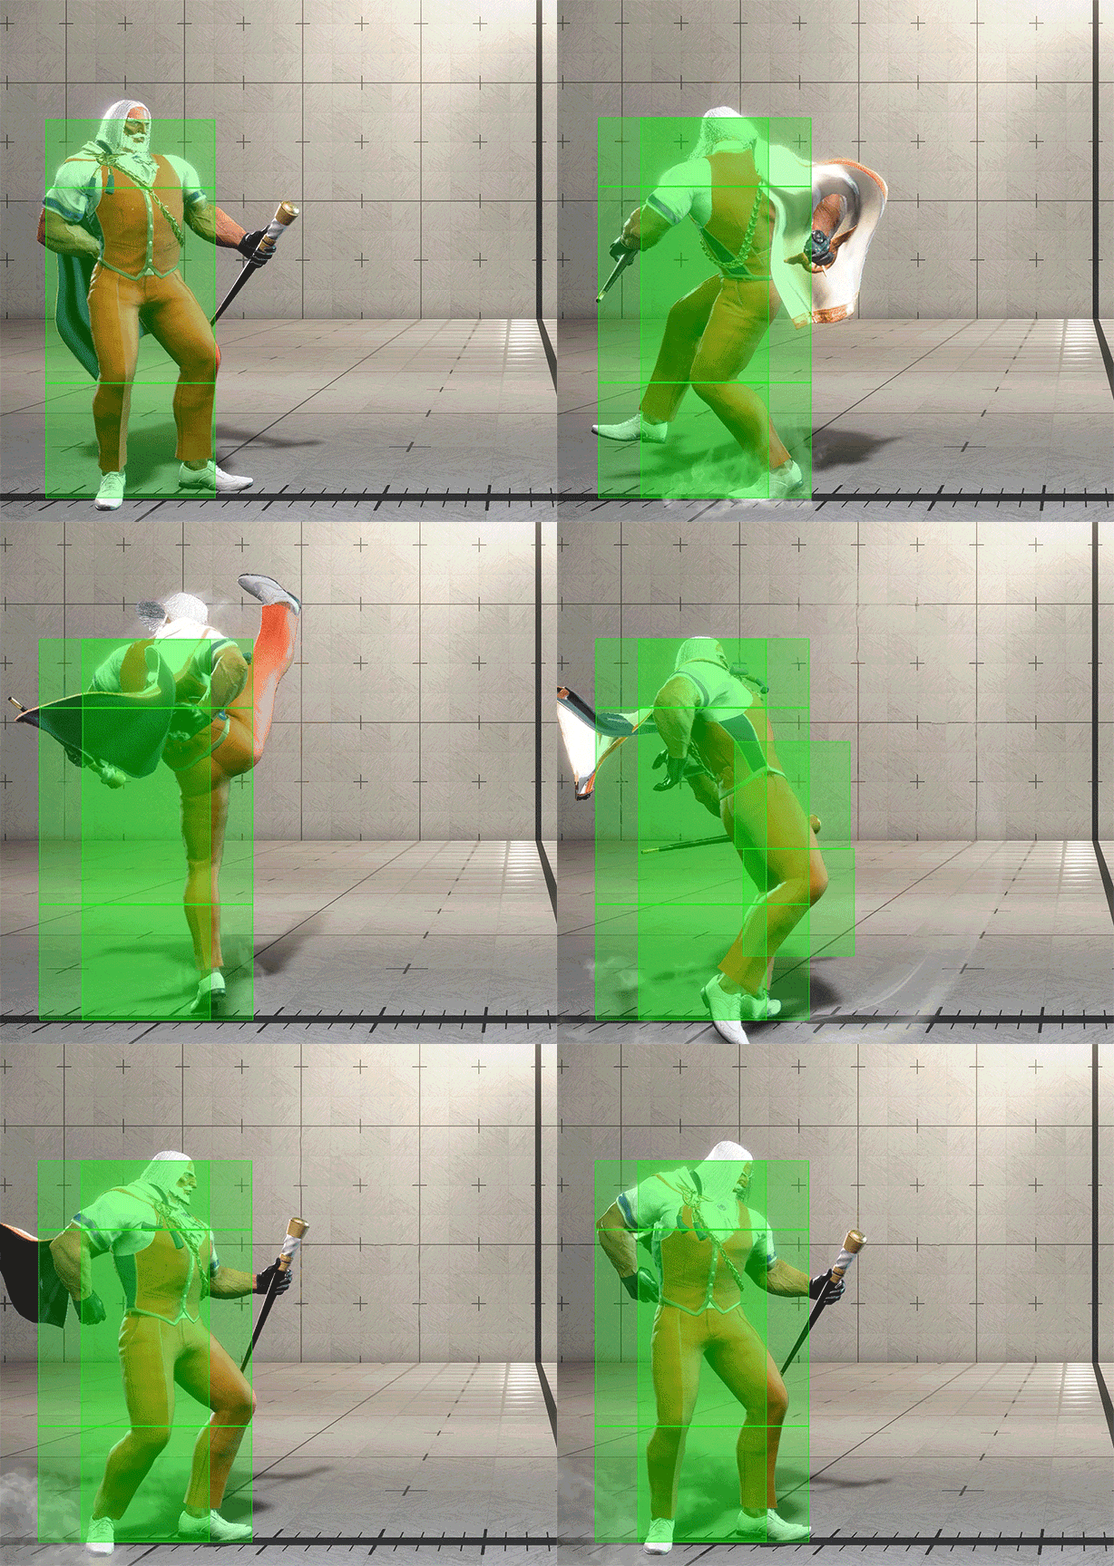
Guillotinna is JP's overhead. It combos on hit.
Recommended counters
- The startup is slow enough to react and stand-block on sight
- JP is disadvantaged on block — punish immediately
- JP often uses this during wake-up pressure or as a poke
- If you default to crouching guard, you become vulnerable — build in moments to stand-block

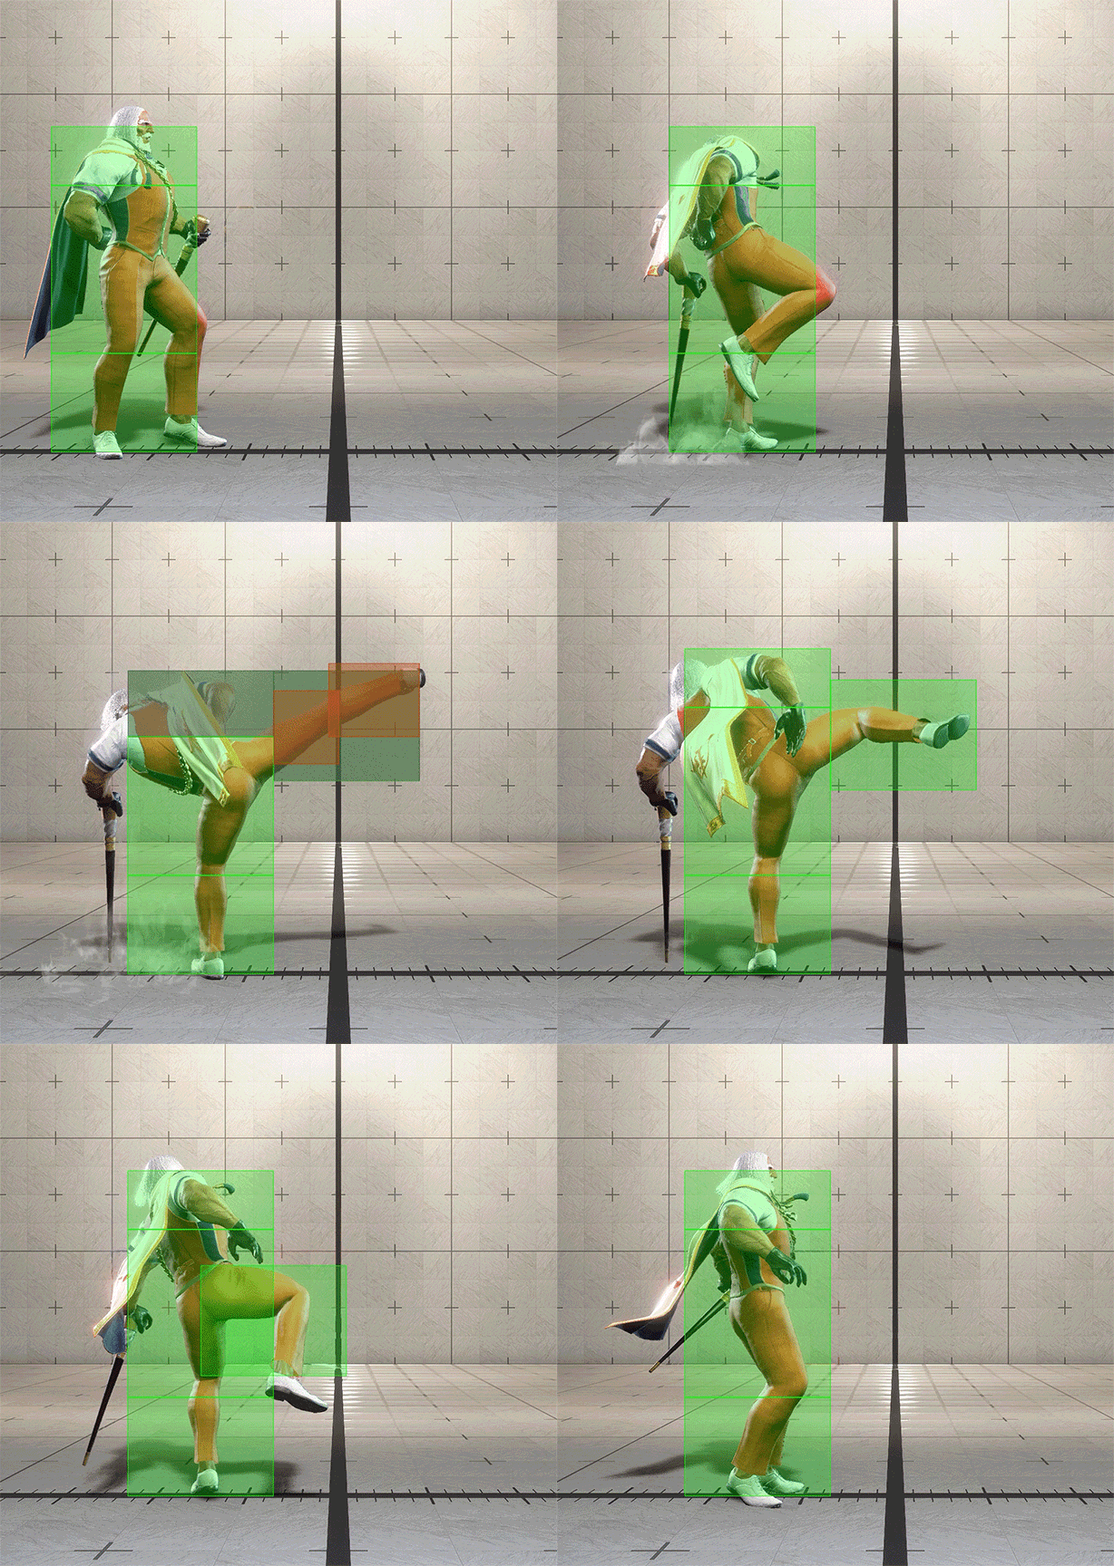
Standing Heavy Kick leaves JP +2F on block. It has long reach and is frequently used as a poke.
Recommended counters
- At +2F JP has the frame advantage — do not mash after blocking
- Common JP follow-ups after HK:
- 2MK — low option
- Throw — walk-up grab
- HK again — to re-establish frame advantage
- 236K — advancing attack to start a mix-up
- Fight at a range where HK cannot reach — JP's neutral becomes much harder when you are inside his poke range

After Ravina, JP is +16F.
- On neutral wakeup: Drive Rush can set up wake-up pressure
- On back wakeup: distance increases but favors JP's zoning game; expect 22P placement
Recommended counters
- Neutral wakeup: confirm Drive Rush, then respond with OD reversal
- Back wakeup puts you at a distance that benefits JP — neutral wakeup is generally recommended
- If JP does not use Drive Rush, expect a trap placement — walk forward to close the gap