
ケン
Ken — 对策
Key Info
- Persistent overhead that leads to combos on hit
- Defense
- OD reversal startup 6F: 623PP
- If you play Luke or Kimberly, avoid Rush setups after throws
- Anti-air reversal 623LP with 5F startup and invincibility
- 214214K startup 7F, not projectile-invincible
- 236236K startup 6F, no invincibility
- 236236P startup 7F
- OD reversal startup 6F: 623PP
- Moves that are plus on block
- None
Neutral Game (Focus Points)
- 236PP
- After blocking Ken's OD Hadoken, he can continue his offense with Rush
- If you see the Rush flash after blocking, prepare an invincible reversal
- 2MK (c.MK)
- His cancels off c.MK are powerful — recognize that the range c.MK reaches is a danger zone
- Getting hit by it freely often leads straight to a loss
- Judo
- Ken's +5 throw judo is difficult to execute
- Making him pay with backdash or forward jump is key
Normal versions
- 214LK (Light Tatsumaki)
- Ken is -14 on block
- 214MK (Medium Tatsumaki)
- Ken is -12 on block
- 214HK (Heavy Tatsumaki)
- Ken is -12 on block
OD version
- 214KK (OD Tatsumaki)
- Ken is -61 on block
Recommended counters
Every strength is -12 or worse on block — always punish. The OD version is an extraordinary -61 on block, giving you a full max-damage combo opportunity.
- Light / Medium / Heavy: punish with a heavy starter every time
- OD (214KK): take your maximum punish — this is a free combo




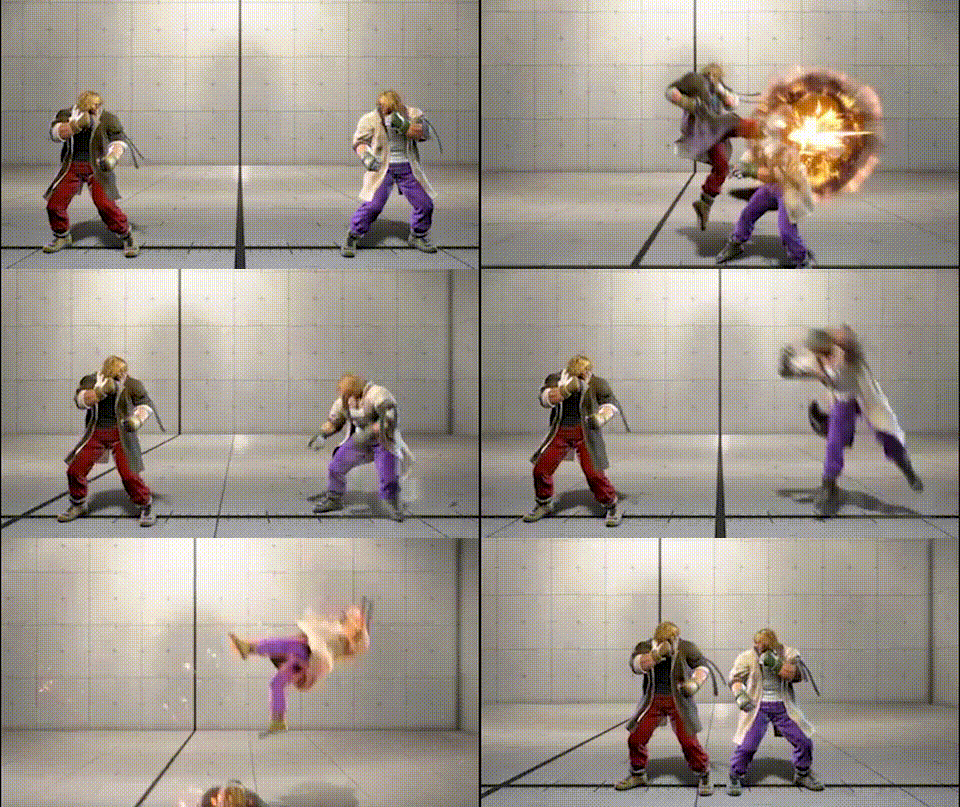
Counter-strategy for Aerial Tatsumaki Senpu-kyaku — punish frames, blocking direction, yomi paths — to be added.


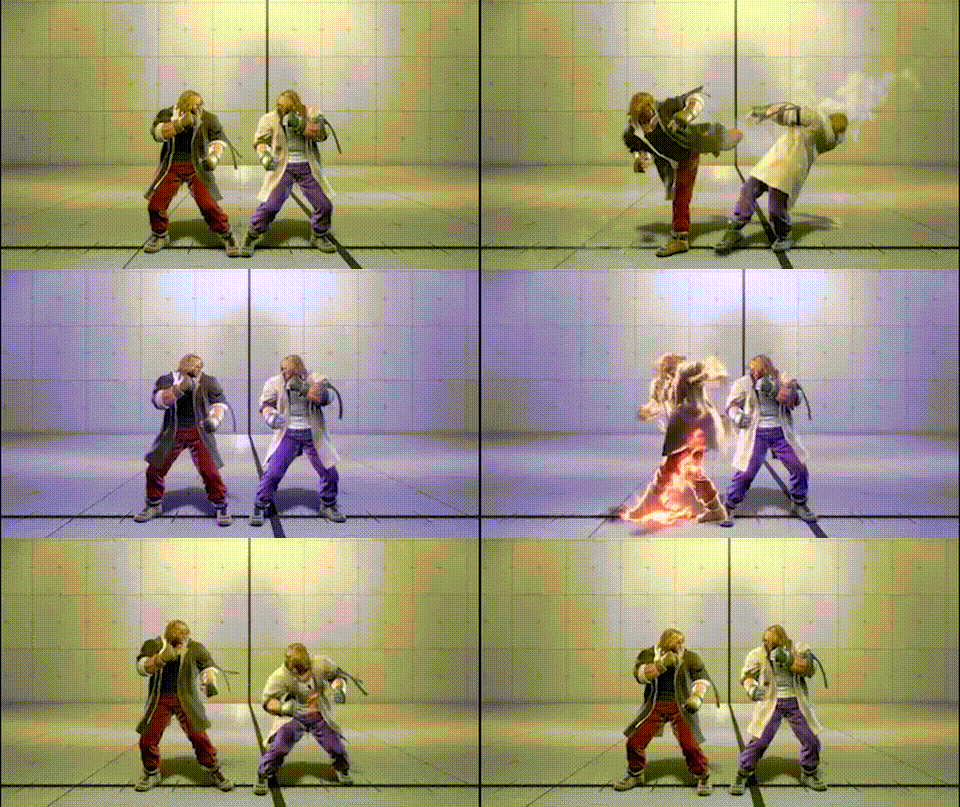
Jinrai Kick is Ken's workhorse — cancellable from almost anything, with low (Kazekama) and overhead (Gorai) follow-ups that can both be delayed for fuzzy-busts. The key is to read the cancel source, not the visual / audio cue of the kick.
Recommended counters
Telling the strengths apart
You can in theory hear the difference, but in practice it's not realistic. The shortcut is the combo rule: each strength of 236K only links from a same-or-higher-strength normal.
- LK does NOT chain into 236MK
- 2MK does NOT chain into 236HK
- 2MK chains into 236MK
- HP chains into 236MK
So assume Ken matches the strength of the cancel source and react from that.
LK → 236LK
- You can mash before the follow-up — go for it
2MK → 236MK
- Mashing loses to 623MK → LK frame trap
- It becomes an overhead/low yomi, but if the Ken only ever uses the fastest follow-up, fuzzy-block works
- Punish-counter scaling applies, so set up the punish-counter starter
HP → 236HK
- The HP → 236K window has a gap — a jab interrupts it (hard but worth it)
- Even if Ken goes for 236MK instead, that's a true block string so mashing is free
- Tight execution, big reward — for confident reactors
- If you can't interrupt, hold block and resist the urge to mash
- When you read a follow-up, Drive Impact is extremely effective
- Without DI, Ken defaults to fastest 236K → 6LK — keep that in mind
Once practiced you can cover the entire menu.


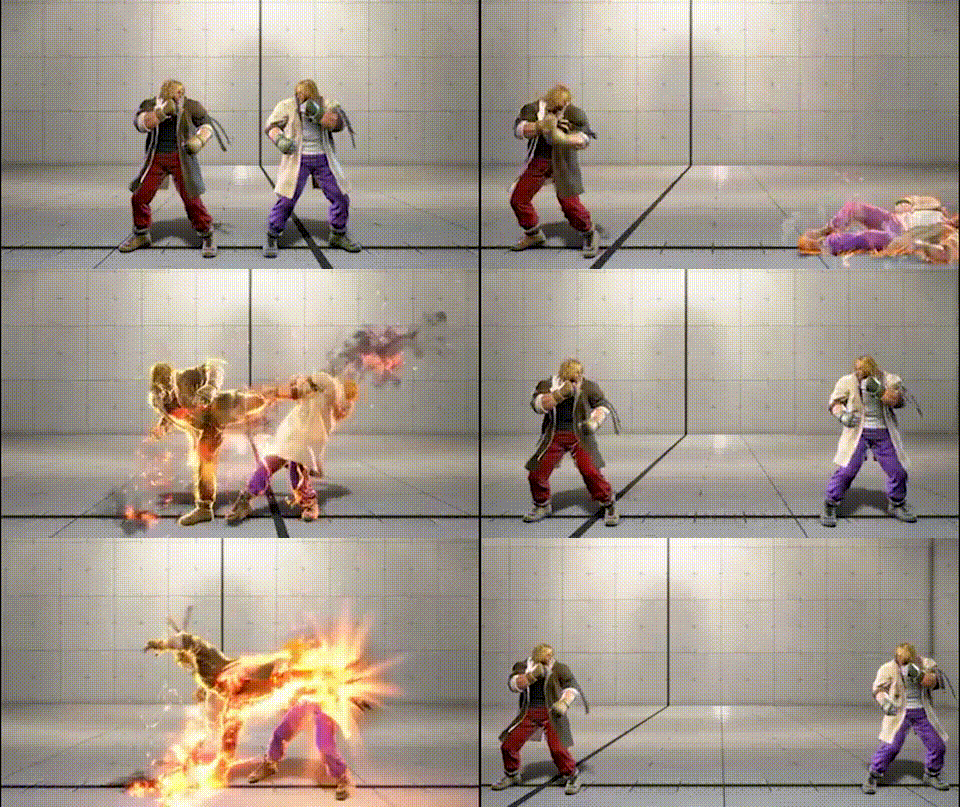
Kasai is the add-on kick off OD Jinrai Kick (236KK) follow-ups. Defending it lives inside the broader OD Jinrai response.
Recommended counters
Defending OD Jinrai follow-ups
- Once the OD follow-up starts, hold block rather than mash
- When you read a follow-up, Drive Impact is effective
- Without DI, Ken defaults to the fastest 236KK → 6LK route
Once you are comfortable with all the options, you can cover every branch simultaneously as shown below.

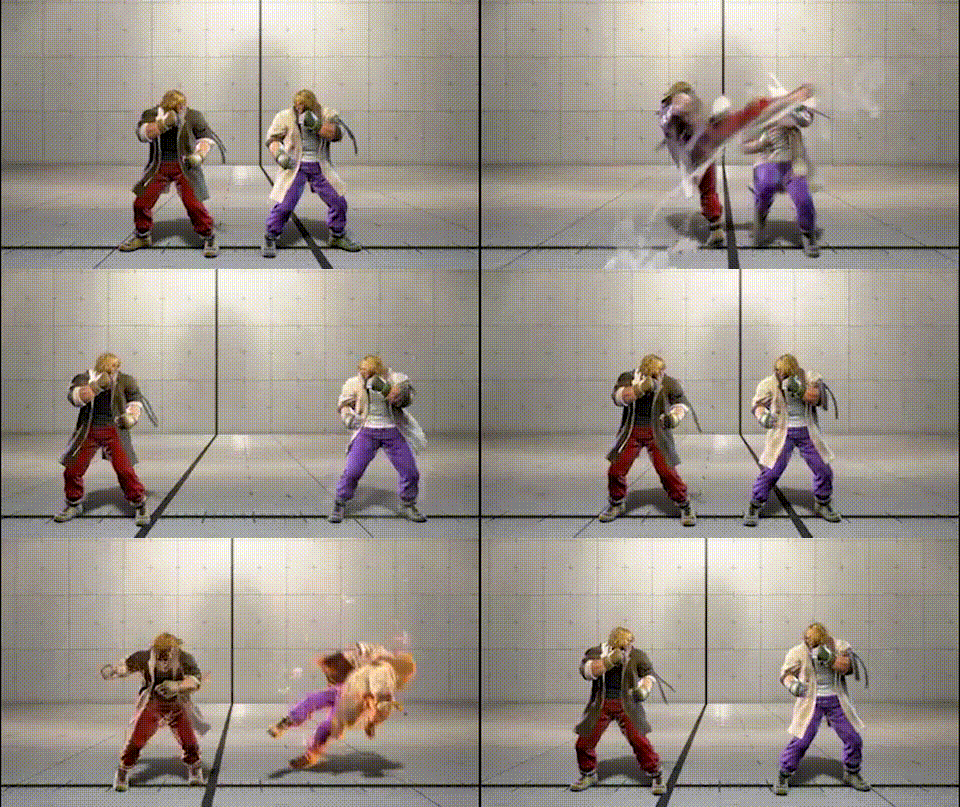
Senka is the HK follow-up off Jinrai Kick (236K) — most often seen inside the HP → 236HK string, which is the context that matters.
Recommended counters
Interrupting the HP → 236HK string
- The HP → 236K window has a gap — a jab interrupts it (hard but worth it)
- Even if Ken goes for 236MK instead, that's a true block string so mashing is free
- Tight execution, big reward — for confident reactors
Drive Impact on the follow-up read
- If you can't interrupt, hold block and resist the urge to mash
- When you read a follow-up, Drive Impact is extremely effective
- Without DI, Ken defaults to the fastest 236K → 6LK
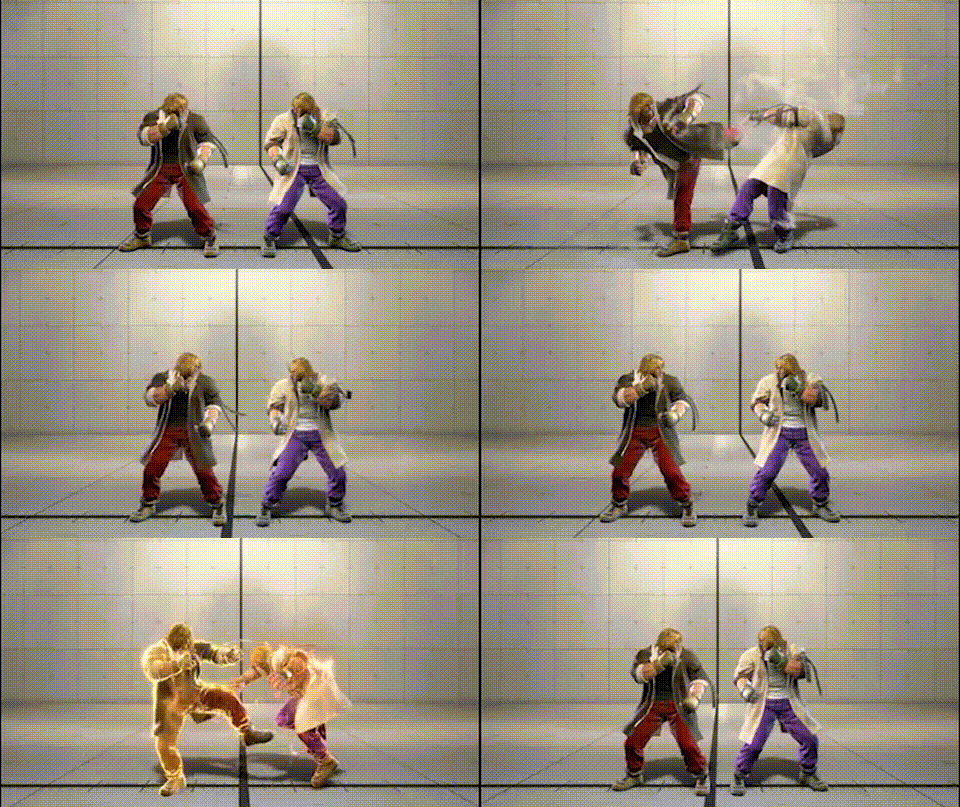
Kazekama is the fastest low follow-up off Jinrai Kick (236K). It must be defended together with Jinrai Kick itself.
Recommended counters
Inside LK → 236LK (fastest low follow-up)
- The L version of Jinrai has a mash window before the follow-up
- From an LK starter, you can interrupt before Kazekama comes out — mash freely
Inside HP → 236HK
- If you can't mash through Jinrai itself, hold block
- When you read a follow-up, Drive Impact is highly effective
- Without DI, Ken defaults to the fastest 236K → 6LK (Kazekama)

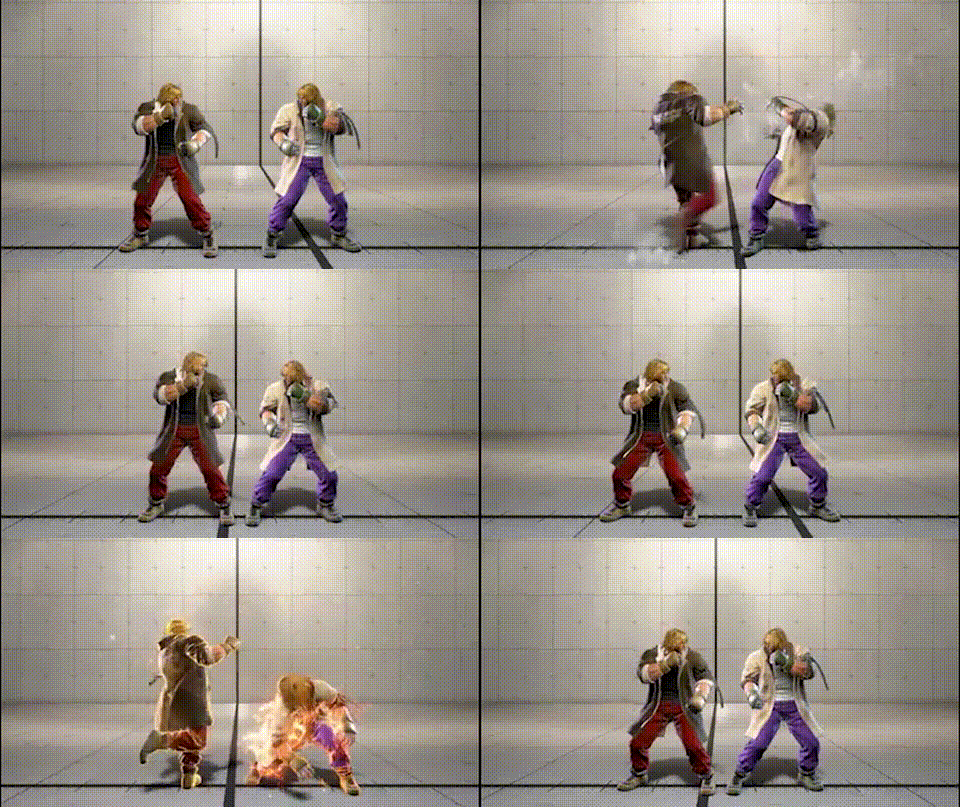
Gorai is the overhead follow-up off Jinrai Kick (236K), paired with the Kazekama low for the standard 50/50.
Recommended counters
Inside 2MK → 236MK (overhead follow-up)
- Mashing loses to 623MK → LK frame trap
- The overhead/low yomi is real, but if Ken only ever uses the fastest follow-up, fuzzy-block works
- Punish-counter scaling applies — set up the punish-counter starter
Inside HP → 236HK (overhead follow-up)
- If you can't interrupt, hold block
- When you read a follow-up, Drive Impact is highly effective

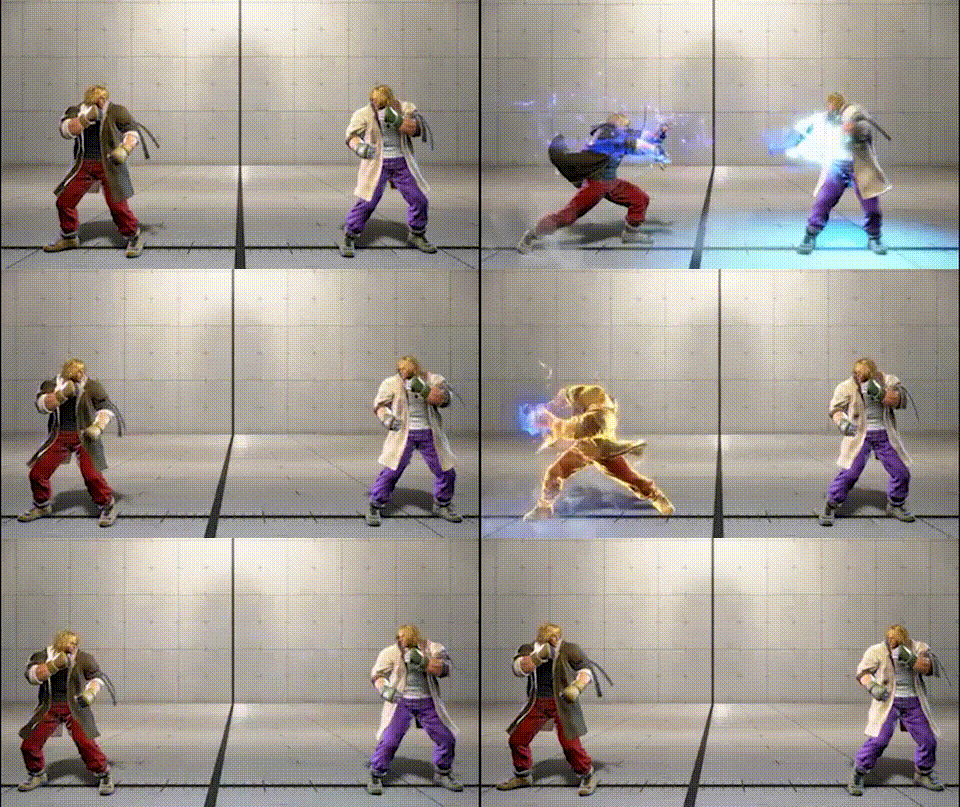
The base fireball is worse than Ryu's, but OD 236PP into drive-rush pressure is rough. Don't sleep on the OD version.
Recommended counters
236LP (L Hadoken)
- Parry with a buffered jump to punish safe fireballs
- After blocking a slow Hadoken, the next one is often a safe fireball — don't jump
236MP (M Hadoken)
- Same plan as the L version. Treat the medium speed as a tell that another fireball is loading
236HP (H Hadoken)
- Close-range parry: buffer a heavy attack or raw drive-rush
- Long-range parry: buffer a forward attack to capitalize on safe fireballs
236PP (OD Hadoken)
- Blocked OD Hadoken into drive-rush frame trap — it's the headline trap
- Once you recognize the pattern, invincible reversal during Ken's drive-rush flash
Watch the reversal pitfall
- A slow reversal vs. drive-rush — Ken just blocks
- At certain distances the reversal whiffs entirely. Don't misread the gap
- If your reversal is short-range, stay far enough out that Ken can't drive-rush you

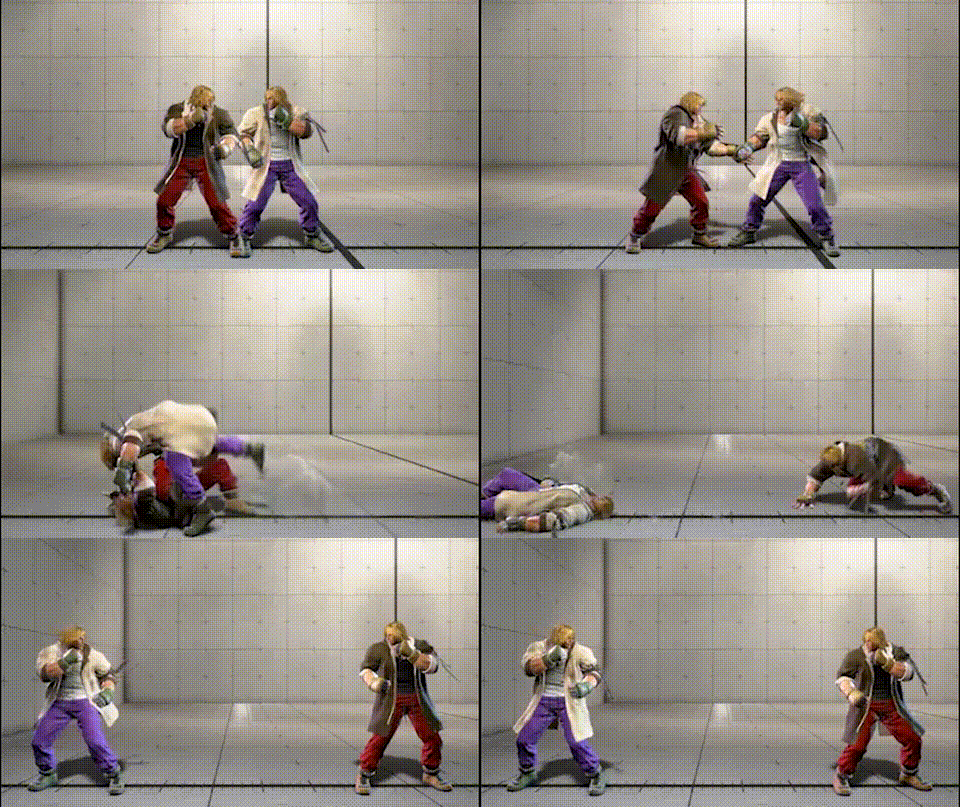
Ken is +19 after the throw.
In the middle of the screen, back-rise is the standard response. The distance created means Ken has no oki.
Recommended counters
Back-rise is the default. The spacing after Hell Wheel is too far for Ken to run offense.
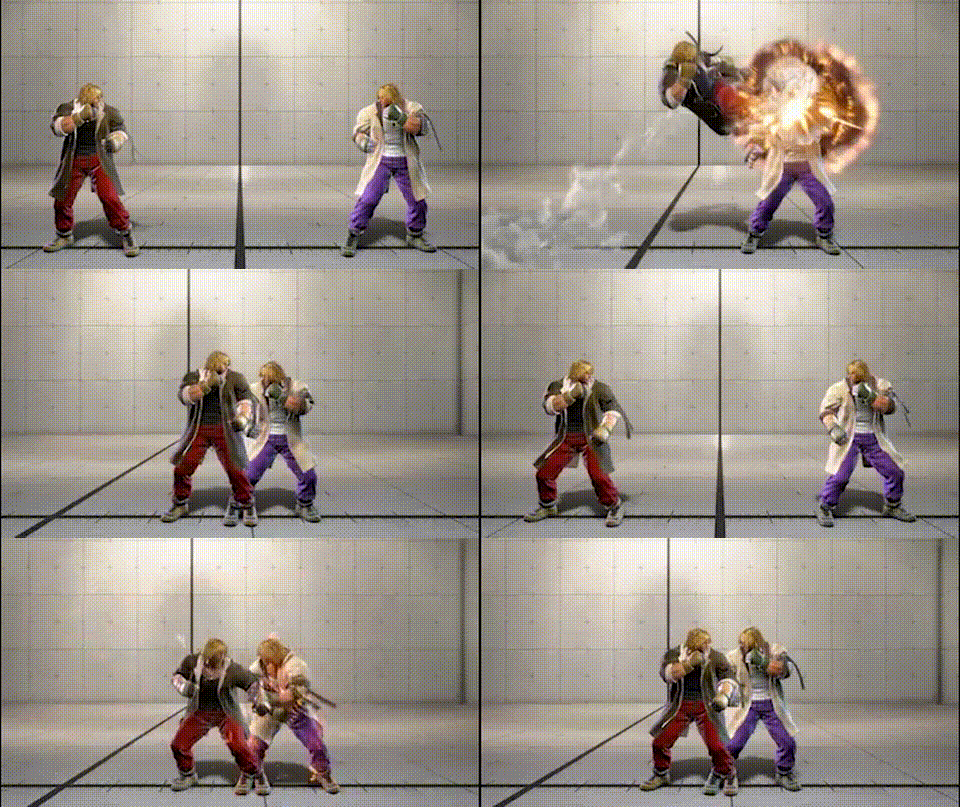
Ken's signature surprise hit. How you handle 623HK sets the tone of the matchup.
Recommended counters
Reacting to 623HK in neutral
Just-parry
28F startup is comfortably parry-reactable from a fixed neutral spacing.
Drive Impact
- DI on reaction is a guaranteed punish
- Slow reactions get punished, but practiced reaction is worth it
Standing 4F
- Reactable on paper but very hard in practice
- A late press eats a counter-hit combo — risk-reward is poor
- Just-parry or DI is recommended
After blocked 623HK (+1 situation)
Throw range, +1 to Ken. Don't reach for OD reversal or delayed throw-tech here. Pick one of these three:
- Fastest 4F mash
- Beats Ken's throw
- Beats his frame trap
- Fastest throw tech
- Beats his shimmy (watch for jumps)
- Loses to fastest button — accept the variance
- Just-parry
- Beats his fastest 4F
- Loses to throw, so use sparingly
- The right call once Ken commits to mash punishes
The clip below has Ken set to mash 4F / vertical jump / throw on +1 in repeat:
Tuning the 3-way mixup
Read your Ken and weight the three options.
- 4F mash worked → Ken throws a lot, watch for shimmy
- 4F mash lost to a throw → switch to throw-tech
- Throw-tech lost to a delayed mash → mix in just-parry
Cycle through the options. When Ken commits to mash-punishes only, lean parry-heavy.
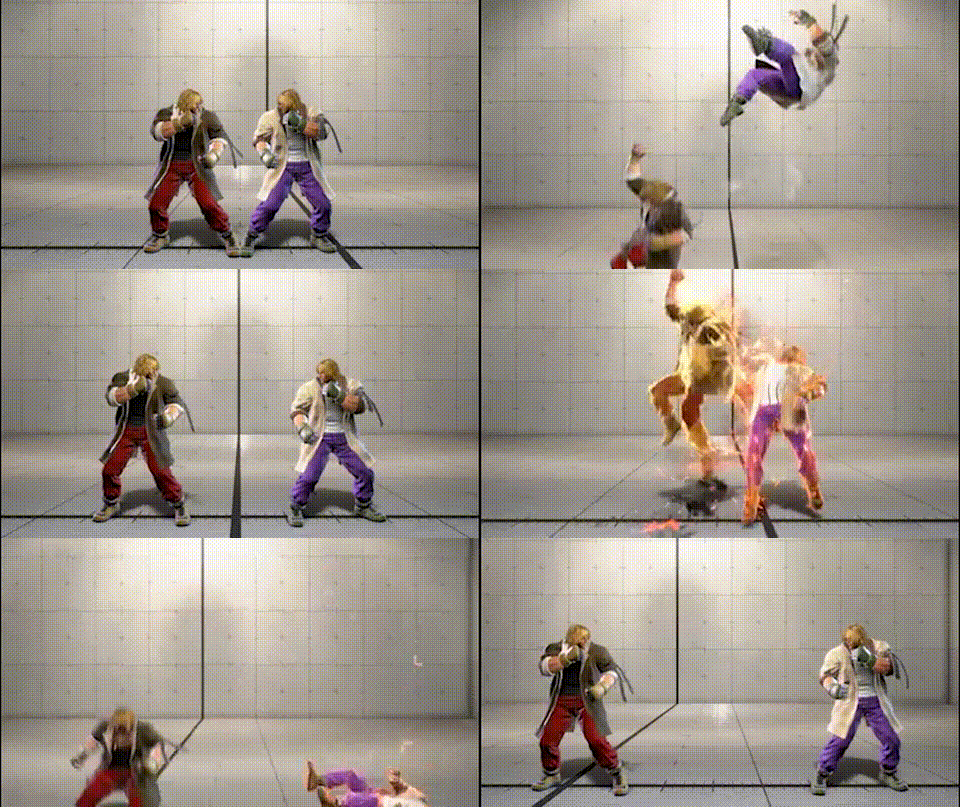
If blocked, punish hard. The bigger questions are defending KK → 623P oki and defending OD 623PP oki.
Recommended counters
Block punish chart
- L (-23) / M (-28) / H (-36) / OD (-40): always go heavy-starter max combo
- OD blocked = SA3 punish for max
- Drill the four punish recipes in training
After 623P hits you
- Quick-rise vs. back-rise is the matchup
- Drive-rush oki: quick-rise kills the walk-shimmy mixup
- Walk oki: back-rise kills it
- Quick-rise here means Ken can shimmy without drive-rush
After 623PP (OD) hits
- Ken sits at +22. Drive-rush gives him full oki
- Quick-rise: throw lands meaty
- Back-rise: HP frame-traps mash
- Recommended: back-rise → just-parry HP, or simply hold block since throws don't reach
After KK → 623P (target combo ender)
- Quick-rise kills the walk-shimmy
- Don't autopilot back-rise — quick-rise → reversal / fast drive-rush punishes Ken
Sneaking jumps in
Ken's anti-air is strong, and the K+K Shoryuken adds another anti-air layer Ryu doesn't have.
- Jumps should be rare. Win neutral on the ground first
- When you see K+K, lean defensive — don't trade jumps with it
Don't over-fear OD reversal
OD is the safety net but -40 if blocked. Building all your offense around "what if he OD's" lets Ken lock you out.
- For Luke / Kimberly etc., easing off the post-throw drive-rush is enough
- Read his SA gauge — at low meter the reversal-into-SA threat shrinks
![[Quick Dash] Shoryuken](https://content.dood.gg/street-fighter-6/img/ken/skill/401.gif)
The Shoryuken used as a target-combo ender.
Recommended counters
- After KK → 623P hits
- Quick-rise prevents Ken from walking in for a shimmy
- Rather than defaulting to back-rise out of habit, quick-rise and threaten with an invincible reversal or a fast throw-tech to put risk on Ken
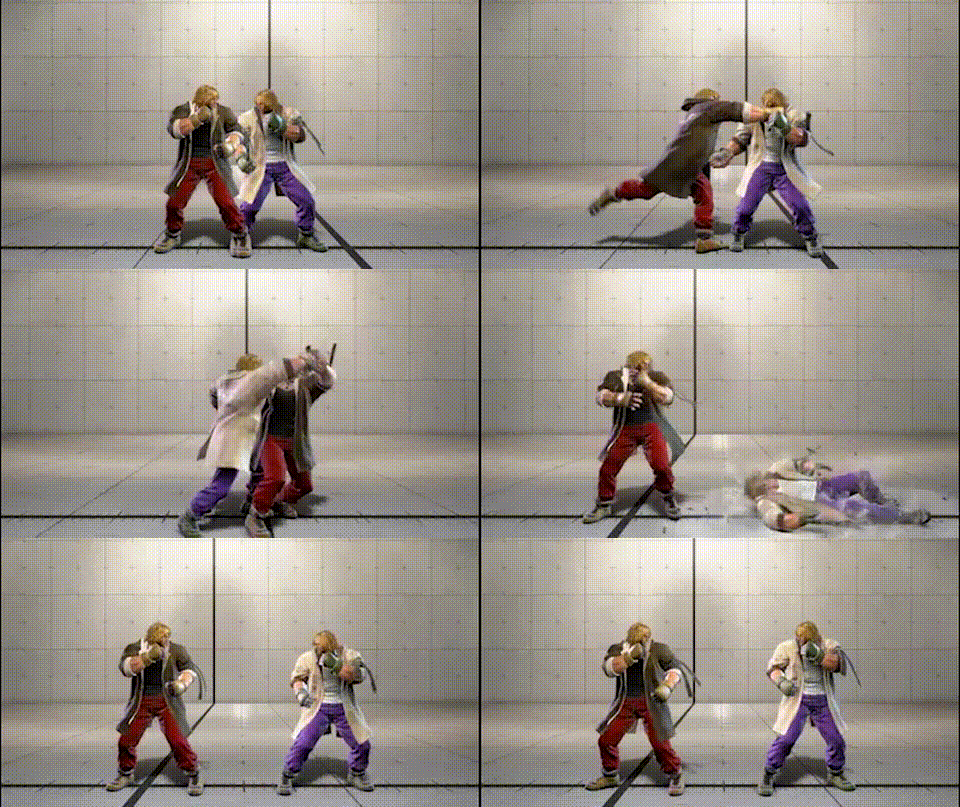
Ken is +20 after the throw. Drive Rush oki is possible even on back-rise. Even when Ken spends Drive Rush, an invincible reversal (OD) is not guaranteed, making this a very favourable situation for Ken.
Recommended counters
- After LPLK hits → quick-rise
- On quick-rise, Ken's only shimmy option is Drive Rush → LP, which leaves Ken at -4F
- Your fastest mash will Punish Counter, so remember this and use it as a knowledge check
Showing this option encourages Ken to go for meaty attacks more, so respond with quick-rise OD reversal
After LPLK hits → back-rise
- Without Drive Rush, Ken has no oki on back-rise