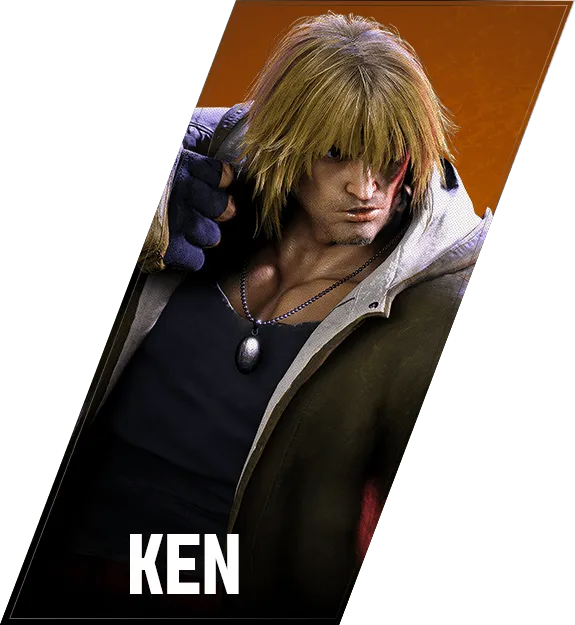

ケン
Ken — 角色使用
H Tatsumaki Senpu-kyaku
Notes on how Ken uses Tatsumaki Senpu-kyaku — combo routes, pressure, whiff punishes — to be added.
Jumping Heavy Punch
Notes on how Ken uses Jumping Heavy Punch — combo routes, pressure, pokes — to be added.
Jumping Light Punch
Notes on how Ken uses Jumping Light Punch — combo routes, pressure, pokes — to be added.
Jumping Light Kick
Notes on how Ken uses Jumping Light Kick — combo routes, pressure, pokes — to be added.
Jumping Heavy Kick
Notes on how Ken uses Jumping Heavy Kick — combo routes, pressure, pokes — to be added.
CA Shinryu Reppa
Notes on how Ken uses CA Shinryu Reppa — combo routes, pressure, pokes — to be added.
Aerial Tatsumaki Senpu-kyaku
Notes on how Ken uses Aerial Tatsumaki Senpu-kyaku — combo routes, pressure, whiff punishes — to be added.
(垂直ジャンプ中に)MK
Notes on how Ken uses Neutral Jumping Heavy Kick — combo routes, pressure, pokes — to be added.
SA1 Dragonlash Flame
Notes on how Ken uses SA1 Dragonlash Flame — combo routes, pressure, pokes — to be added.
SA2 Shippu Jinrai-kyaku
Notes on how Ken uses SA2 Shippu Jinrai-kyaku — combo routes, pressure, pokes — to be added.
SA3 Shinryu Reppa
Notes on how Ken uses SA3 Shinryu Reppa — combo routes, pressure, pokes — to be added.
Jinrai Kick
Notes on how Ken uses Jinrai Kick — combo routes, pressure, whiff punishes — to be added.
Kasai Thrust Kick
Notes on how Ken uses Kasai Thrust Kick — combo routes, pressure, whiff punishes — to be added.
Senka Snap Kick
Notes on how Ken uses Senka Snap Kick — combo routes, pressure, whiff punishes — to be added.
Kazekama Shin Kick
Notes on how Ken uses Kazekama Shin Kick — combo routes, pressure, whiff punishes — to be added.
Gorai Axe Kick
Notes on how Ken uses Gorai Axe Kick — combo routes, pressure, whiff punishes — to be added.
Hadoken
Strength selection
- L (236LP) — slow projectile, used as a shield. -7 on block, watch the spacing
- M (236MP) — middle ground. -9
- H (236HP) — fast. -11 — readable means a punish
- OD (236PP) — -2 on block, +2 on hit. The signature combo / pressure tool
Cancel Hadoken
The main use case — cancelled from 2MK / MP / HP. Distance pushes Ken out so block frames don't matter much.
OD Hadoken pressure
Blocked 236PP at the right spacing lets Ken drive-rush in for a frame trap — Ken's headline pressure pattern. Defenders are forced to think about reversal.
Pitfalls
- Worse recovery than Ryu's; raw use mid-range invites jumps, DIs, and parries
- Use it only at long range outside the cancel game
- If the matchup is fireball-disadvantageous, use drive-rush / K+K to close the gap instead
Low Spinning Sweep
Notes on how Ken uses Low Spinning Sweep — combo routes, pressure, pokes — to be added.
Crouching Heavy Punch
Notes on how Ken uses Crouching Heavy Punch — combo routes, pressure, pokes — to be added.
Crouching Light Kick
Notes on how Ken uses Crouching Light Kick — combo routes, pressure, pokes — to be added.
Crouching Medium Kick
Notes on how Ken uses Crouching Medium Kick — combo routes, pressure, pokes — to be added.
Crouching Medium Punch
Notes on how Ken uses Crouching Medium Punch — combo routes, pressure, pokes — to be added.
Hell Wheel
Notes on how Ken uses Hell Wheel — combo routes, pressure, pokes — to be added.
Dragonlash Kick
Strength selection
- L (623LK) — 18F, -4 on block, mostly combo
- M (623MK) — 23F, -8 — combo only
- H (623HK) — 28F, +1 on block. Pressure / surprise hit
- OD (623KK) — 9F, -9. Combos / punishes / anti-air
- K+K → 623K — 9F, -8. Run-stance combo ender
H Dragonlash use
The premier mid-range surprise hit. +1 on block sets up strike / throw mixups. The 28F startup is hard, but if neutral is cagey it lands.
- When the opponent has stopped pressing buttons
- When you read drive-parry
- Mid-range stretches with low punish reach
Combos
- 2MK → 623LK: standard
- KK → 623K → SA1: high damage
- Corner H Dragonlash hit → knockdown → oki
Pitfalls
- 28F startup → reactable just-parry / DI
- L / M are minus on block; the +1 only lives on H
- Use sparingly — the read becomes obvious after repeated attempts
Shoryuken
Strength selection
- L (623LP) — 5F, anti-air invincibility. The default
- M (623MP) — 6F, combo glue
- H (623HP) — 7F, wider hitbox; routes into SA3 for the kill
- OD (623PP) — 6F, fully invincible. Reversal only — -40 on block
- K+K → 623P — 8F, up to 1700 damage. Forward-carry combo ender
As an anti-air
- Straight-up jumps: L Shoryuken, hold the input for max damage
- Mid-range jumps: H Shoryuken or K+K → 623P for the forward-moving anti-air
- 623HP → SA3 closes rounds
Combo ender
- KK → 623K → SA1 or KK → 623P to push to the corner
- Default mid-screen ender; oki off it is one of Ken's strengths
OD as a reversal
Full invincibility, 6F startup, beats both strikes and throws. -40 on block — only when you're confident in the read.
Pitfalls
- Even L is -23 — every cast has a punish
- Spammed Shoryuken loses to parry / DI
- KK → 623P trades distance for damage; pick based on where you are on the screen
Standing Heavy Kick
Notes on how Ken uses Standing Heavy Kick — combo routes, pressure, pokes — to be added.
Standing Heavy Punch
Notes on how Ken uses Standing Heavy Punch — combo routes, pressure, pokes — to be added.
Quick Dash
Notes on how Ken uses Quick Dash — combo routes, pressure, pokes — to be added.
[Quick Dash] Tatsumaki Senpu-kyaku
Notes on how Ken uses [Quick Dash] Tatsumaki Senpu-kyaku — combo routes, pressure, pokes — to be added.
[Quick Dash] Dragonlash Kick
Notes on how Ken uses [Quick Dash] Dragonlash Kick — combo routes, pressure, pokes — to be added.
[Quick Dash] Shoryuken
Notes on how Ken uses [Quick Dash] Shoryuken — combo routes, pressure, pokes — to be added.
Emergency Stop
Notes on how Ken uses Emergency Stop — combo routes, pressure, pokes — to be added.
Thunder Kick
Notes on how Ken uses Forward Step Kick — combo routes, pressure, pokes — to be added.
Standing Light Kick
Notes on how Ken uses Standing Light Kick — combo routes, pressure, pokes — to be added.
Standing Light Punch
Notes on how Ken uses Standing Light Punch — combo routes, pressure, pokes — to be added.
Knee Strikes
Notes on how Ken uses Knee Strikes — combo routes, pressure, pokes — to be added.
Standing Medium Kick
Notes on how Ken uses Standing Medium Kick — combo routes, pressure, pokes — to be added.
Triple Flash Kicks (3)
Notes on how Ken uses Triple Flash Kicks (3) — combo routes, pressure, pokes — to be added.
Standing Medium Punch
Notes on how Ken uses Standing Medium Punch — combo routes, pressure, pokes — to be added.
Chin Buster
Notes on how Ken uses Chin Buster — combo routes, pressure, pokes — to be added.