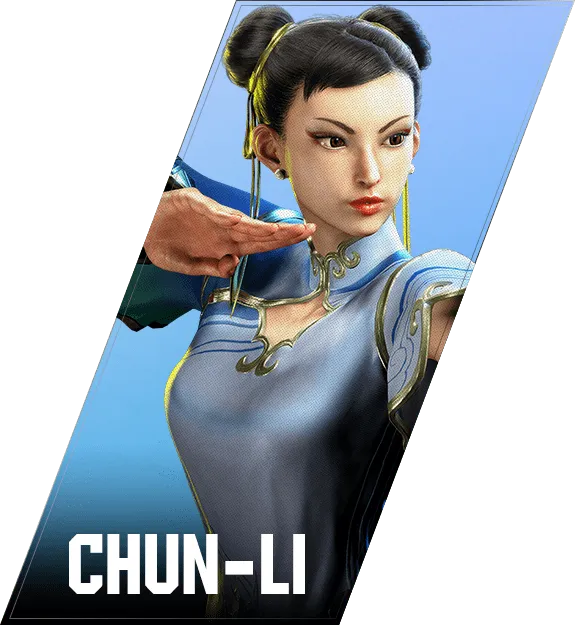

チュンリー
Chun-Li — 角色使用
前方ステップ
Forward Step is part of the Drive System. Incorporate it into combos and neutral game to make effective use of it.
後方ステップ
Back Step is part of the Drive System. Use the throw-invulnerable frames to escape throws and manage spacing.
Lightning Kick Barrage
Notes on how Chun-Li uses Lightning Kick Barrage — combo routes, pressure, whiff punishes — to be added.
Ryuseiraku
Notes on how Chun-Li uses Ryuseiraku — combo routes, pressure, pokes — to be added.
SA1 Aerial Kikosho
Notes on how Chun-Li uses SA1 Aerial Kikosho — combo routes, pressure, pokes — to be added.
Jumping Heavy Kick
Notes on how Chun-Li uses Jumping Heavy Kick — combo routes, pressure, pokes — to be added.
Jumping Heavy Punch
Notes on how Chun-Li uses Jumping Heavy Punch — combo routes, pressure, pokes — to be added.
Soaring Eagle Punches
Notes on how Chun-Li uses Soaring Eagle Punches — combo routes, pressure, pokes — to be added.
Jumping Light Kick
Notes on how Chun-Li uses Jumping Light Kick — combo routes, pressure, pokes — to be added.
Jumping Light Punch
Notes on how Chun-Li uses Jumping Light Punch — combo routes, pressure, pokes — to be added.
Jumping Medium Kick
Notes on how Chun-Li uses Jumping Medium Kick — combo routes, pressure, pokes — to be added.
Jumping Medium Punch
Notes on how Chun-Li uses Jumping Medium Punch — combo routes, pressure, pokes — to be added.
CA Soten Ranka
Notes on how Chun-Li uses CA Soten Ranka — combo routes, pressure, pokes — to be added.
H Aerial Hundred Lightning Kicks
Notes on how Chun-Li uses Aerial Hundred Lightning Kicks — combo routes, pressure, whiff punishes — to be added.
Neutral Jumping Heavy Kick
Notes on how Chun-Li uses Neutral Jumping Heavy Kick — combo routes, pressure, pokes — to be added.
SA3 Soten Ranka
Notes on how Chun-Li uses SA3 Soten Ranka — combo routes, pressure, pokes — to be added.
H Hazanshu
Notes on how Chun-Li uses Hazanshu — combo routes, pressure, whiff punishes — to be added.
Serenity Stream
Cancel from normals into the stance and pressure the opponent with follow-up options.
Tenku Kick
Notes on how Chun-Li uses Tenku Kick — combo routes, pressure, pokes — to be added.
Lotus Fist
Notes on how Chun-Li uses Lotus Fist — combo routes, pressure, pokes — to be added.
Forward Strike
Notes on how Chun-Li uses Forward Strike — combo routes, pressure, pokes — to be added.
Orchid Palm
Notes on how Chun-Li uses Orchid Palm — combo routes, pressure, pokes — to be added.
Senpu Kick
Notes on how Chun-Li uses Senpu Kick — combo routes, pressure, pokes — to be added.
Snake Strike
Notes on how Chun-Li uses Snake Strike — combo routes, pressure, pokes — to be added.
H Tensho Kicks
Notes on how Chun-Li uses Tensho Kicks — combo routes, pressure, whiff punishes — to be added.
SA2 Hoyoku-sen
Notes on how Chun-Li uses SA2 Hoyoku-sen — combo routes, pressure, pokes — to be added.
SA1 Kikosho
Notes on how Chun-Li uses SA1 Kikosho — combo routes, pressure, pokes — to be added.
H Hundred Lightning Kicks
Notes on how Chun-Li uses Hundred Lightning Kicks — combo routes, pressure, whiff punishes — to be added.
Gen Assassin Kick
Notes on how Chun-Li uses Gen Assassin Kick — combo routes, pressure, pokes — to be added.
Crouching Heavy Punch
Notes on how Chun-Li uses Crouching Heavy Punch — combo routes, pressure, pokes — to be added.
Crouching Light Kick
Notes on how Chun-Li uses Crouching Light Kick — combo routes, pressure, pokes — to be added.
Crouching Light Punch
Notes on how Chun-Li uses Crouching Light Punch — combo routes, pressure, pokes — to be added.
Crouching Medium Kick
Notes on how Chun-Li uses Crouching Medium Kick — combo routes, pressure, pokes — to be added.
Crouching Medium Punch
Notes on how Chun-Li uses Crouching Medium Punch — combo routes, pressure, pokes — to be added.
Falling Crane
Try throwing it out carelessly until your opponent figures out how to deal with it.
Water Lotus Fist
Mainly used during rush wake-up pressure, but there is also a set-play where it becomes a meaty on certain combo enders — keep it in mind.
Hakkei
Notes on how Chun-Li uses Hakkei — combo routes, pressure, pokes — to be added.
Swift Thrust
Notes on how Chun-Li uses Swift Thrust — combo routes, pressure, pokes — to be added.
Yokusen Kick
Notes on how Chun-Li uses Yokusen Kick — combo routes, pressure, pokes — to be added.
Standing Heavy Kick
Using this move raw leaves Chun-Li at a large frame disadvantage, so it is primarily used after Drive Rush — both to chip the opponent's Drive Gauge and as a throw-punish option.
Punish Counter case:
On block case:
Standing Heavy Punch
Notes on how Chun-Li uses Standing Heavy Punch — combo routes, pressure, pokes — to be added.
Standing Light Kick
Notes on how Chun-Li uses Standing Light Kick — combo routes, pressure, pokes — to be added.
Standing Light Punch
Notes on how Chun-Li uses Standing Light Punch — combo routes, pressure, pokes — to be added.
Standing Medium Kick
Notes on how Chun-Li uses Standing Medium Kick — combo routes, pressure, pokes — to be added.
H Spinning Bird Kick
Notes on how Chun-Li uses Spinning Bird Kick — combo routes, pressure, whiff punishes — to be added.
Kikoken
Notes on how Chun-Li uses Kikoken — combo routes, pressure, whiff punishes — to be added.
鷹爪脚
Notes on how Chun-Li uses Yoso Kick(1) — combo routes, pressure, pokes — to be added.