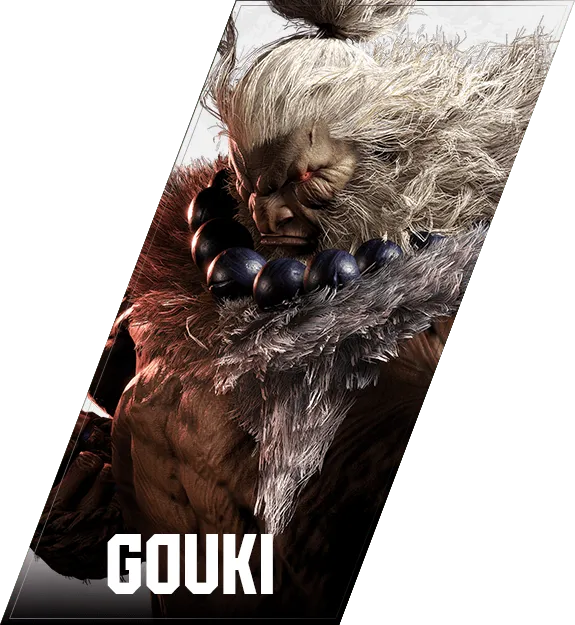

豪鬼
Akuma — 角色使用
前方ステップ
Use the forward step to close distance, bait reversals, or punish backdashes. Incorporate it into combos and neutral to apply pressure effectively.
阿修羅閃空
Forward
6KKK warps forward. Useful for getting through fireballs, applying sudden pressure, or baiting reactions to a fireball read. The LPLK follow-up also catches opponents who over-commit to just-parry.
Backward
4KKK warps backward. Strong as an emergency escape against oki that beats backjump, or to dodge drive rush / long-range pokes. Use it whenever you want distance to manage meter or health.
Jumping Heavy Punch
Notes on how Akuma uses Jumping Heavy Punch — combo routes, pressure, pokes — to be added.
Jumping Light Punch
Notes on how Akuma uses Jumping Light Punch — combo routes, pressure, pokes — to be added.
Jumping Medium Punch
Notes on how Akuma uses Jumping Medium Punch — combo routes, pressure, pokes — to be added.
Jumping Heavy Kick
Notes on how Akuma uses Jumping Heavy Kick — combo routes, pressure, pokes — to be added.
Jumping Light Kick
Notes on how Akuma uses Jumping Light Kick — combo routes, pressure, pokes — to be added.
Jumping Medium Kick
Notes on how Akuma uses Jumping Medium Kick — combo routes, pressure, pokes — to be added.
Aerial Tatsumaki Zanku-kyaku
Notes on how Akuma uses Aerial Tatsumaki Zanku-kyaku — combo routes, pressure, whiff punishes — to be added.
Zanku Hadoken
Notes on how Akuma uses Zanku Hadoken — combo routes, pressure, whiff punishes — to be added.
Tenmaku Blade Kick
Notes on how Akuma uses Tenmaku Blade Kick — combo routes, pressure, pokes — to be added.
SA1 Tenma Gozanku
Notes on how Akuma uses SA1 Tenma Gozanku — combo routes, pressure, pokes — to be added.
SA2 Empyrean's End
Notes on how Akuma uses SA2 Empyrean's End — combo routes, pressure, pokes — to be added.
Tatsumaki Zanku-kyaku
Notes on how Akuma uses Tatsumaki Zanku-kyaku — combo routes, pressure, whiff punishes — to be added.
SA3 Sip of Calamity
Notes on how Akuma uses SA3 Sip of Calamity — combo routes, pressure, pokes — to be added.
SA1 Messatsu Gohado
Notes on how Akuma uses SA1 Messatsu Gohado — combo routes, pressure, pokes — to be added.
Demon Raid
Notes on how Akuma uses Demon Raid — combo routes, pressure, whiff punishes — to be added.
Demon Gou Rasen
Notes on how Akuma uses Demon Gou Rasen — combo routes, pressure, whiff punishes — to be added.
Demon Gou Zanku
Notes on how Akuma uses Demon Gou Zanku — combo routes, pressure, whiff punishes — to be added.
Demon Low Slash
Notes on how Akuma uses Demon Low Slash — combo routes, pressure, whiff punishes — to be added.
Demon Swoop
Notes on how Akuma uses Demon Swoop — combo routes, pressure, whiff punishes — to be added.
Demon Blade Kick
Notes on how Akuma uses Demon Blade Kick — combo routes, pressure, whiff punishes — to be added.
Demon Guillotine
Notes on how Akuma uses Demon Guillotine — combo routes, pressure, whiff punishes — to be added.
Gou Hadoken
Lv1
The default Gou Hadoken — comes out fast and works for neutral pokes, footsies and combo enders.
Lv2
Mid-charge version. Plus-two on block makes it a strong pressure / oki tool, and it knocks down on hit.
Lv3
Full-charge version. +5 on block and 1350 damage with a knockdown on hit. The charge time is long, so use it when you can read the opponent.
Hold (OD)
236PP OD-hold version. Gives +5 on block. Spend a meter when you want a guaranteed advantageous situation.
Low Cutter
Notes on how Akuma uses Low Cutter — combo routes, pressure, pokes — to be added.
Crouching Heavy Punch
Notes on how Akuma uses Crouching Heavy Punch — combo routes, pressure, pokes — to be added.
Crouching Light Kick
Notes on how Akuma uses Crouching Light Kick — combo routes, pressure, pokes — to be added.
Crouching Light Punch
Notes on how Akuma uses Crouching Light Punch — combo routes, pressure, pokes — to be added.
Crouching Medium Kick
Notes on how Akuma uses Crouching Medium Kick — combo routes, pressure, pokes — to be added.
Crouching Medium Punch
Notes on how Akuma uses Crouching Medium Punch — combo routes, pressure, pokes — to be added.
Rago High Kick
Notes on how Akuma uses Rago High Kick — combo routes, pressure, pokes — to be added.
Ashura Senku(Backward)
Notes on how Akuma uses Ashura Senku(Backward) — combo routes, pressure, pokes — to be added.
Shuretto
Notes on how Akuma uses Shuretto — combo routes, pressure, pokes — to be added.
Gou Shoryuken
Notes on how Akuma uses Gou Shoryuken — combo routes, pressure, whiff punishes — to be added.
鬼哭連撃
Notes on how Akuma uses Kikoku Combination(3) — combo routes, pressure, pokes — to be added.
Ashura Senku(Forward)
Notes on how Akuma uses Ashura Senku(Forward) — combo routes, pressure, pokes — to be added.
Oboro Throw
Notes on how Akuma uses Oboro Throw — combo routes, pressure, whiff punishes — to be added.
Resso Snap Kick
Notes on how Akuma uses Resso Snap Kick — combo routes, pressure, pokes — to be added.
Skull Splitter
Notes on how Akuma uses Skull Splitter — combo routes, pressure, pokes — to be added.
Standing Heavy Kick
Notes on how Akuma uses Standing Heavy Kick — combo routes, pressure, pokes — to be added.
Standing Heavy Punch
Notes on how Akuma uses Standing Heavy Punch — combo routes, pressure, pokes — to be added.
Standing Light Kick
Notes on how Akuma uses Standing Light Kick — combo routes, pressure, pokes — to be added.
Standing Light Punch
Notes on how Akuma uses Standing Light Punch — combo routes, pressure, pokes — to be added.
Goshoha
Notes on how Akuma uses Goshoha — combo routes, pressure, pokes — to be added.
Standing Medium Kick
Notes on how Akuma uses Standing Medium Kick — combo routes, pressure, pokes — to be added.
Bone Crusher Axe Kick
Notes on how Akuma uses Bone Crusher Axe Kick — combo routes, pressure, pokes — to be added.
Standing Medium Punch
Notes on how Akuma uses Standing Medium Punch — combo routes, pressure, pokes — to be added.
Viscera Piercer
Notes on how Akuma uses Viscera Piercer — combo routes, pressure, pokes — to be added.